Gallery walls are among our favorite projects. While, when poorly executed, they can be chaotic, when done well they can help make a house into a uniquely personal, welcoming home.
We recently were approached by a man for help in doing a gallery wall as a surprise anniversary gift for his wife ... what a WONDERFUL and creative idea! We were delighted to be a part of it. It was a long distance project and time sensitive so we agreed to provide photo selection, frame specifications, gallery layout design, and step by step hanging instructions for him to execute himself.
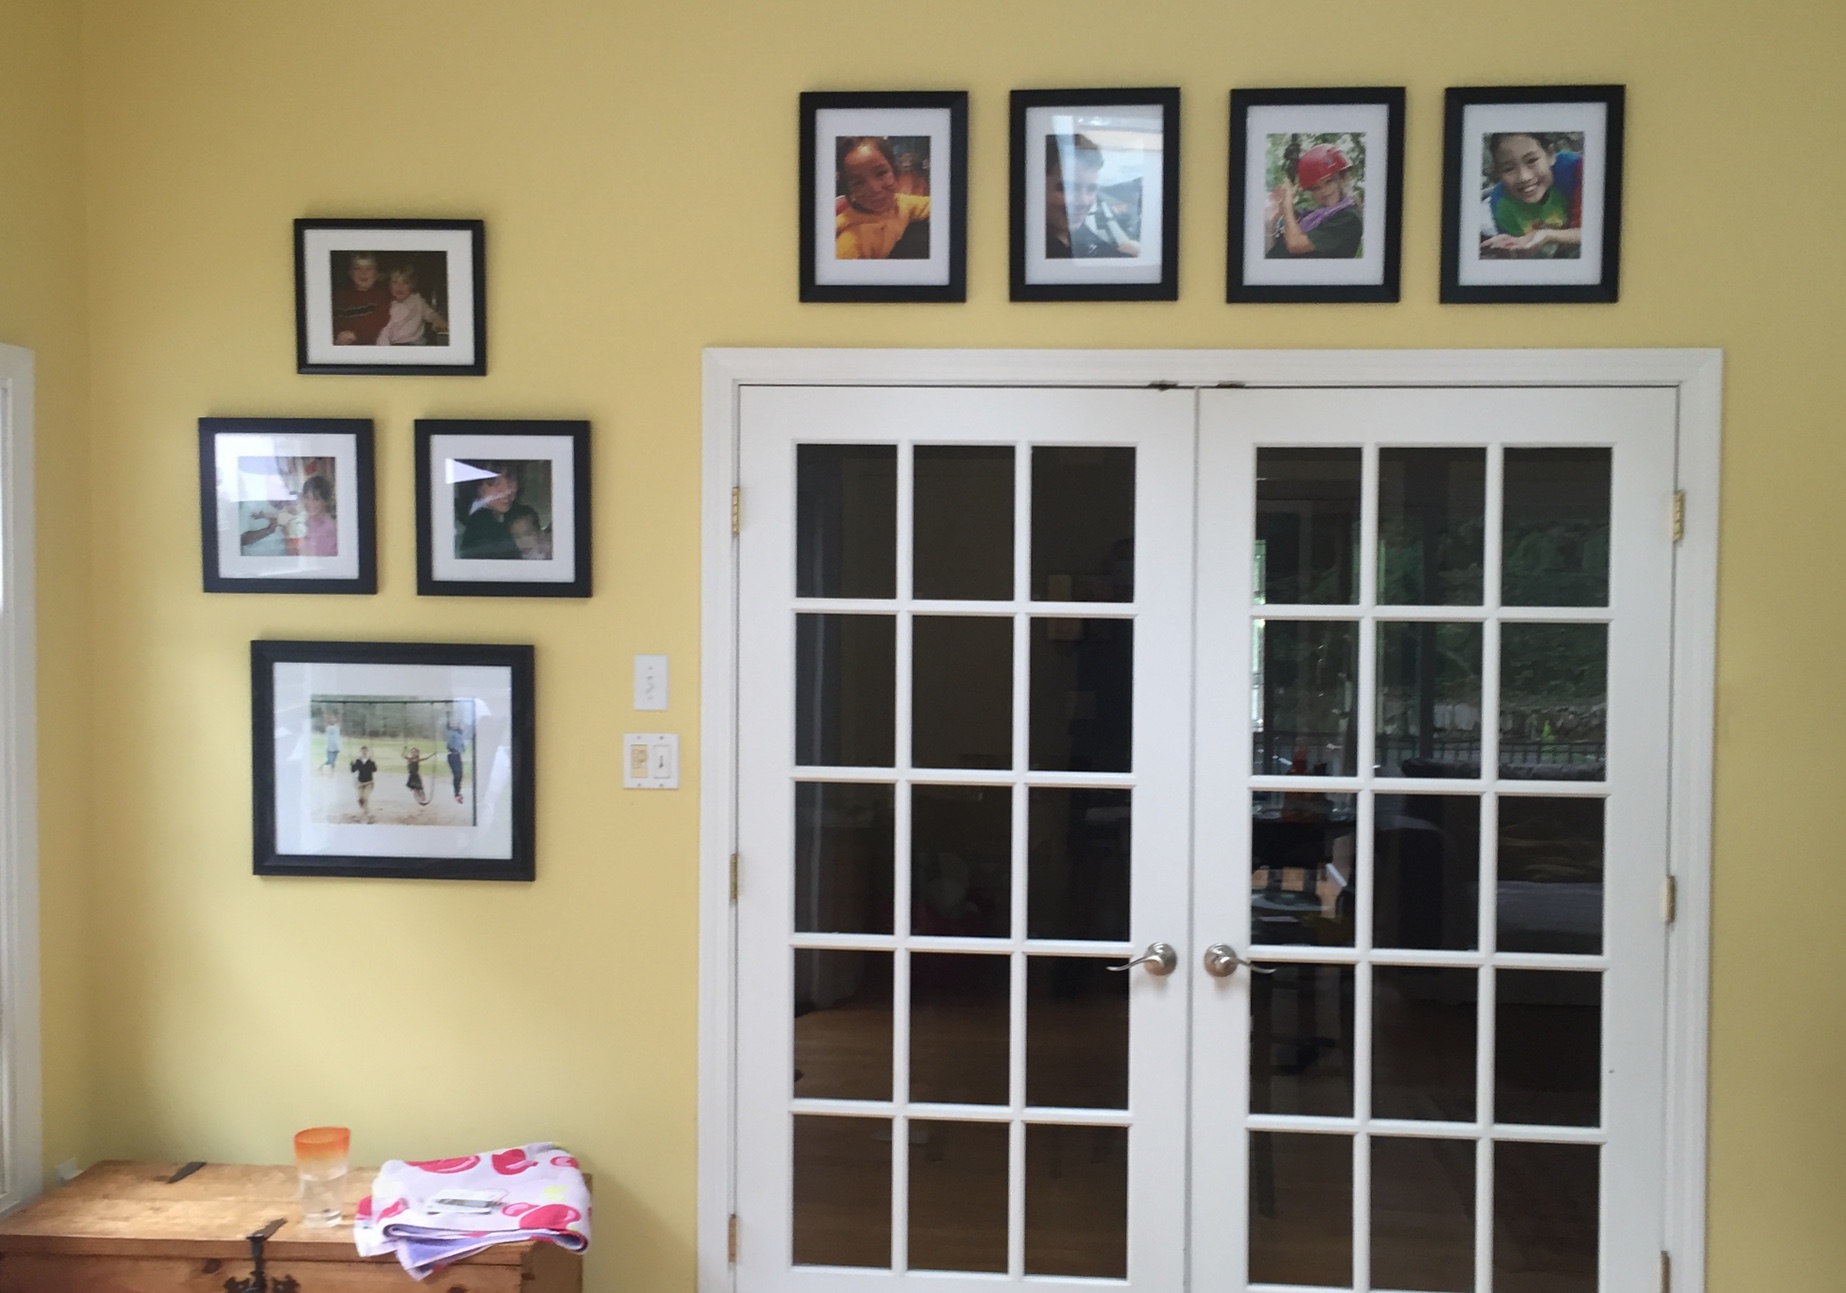
The first step was for him to send us pictures and measurements for the walls we might use, and the furniture we would be working around. Below is one of the pictures of the room we began work from.
He also sent us a digital file of possible photo choices for the gallery ... we selected an assortment that represented the family well and arranged them for optimal viewing - some we cropped for better composition or photo-edited to remove old camera date stamps before they were printed.
Once the arrangement and sizing was set, we selected frames that complimented each other and the images. Having differing frame styles and mat styles is important to keep the look of the finished wall interesting, but they still need to have common elements that make them work together ... in this case, color.
We generated a complete package for him to use including: a numbered list of prints with the sizes to order and the updated digital files; a list of frames, mats, and sizes with ordering specifications for where to buy them; a detailed computer generated image of the wall showing placement for specific images and frame styles; as well as measured instructions and tips for hanging.
As a last minute addition, he realized he needed an additional group shot of the other side of the family, so we subbed in a new photo of the children and moved the two family group shots around the corner to extend the gallery onto the next wall. Serendipitously, he pointed out that this made it 20 photos for their 20th anniversary!
Miraculously, even in a household with 4 children, he managed to pull off the surprise and his wife was overjoyed with such a thoughtful and unique gift. He wrote to thank us profusely and tell us all the anecdotes of nearly being discovered, missteps in printing and assembly, and feverishly hanging right down to the wire - reading like a script right out of reality TV! Below are some pictures he sent us of the finished installation ...
Well Done!
and Happy Anniversary!
Here are a few pointers to keep in mind when planning a gallery wall:
- Select pictures with good lighting (they will be viewed from a distance) and good composition.
- For pictures that will be hung high on a wall (like over a door or window frame) or printed in a smaller size, choose images that are close-ups. Save the group shots for closer to eye level and for larger size prints.
- Size frames for the scale of the wall - for most gallery walls, the smallest frame should be no less than 8" x 10" for it to not look too cluttered with tiny pictures.
- Vary the sizes and orientations of the pictures for interest.
- Mats give photos some breathing room so we recommend using them - exception: canvas gallery wraps can be a nice addition mixed into a gallery wall.
- Custom framing is always beautiful and perfectly suited for the images - we use this most often for antique family pics because it also preserves them with acid free mats and conservation glass. Ready made frames are a cost effective way to do a wall with contemporary prints and give you the flexibility to change the images if the mood strikes.
- Choose a variety of carefully curated frame styles when planning your gallery wall composition and repeat them in different areas of the wall.
- Plan the arrangement on paper and/or on the floor before you start...it is much easier to rearrange BEFORE you start putting holes in the wall.
- Add picture wire or sawtooth hardware to the back of ready made frames to make hanging easier - those little triangle hooks are a nightmare!
- Begin hanging near the center of the gallery and work out.
- Level each picture and use a bit of poster putty on the back corner to hold it in place as you hang it - this keeps it in place so you can hang the next picture in proper relation to it.
A gallery wall is a great addition to any home!


