
One of the most popular and foolproof desserts I make is chocolate mousse. I recently made it for the ChocolateFest Winter Party I hosted, but it’s also a nice warm weather offering for your resident chocoholic because it requires no baking.
The original recipe was labeled “chocolate mousse pie” although it was really more of a cake shape. It appeared on the cover of a seasonal dessert recipe magazine I plucked off the rack in the checkout line at the grocery store many years ago…I don’t remember which magazine, and I’ve long since lost the original, but it was dramatic enough to grab my attention!

It is an impressive looking beast once garnished with giant chocolate curls, but a bear to cut as the crust is quite sturdy, and it always looks messy on a buffet table after a few guests have hacked at it. As a result, I started serving it as individual portions.
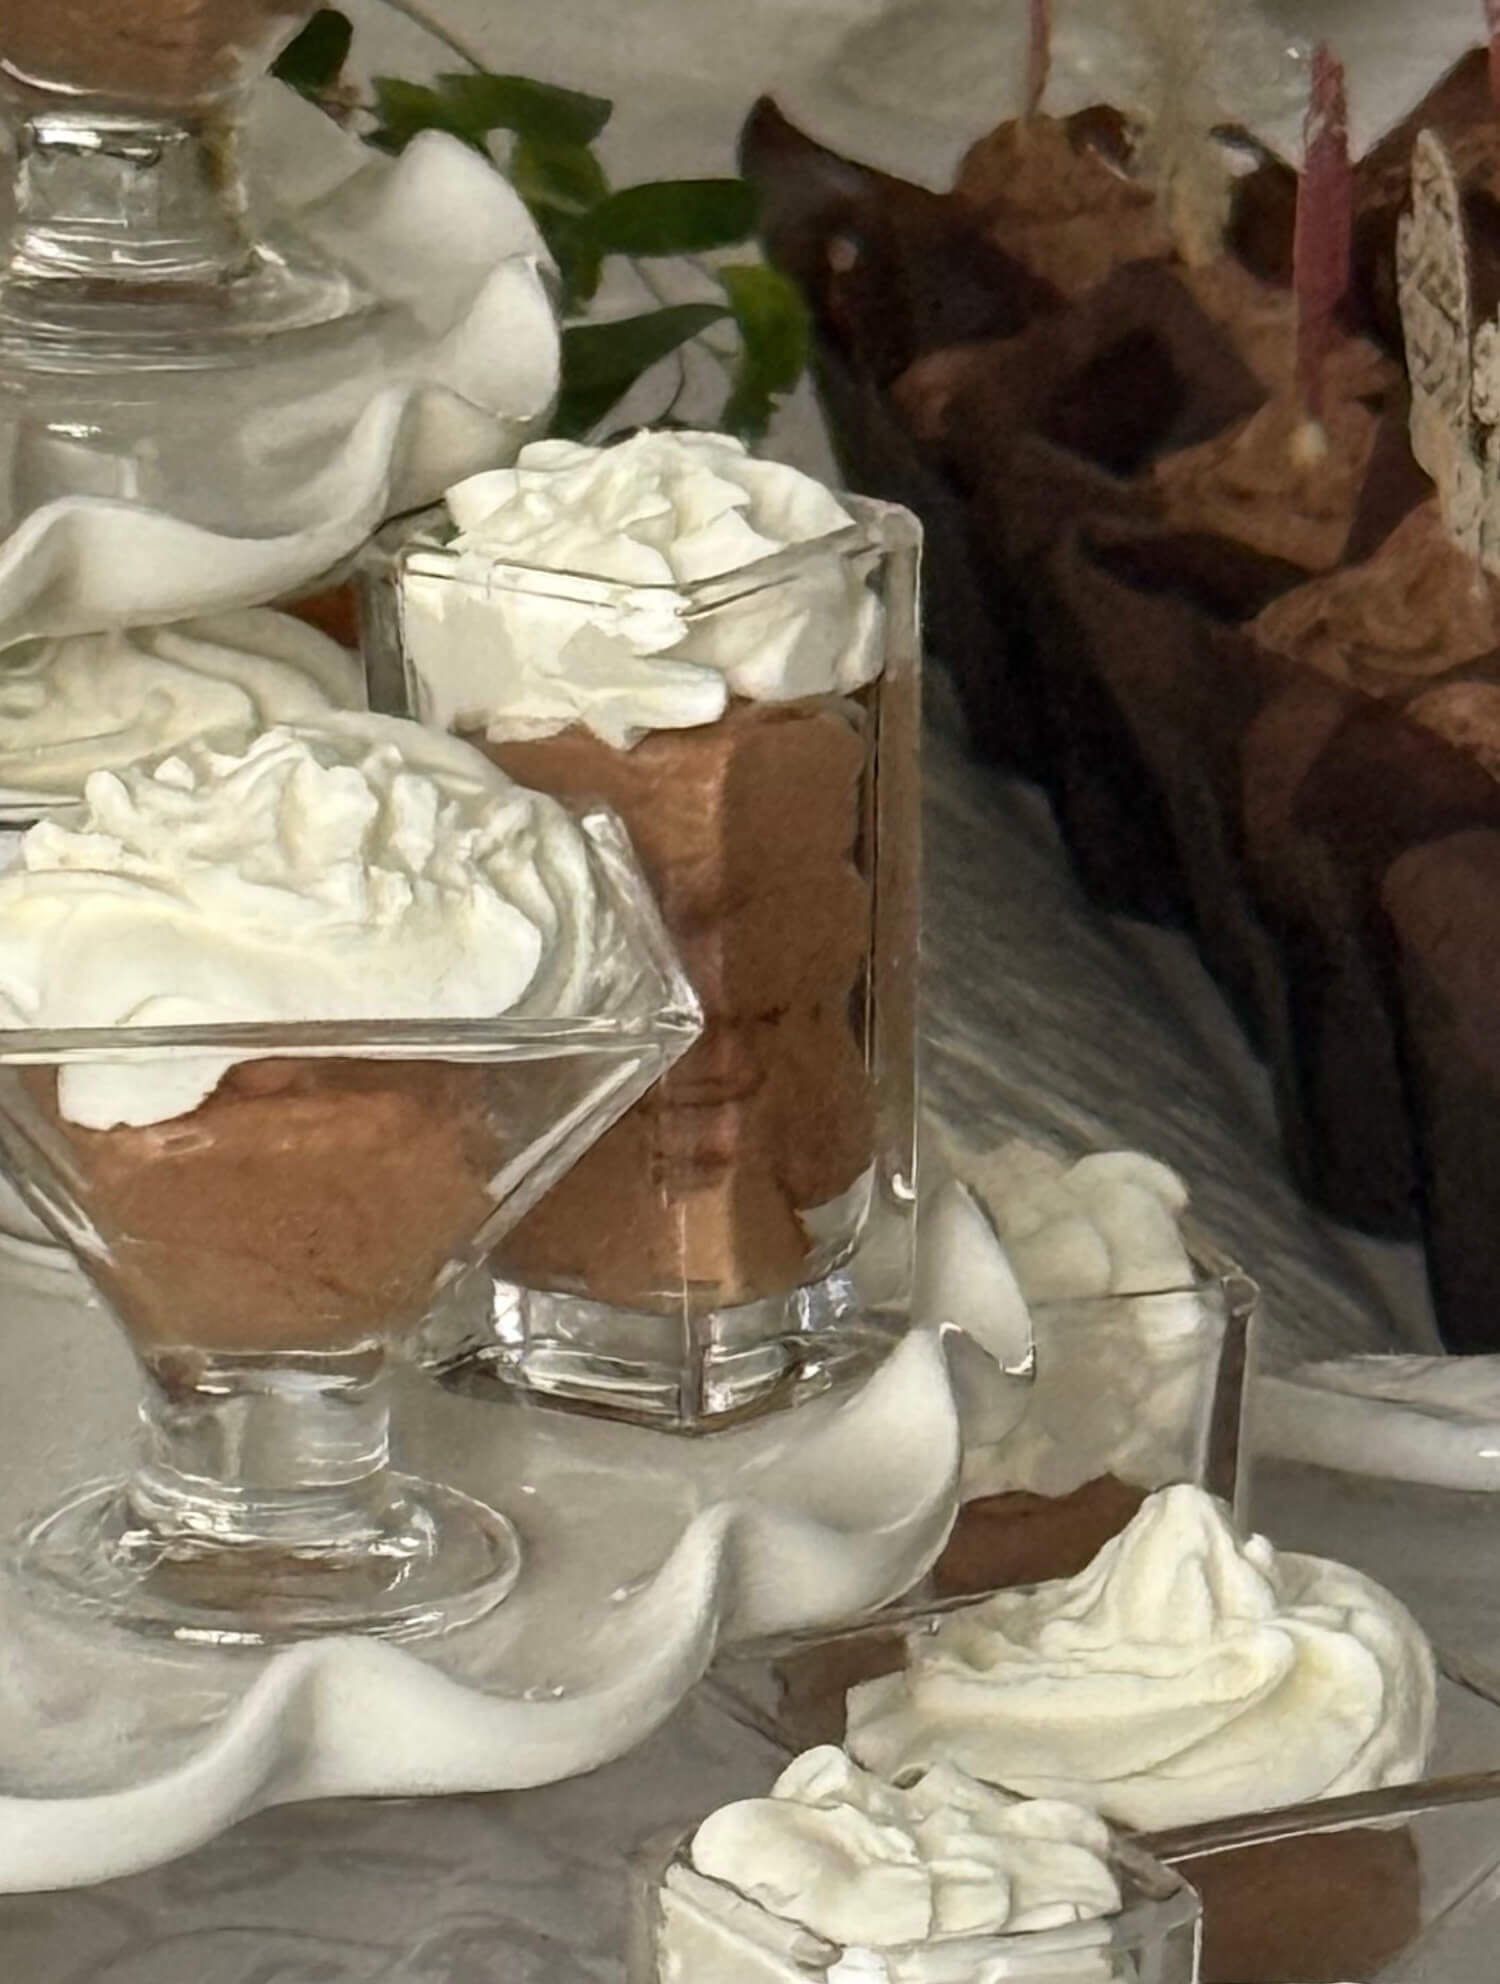
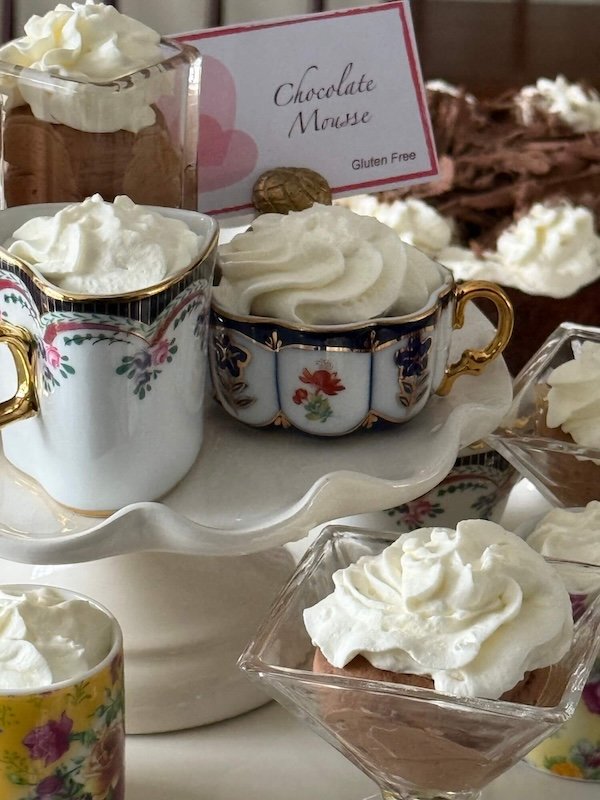
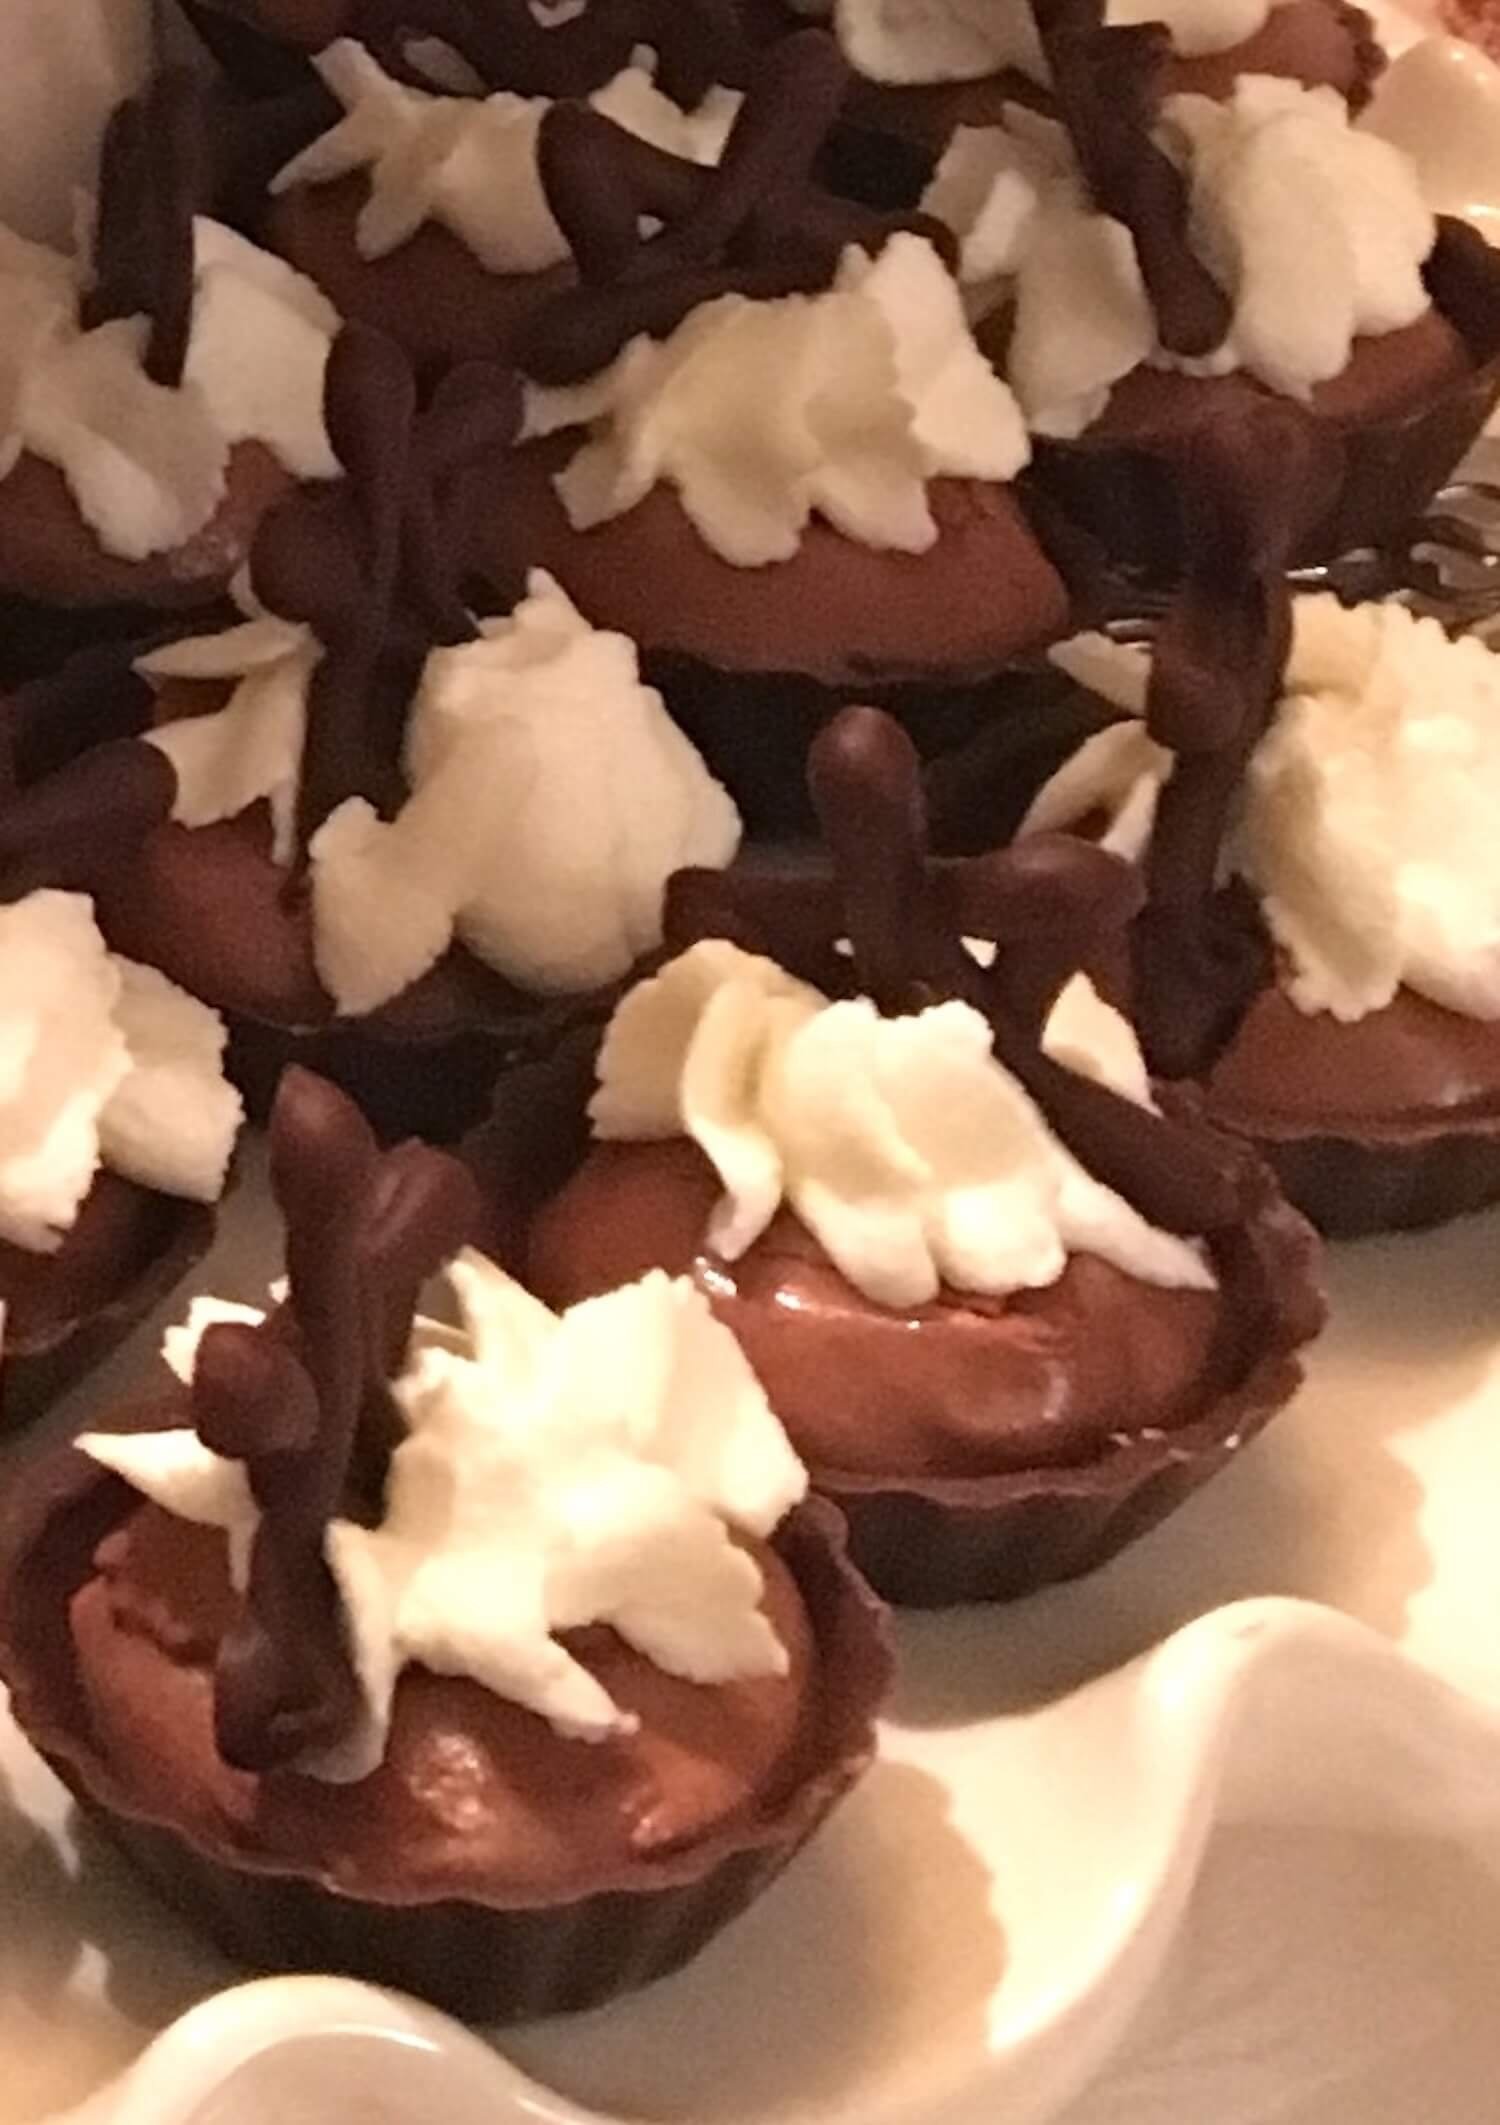
It can be served in purchased Belgian chocolate shells, or individual dishes - I like to use some of my appetizer dish set or demitasse collection for this and, BONUS, this makes it a gluten free dessert as well!
Garnishes always start with whipped cream, but you can also add chocolate curls, grated chocolate, or chocolate shapes…all are relatively easy to make and level up the presentation.
Chocolate Mousse Cake Recipe
Serves 10-12 as a cake or 24 as mini desserts
Can be prepared ahead and frozen; thaw in refrigerator overnight
Ingredients
Crust (if using)
3 cups chocolate wafer crumbs (~1 pkg of Goyal Marie chocolate cookies)
1/2 cup (1 stick) melted butter
Chocolate Mousse Filling
1 pound semisweet chocolate
2 eggs
4 egg yolks
2 cups whipping cream
6 Tbsp powdered sugar
4 egg whites, room temperature
Garnishes
2 cups whipping cream
1/4 to 1/2 cup sugar
Whipped cream stabilizer (optional)
Chocolate for curls/leaves/lacy shapes


Directions
For the Crust (if using)
Combine the chocolate wafer crumbs and butter
Press into the bottom and up the sides of a 10” springform pan.
Chill 30 minutes before filling.
For the Filling
Melt the chocolate in a double boiler over simmering water OR in the microwave, cool to lukewarm
Add whole eggs to the chocolate mixture and mix well, add yolks and mix until well blended and smooth. I use a hand mixer for this.
Whip the cream and powdered sugar until soft peaks form.
In a separate bowl beat egg whites until stiff but not dry.
Stir a bit of the whipped cream and the egg white mixture into the chocolate mixture to lighten.
Gently fold in the remaining whites and whipped cream until completely incorporated.
Turn the mixture into the prepared crust, or pipe into individual chocolate cups or dishes.
Chill at least 6 hrs or overnight*
*Can be wrapped and frozen at this point; thaw in fridge overnight to use.
Garnishes
Whip the cream and sugar to taste (~1/4 to 1/2 cup) along with the stabilizer if using (whipped cream stabilizer keeps the cream from breaking down if you aren’t serving immediately).
.For the cake, spread half the whipped cream over the top, pipe the remaining half in rosettes, garnish with chocolate decorations
For the mini’s, pipe whipped cream on individual servings, add chocolate decor if desired

FUN FACT: I read recently that whipped cream made in a food processor stays stable for up to a week?! - but it doesn’t have the same volume or pillowy texture. I’ve never tried it, but good to know if I run out of stabilizer powder!

