A focal point in a room is one of the basic elements of a well designed space, and the easiest way to create a focal point is with a feature wall. But what if your feature wall could be not only a beautiful focal point, but hard working too? That is exactly the question we asked when designing the feature wall for our One Room Challenge bedroom makeover and today, I’m sharing our process along with ideas to translate this idea to other applications for just about any room in the house!
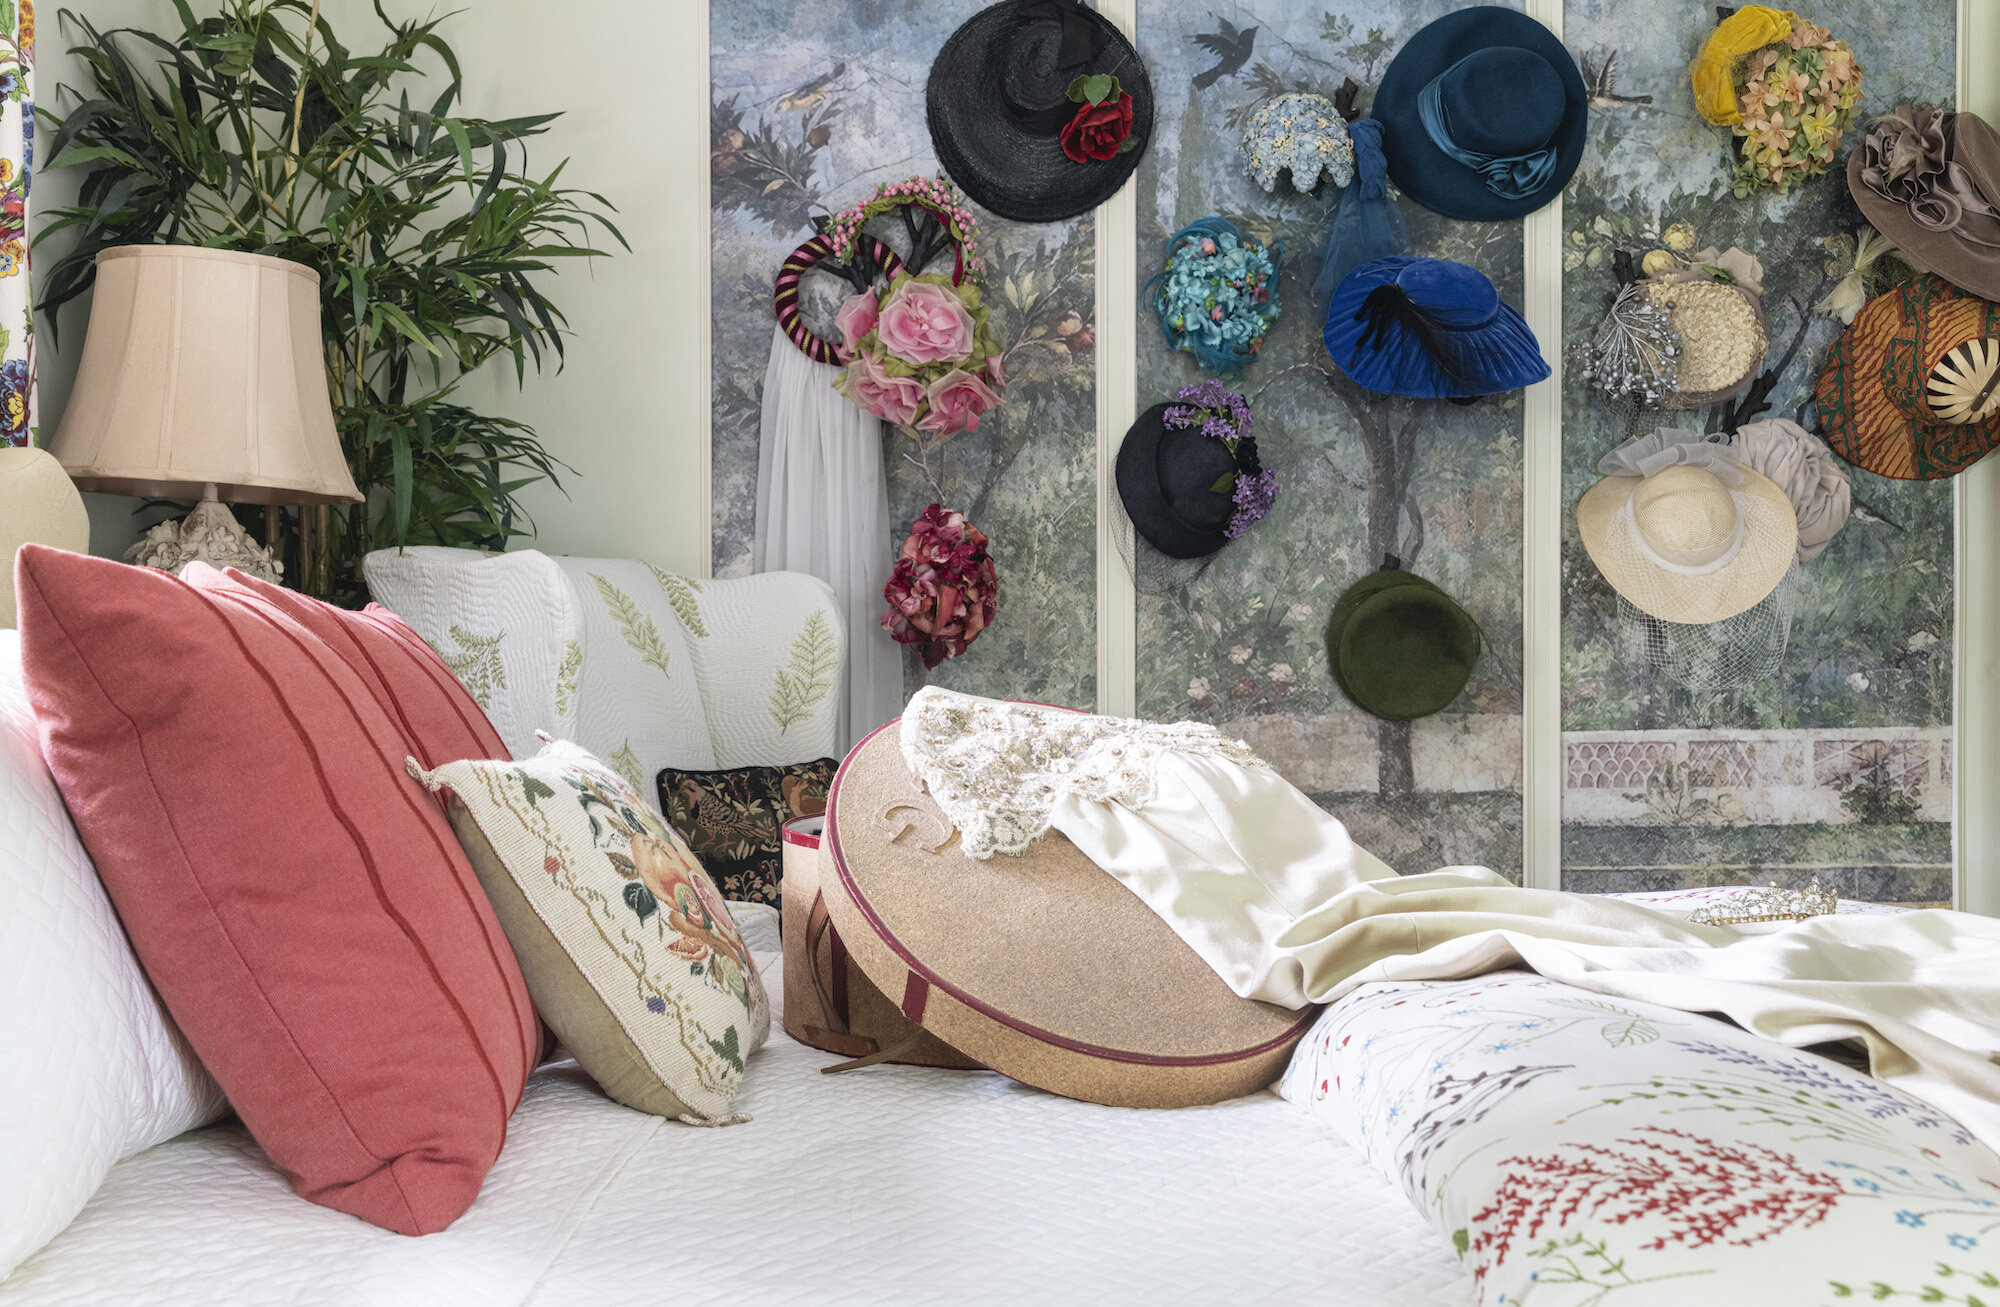
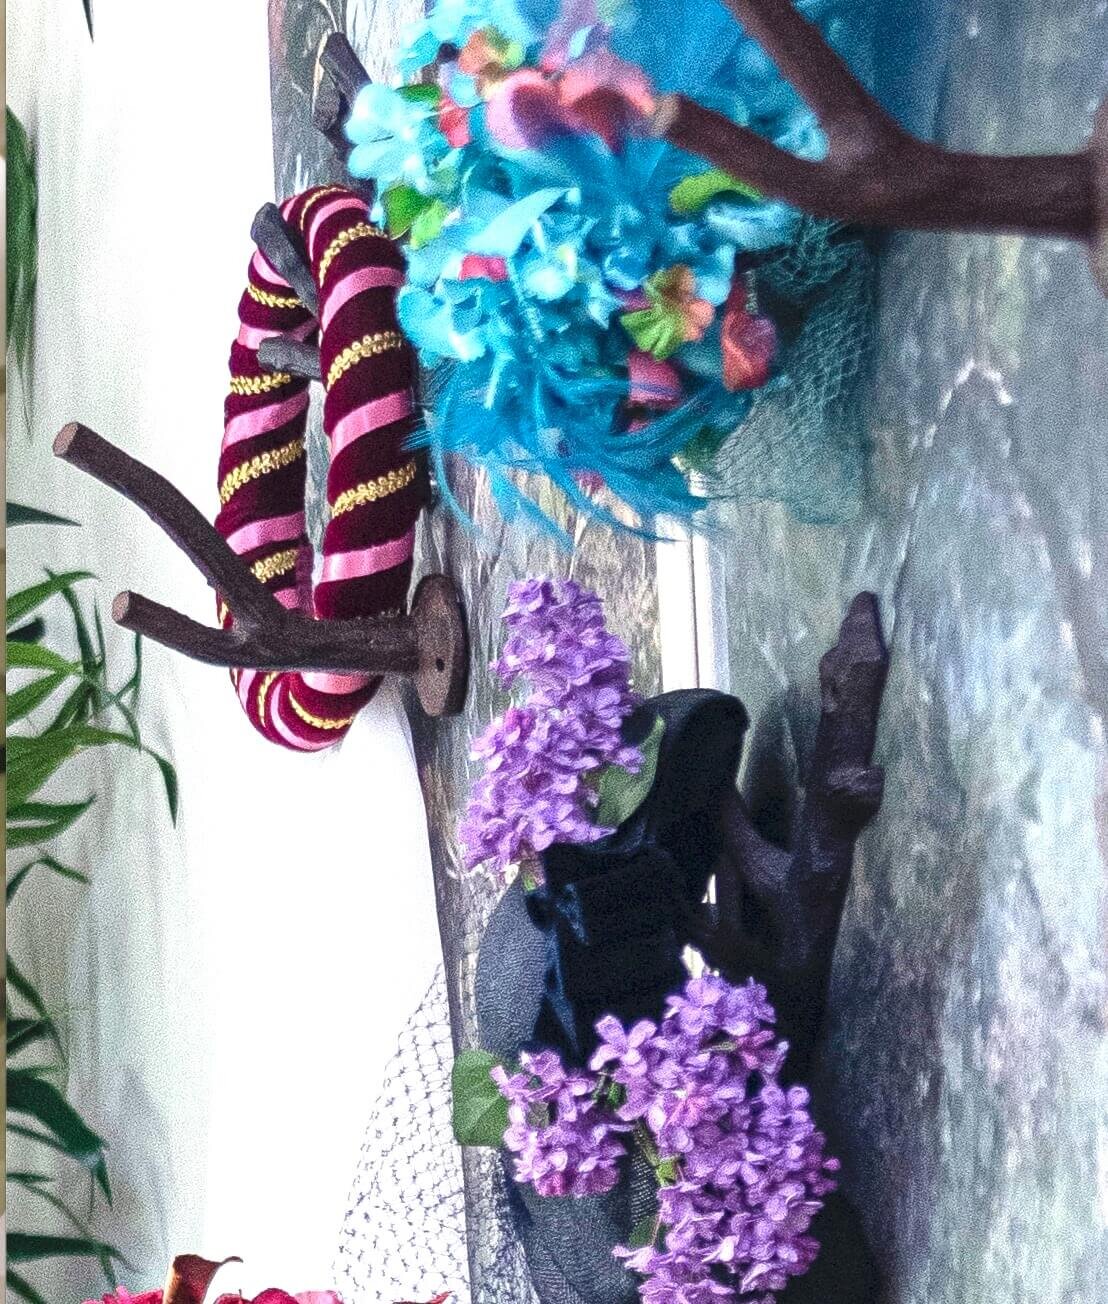
Our feature wall for the One Room Challenge Vintage Diva Glamour Den was created with 3 sections of garden mural and rendered magnetic by backing the wallpaper panels with steel sheeting. Magnetic branch hooks allow the ever-changing display of vintage hats to hang from the trees in the mural!
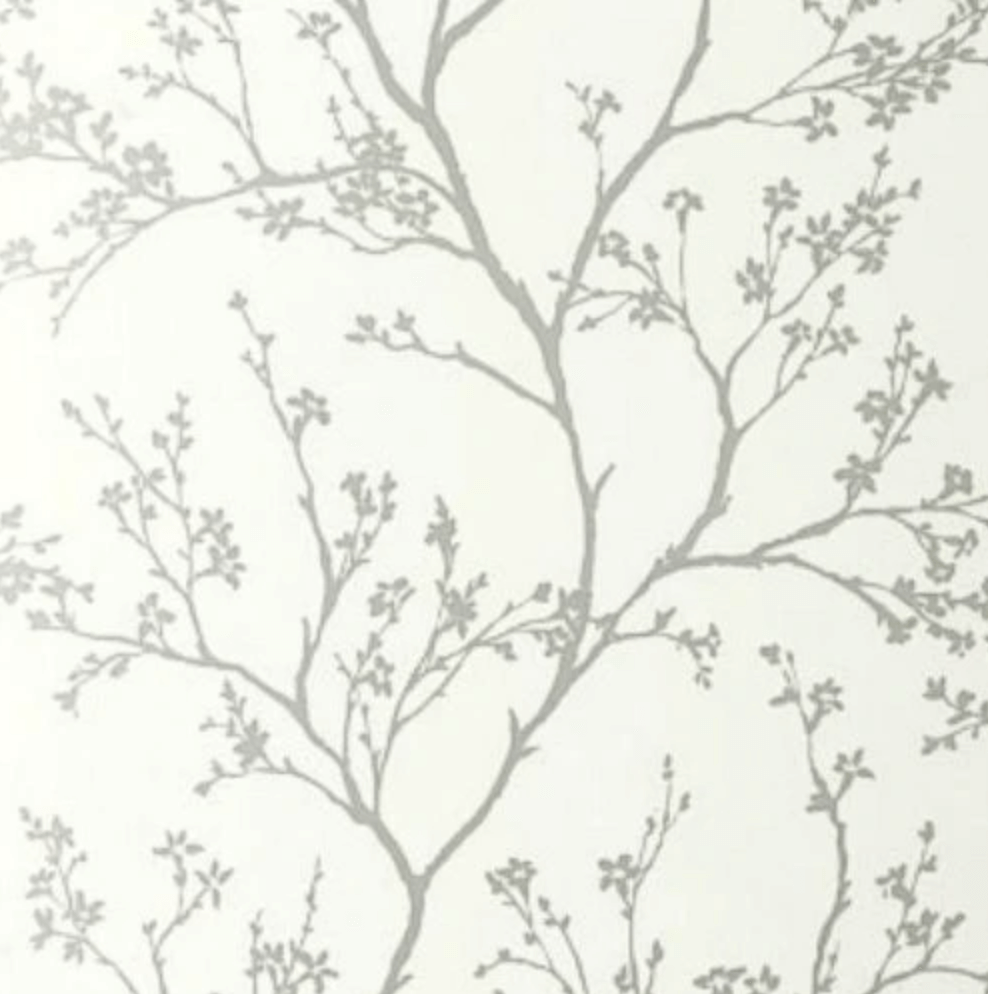
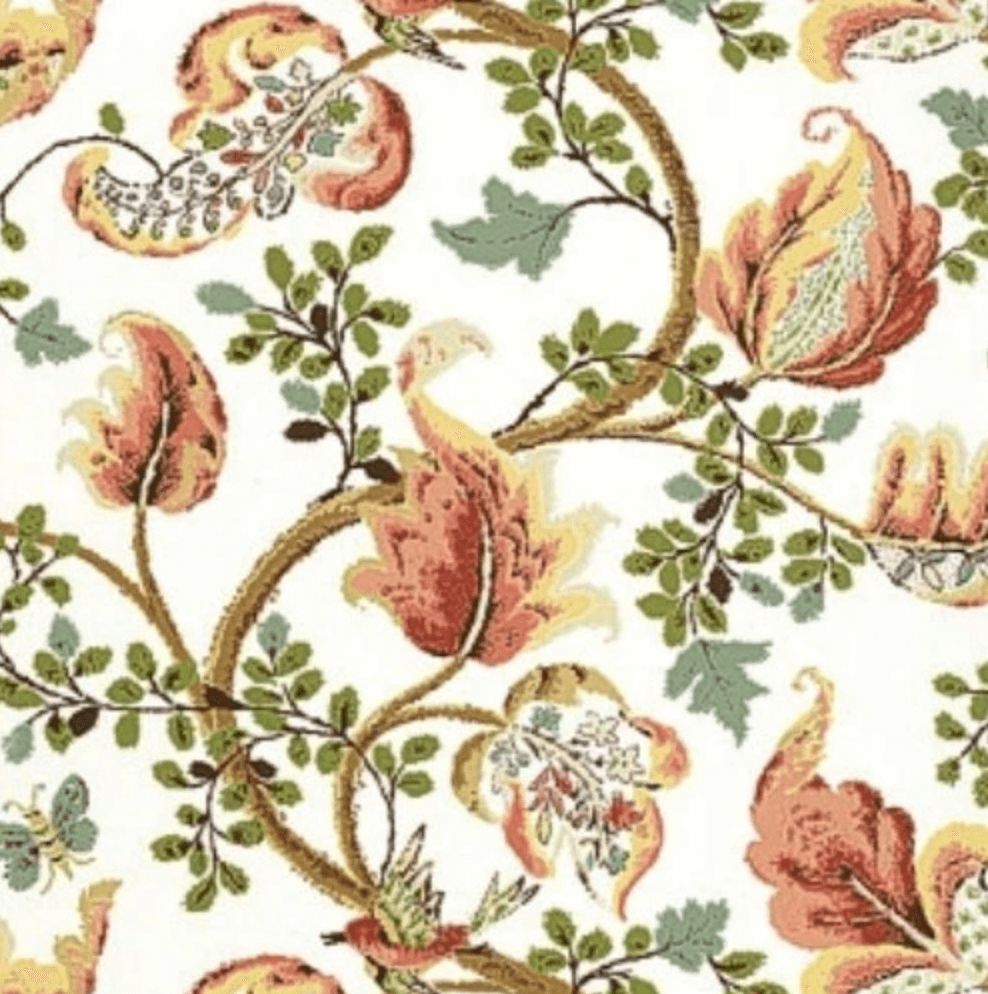
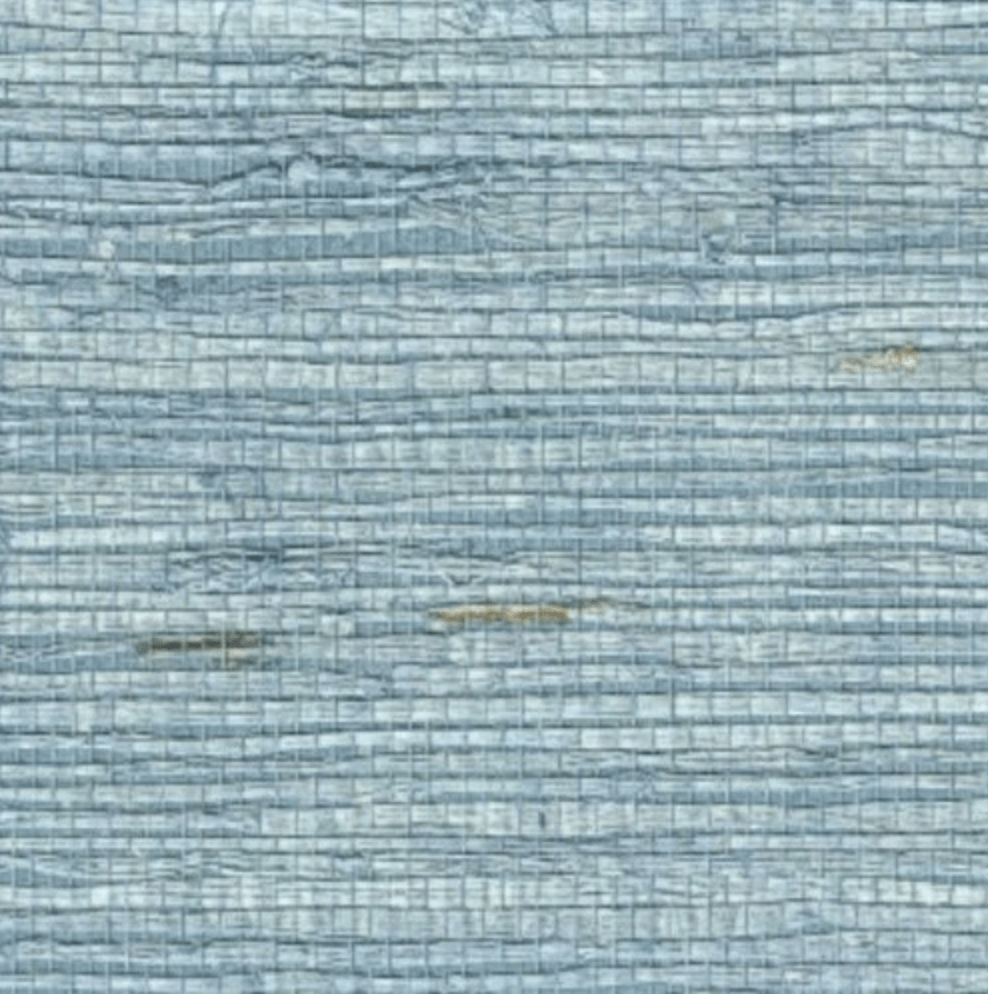
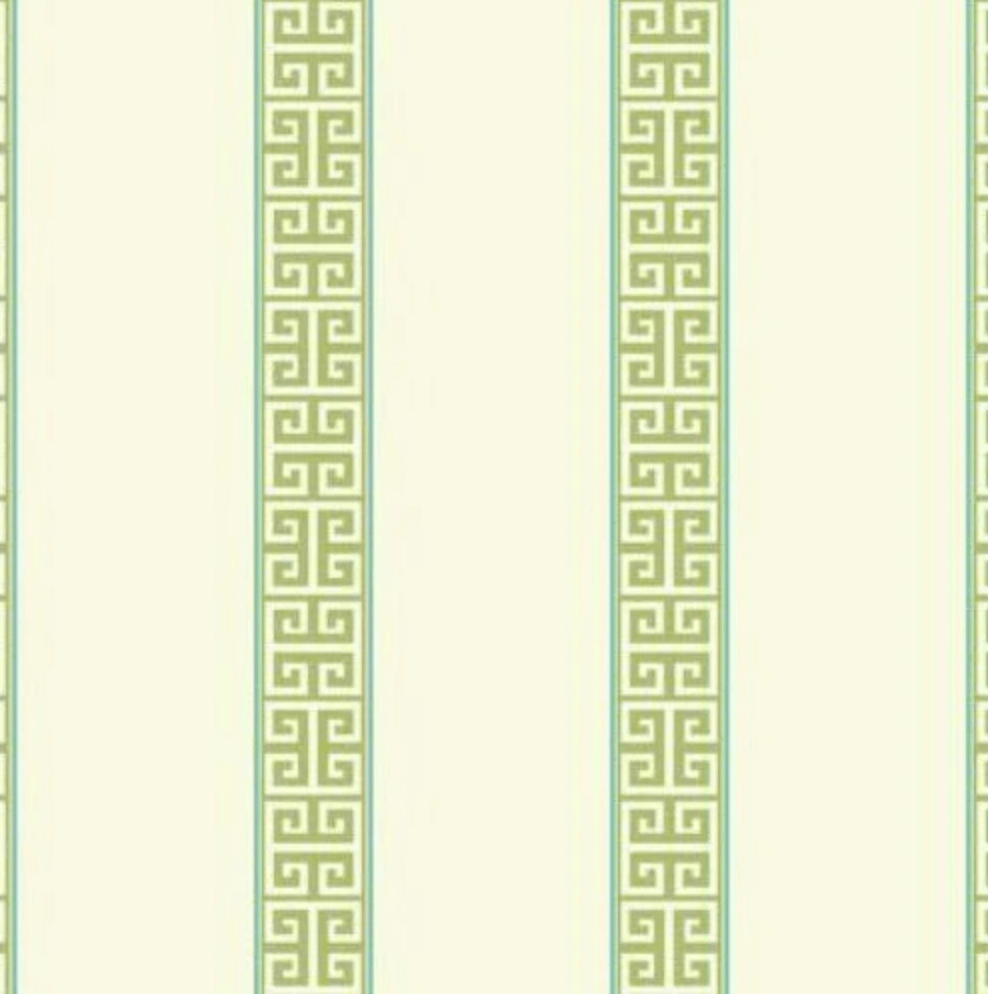
To decide on what you want for a feature wall, you first need to know what aesthetic you are looking for. In the case of the One Room Challenge Vintage Diva Glamour Den, we wanted an elegant secret garden feel. But you might want something different - an inspiring landscape, a modern geometric, a porch trellis pattern, a bold stripe, a sophisticated texture, an oversized floral, an exotic ikat or chinoiserie - the possibilities are endless! (click on images below for links to more information)
Please Note: this post contains affiliate links meaning if you make a purchase I may make a small commission at no extra cost to you
For the pattern or texture (or both!), you can select wallpaper, a wall mural, temporary wallpaper (which gives you even MORE flexibility to change your feature wall with your decor easily), or fabric. If you choose fabric, you may need to seam it to span the width of the desired area. You might also choose wider fabric options like a flat sheet or shower curtain to limit or possibly avoid the need for seams.
Miniature sample of the selected mural from Wallmur
We knew we wanted 3 framed panels for a classic feel and to add an architectural element to the room, so we selected this wallpaper mural from Wallmur. You can read about the process we used to decide on the size and sections to print for our 3 panels in this post, but you could also choose to cover a whole wall or a niche with your selected pattern.
Here is the mock up of the panels we selected from the mural for our feature wall
The Diva had the idea to make the wall magnetic so we could add hooks that would be re-positionable on a whim to accommodate her ever-growing collection of vintage hats. Because we were using a mural with trees, the hats would appear to be hanging from the branches. When selecting your feature wall covering, it is important to think through what function you want for the wall and choose a pattern that compliments what you want to hang on it.
kitchen utensils on movable magnetic hooks backed with a modern geometric wallpaper pattern
To make our wall magnetic, we first tried using rolls of craft magnet sheet behind the wallpaper, but the magnetic force was much too weak to hold paper, much less hooks with hats! I remembered a dressing room curtain from a pre-covid shopping spree that had a bar magnet sewn into the seam to hold to the curtain to a steel plate on the edge of the door and realized that steel panels under the wallpaper and really strong magnets on the hooks would be a great solution.
We had a local metal fabricator create panels the exact size we needed, but first tested a sample with our wallpaper, magnets and hooks to make sure it would all work! You can also purchase galvanized steel sheets that are intended for ductwork from a home improvement center. These 24” x 36'“ sheets from Home Depot are very inexpensive and thin enough to cut with tin snips and can be fastened to the wall with glue, nails, or screws. I have plans to use these in an upcoming project :). Fabric or an organic scenic patterned wallpaper will be better at hiding any seams in your metal sheeting if you have them.
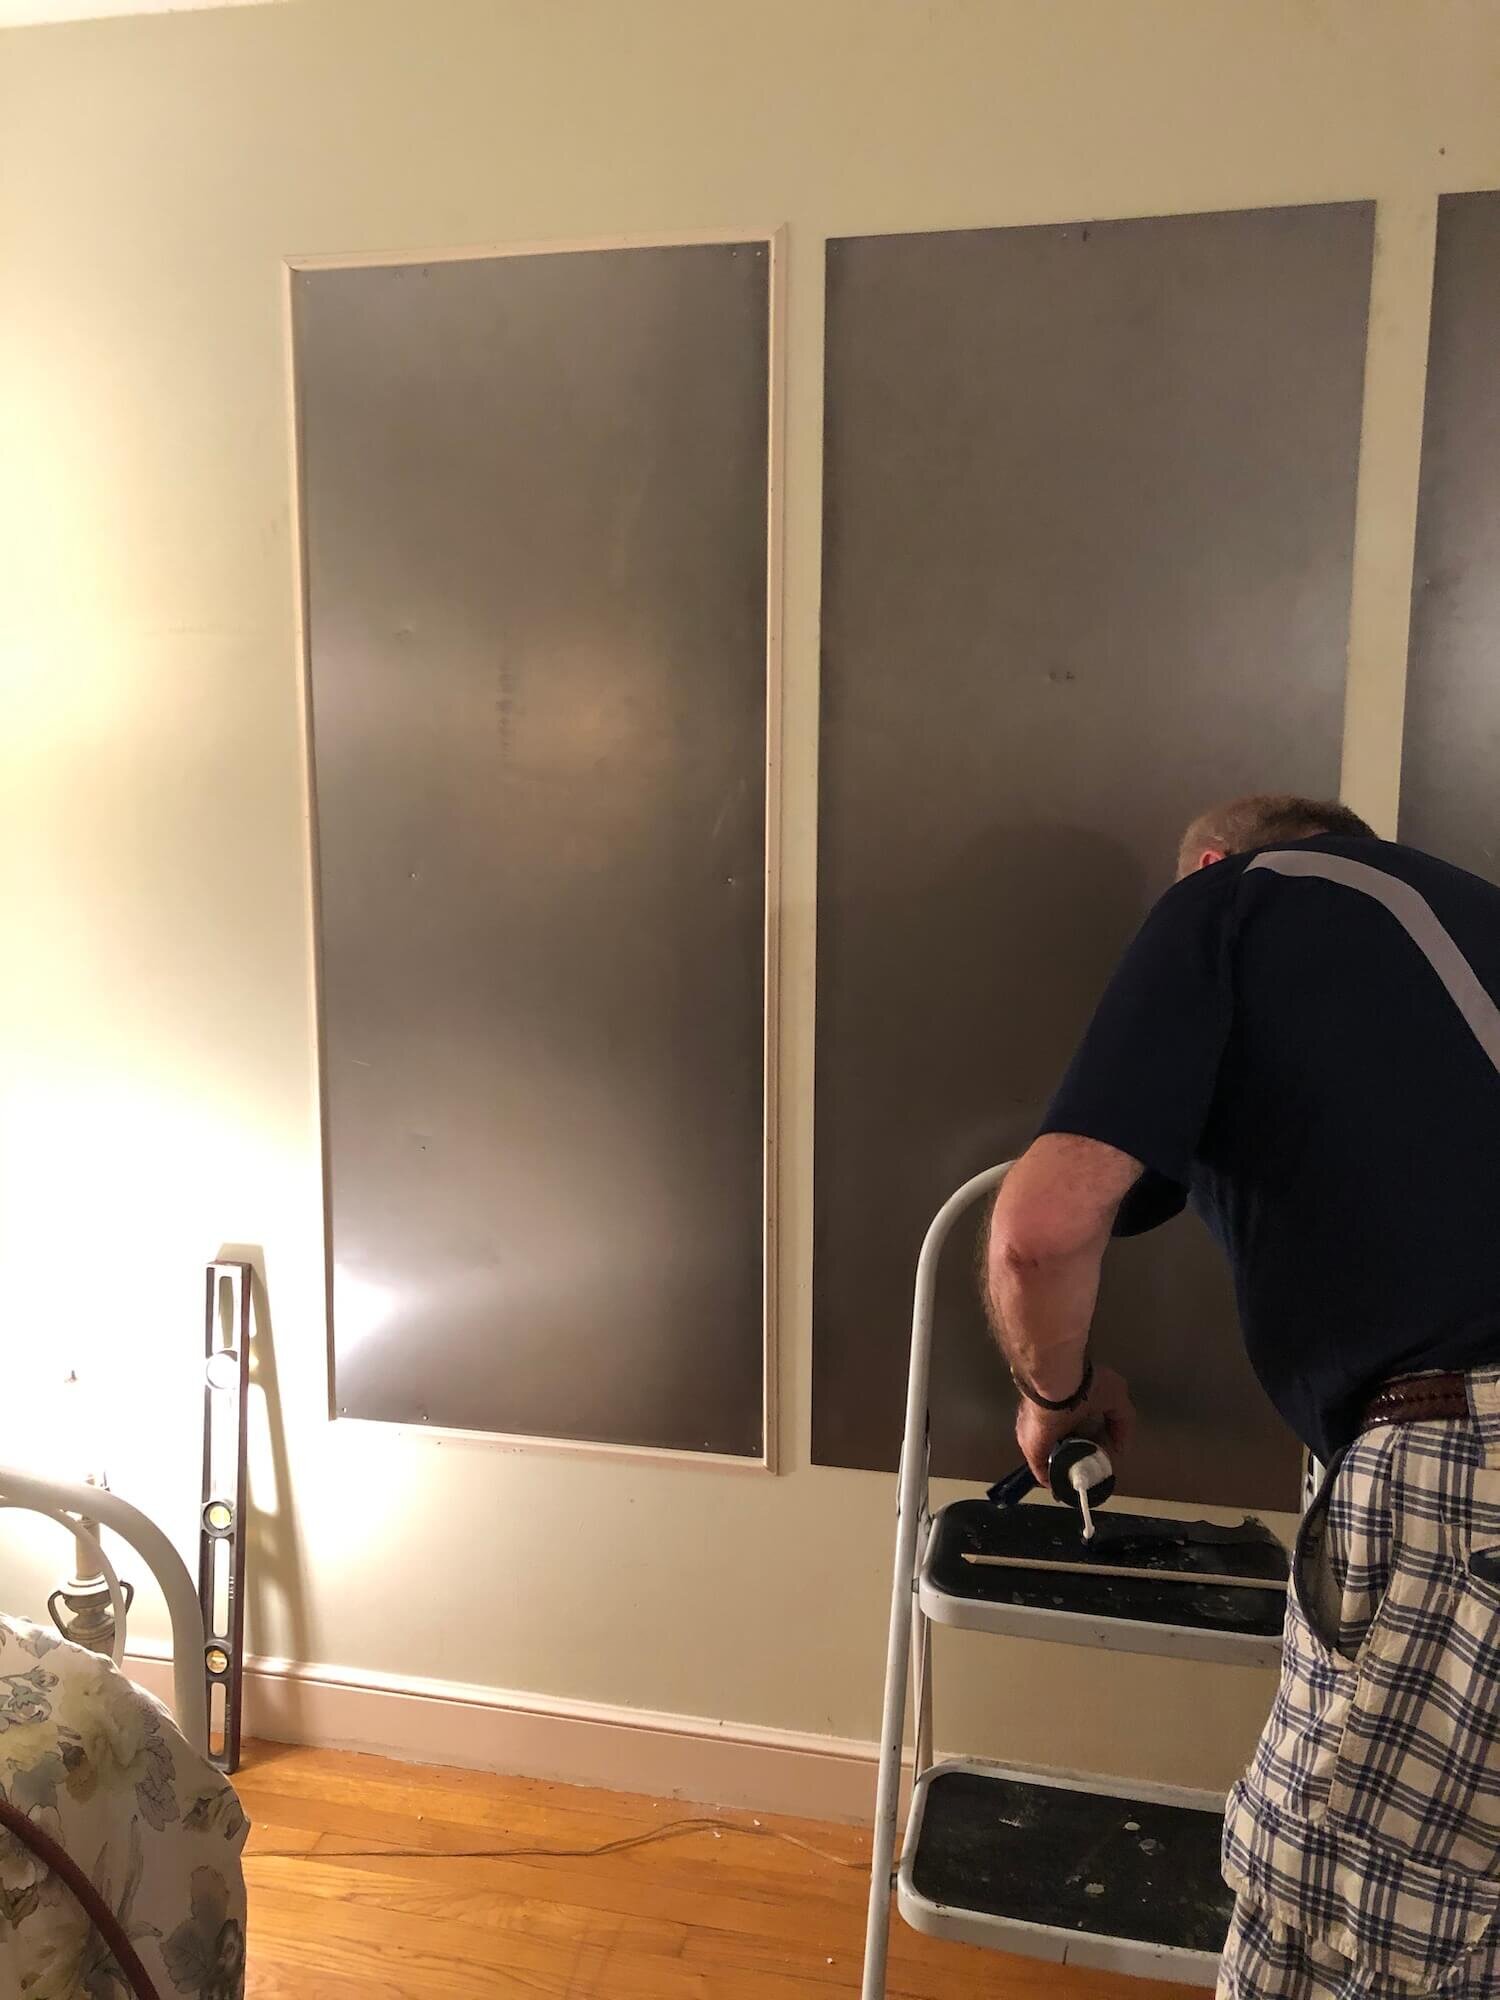
We created molding wall panels with this small molding stock from Home Depot - well, my brother-in-law mitered and installed them (along with the steel panels, which were heavy enough to need to be screwed into the studs). Prime and paint your molding stock before installation to make it easier on yourself. Then you will just need to fill the nail holes and touch up the paint. To really finish it properly and cover any gaps where the wall is not completely flat, you can caulk the outer edges with paintable caulk. Of course if you are covering a whole wall or the interior of a niche, none of this step is necessary.
Once your metal and any trim is in place, you can wallpaper the face of your panels. Wallpapering is a whole art form in and of itself, but following the instructions and using a really sharp blade to trim any excess are the keys to success. If you are covering your panels with fabric, installing the fabric onto the panels before the trim so you can hide the raw edges would be advantageous. Or if you are doing a wall-to-wall installation, leave the edges of the metal panels loose enough to tuck the fabric to the back, then nail the edges right through the fabric and metal to affix them firmly in place. You could try using decorative upholstery tacks or plan to cover the nails with narrow ribbon or gimp glued around the edges.
We ordered our rare earth button magnets online and they are 21 pound magnets. I think on a vertical surface that number goes down to something like 7 pounds of pull, but they are SUPER strong and really hard to pry off the panels with just your fingers although we can slide them around. We had planned to glue them to the hooks, but we ordered two different styles of these cast iron tree branch hooks and the magnets cling to them and hold them to the panels without need of any glue! We also ordered these simple black magnetic hooks as back up and they work wonderfully well to hold many things, though they are a little small for perching hats! They would be terrific for jewelry or kitchen utensils, or craft or office supplies.
There are so many applications for this concept. Magnetic clips could hold a changing gallery of children’s artwork or office papers or family mail or snack food bags. Magnets glues to small jar lids could hold kitchen spices, or workshop screws and nails, or craft supplies. Magnetic hooks could hold baskets for ANYTHING from papers and files to mittens and gloves. The uses for a decorative magnetic wall are limited only by your imagination!


