The beginning of the year always seems like a great time to organize. Putting away and organizing the holiday decor always sparks an organizing binge and an opportunity for a clean sweep, fresh start, whatever you want to call it!
Organizing is so cathartic…but where do you start with kitchen organization? The kitchen food situation is complex. Everything has different storage requirements and there are SO many different categories! And it all comes in different packaging.
Over the next few weeks we are doing our own kitchen food organization challenge to give the new year a fighting chance. This is the introduction to that and our start on the project . We’ll share what we’ve learned and ideas for making food storage easier, healthier, and better along the way.
Please note: this post includes affiliate links meaning I may make a small commission on any purchases at no extra cost to you. Links are the aqua highlighted words.
As a preview of coming attractions:
To keep ANY space organized we revert to what I call the Kindergarten method of organization. You know, when you walk into a Kindergarten classroom and there are distinct areas devoted to different activities and each area has storage containers labeled for what goes in them? Here are the takeaways:
Store stuff conveniently to where it is used.
Store like items together.
Label everything so ANYONE can find what they need easily and put anything away correctly.
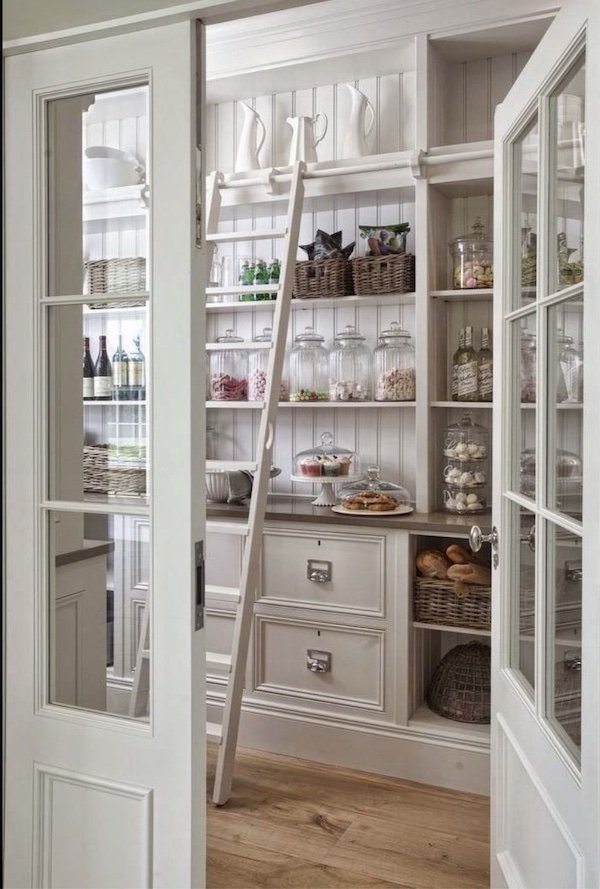
I love the classic details in this dreamy butlers pantry. Image via House Beautiful
There are 3 types of food storage in a kitchen
Freezer Storage
Refrigerated Storage
Pantry Storage
Freezer storage, at our house at least, is for
food purchased frozen (frozen vegetables, convenience foods like frozen appetizers or emergency pizza), and frozen treats like ice cream and its cousins.
extra items frozen for longer term storage like meat/poultry/fish, butter (for baking - I can’t sleep unless there are at least 2 lbs of extra butter in the freezer?!), and nuts
leftovers or premade meals or meal parts like pasta sauce, soups and stews, casseroles, baked goods, cookie dough balls ready for baking, cubed stale bread for homemade croutons or bread pudding or breadcrumbs, dead bananas for baking, leftover frosting
an unreasonable number of ice packs…some dating back to the Clinton administration.
Refrigerator Storage is obvious - any fresh produce, dairy, condiments, beverages, and proteins that need to be refrigerated.
Pantry storage for everything else! Dry goods, canned goods, cooking and baking staples that don’t require refrigeration, and snacks. I’ve written a great post about pantry organization before HERE
This particular kitchen storage organization project started in the most backhand manner with a trip to BJ’s to stock up on staple items for the auxiliary freezer. Arriving home I discovered the freezer was overflowing and needed to be cleaned out before I could put anything away.
I also discovered the sangria ice cube trays from last summer had capsized at some point dripping sticky goo all over everything in there. Note to self: Alcohol doesn’t actually freeze - do NOT try to make sangria ice cubes!
In any case purging the extra freezer allowed a purge of the kitchen freezer so that it can store things we need to use on a more regular basis vs long term - bringing the leftovers into the main freezer gives me hope we will use them before they start having birthdays.
In addition to a main and auxiliary freezer, we also have a main and auxiliary pantry space. I created the extra pantry/mudroom space years ago by stealing a few feet from the garage for a mudroom. Two walls of the 12’ x 5’ space are lined with shelves and the other two contain coat hooks and outerwear storage and our extra freezer. This space has been transformative in our not-so-big house.
Those shelves are where seldom used appliances go, and extra dishes, stemware, and serving pieces live along with all the extra cleaning supplies, paper goods, light bulbs and batteries, and recycling overflow…our recycling game is slooooow leaving the house.
The main pantry houses the stuff we eat, our baking supplies, random condiments and ingredients, and a few more appliances…
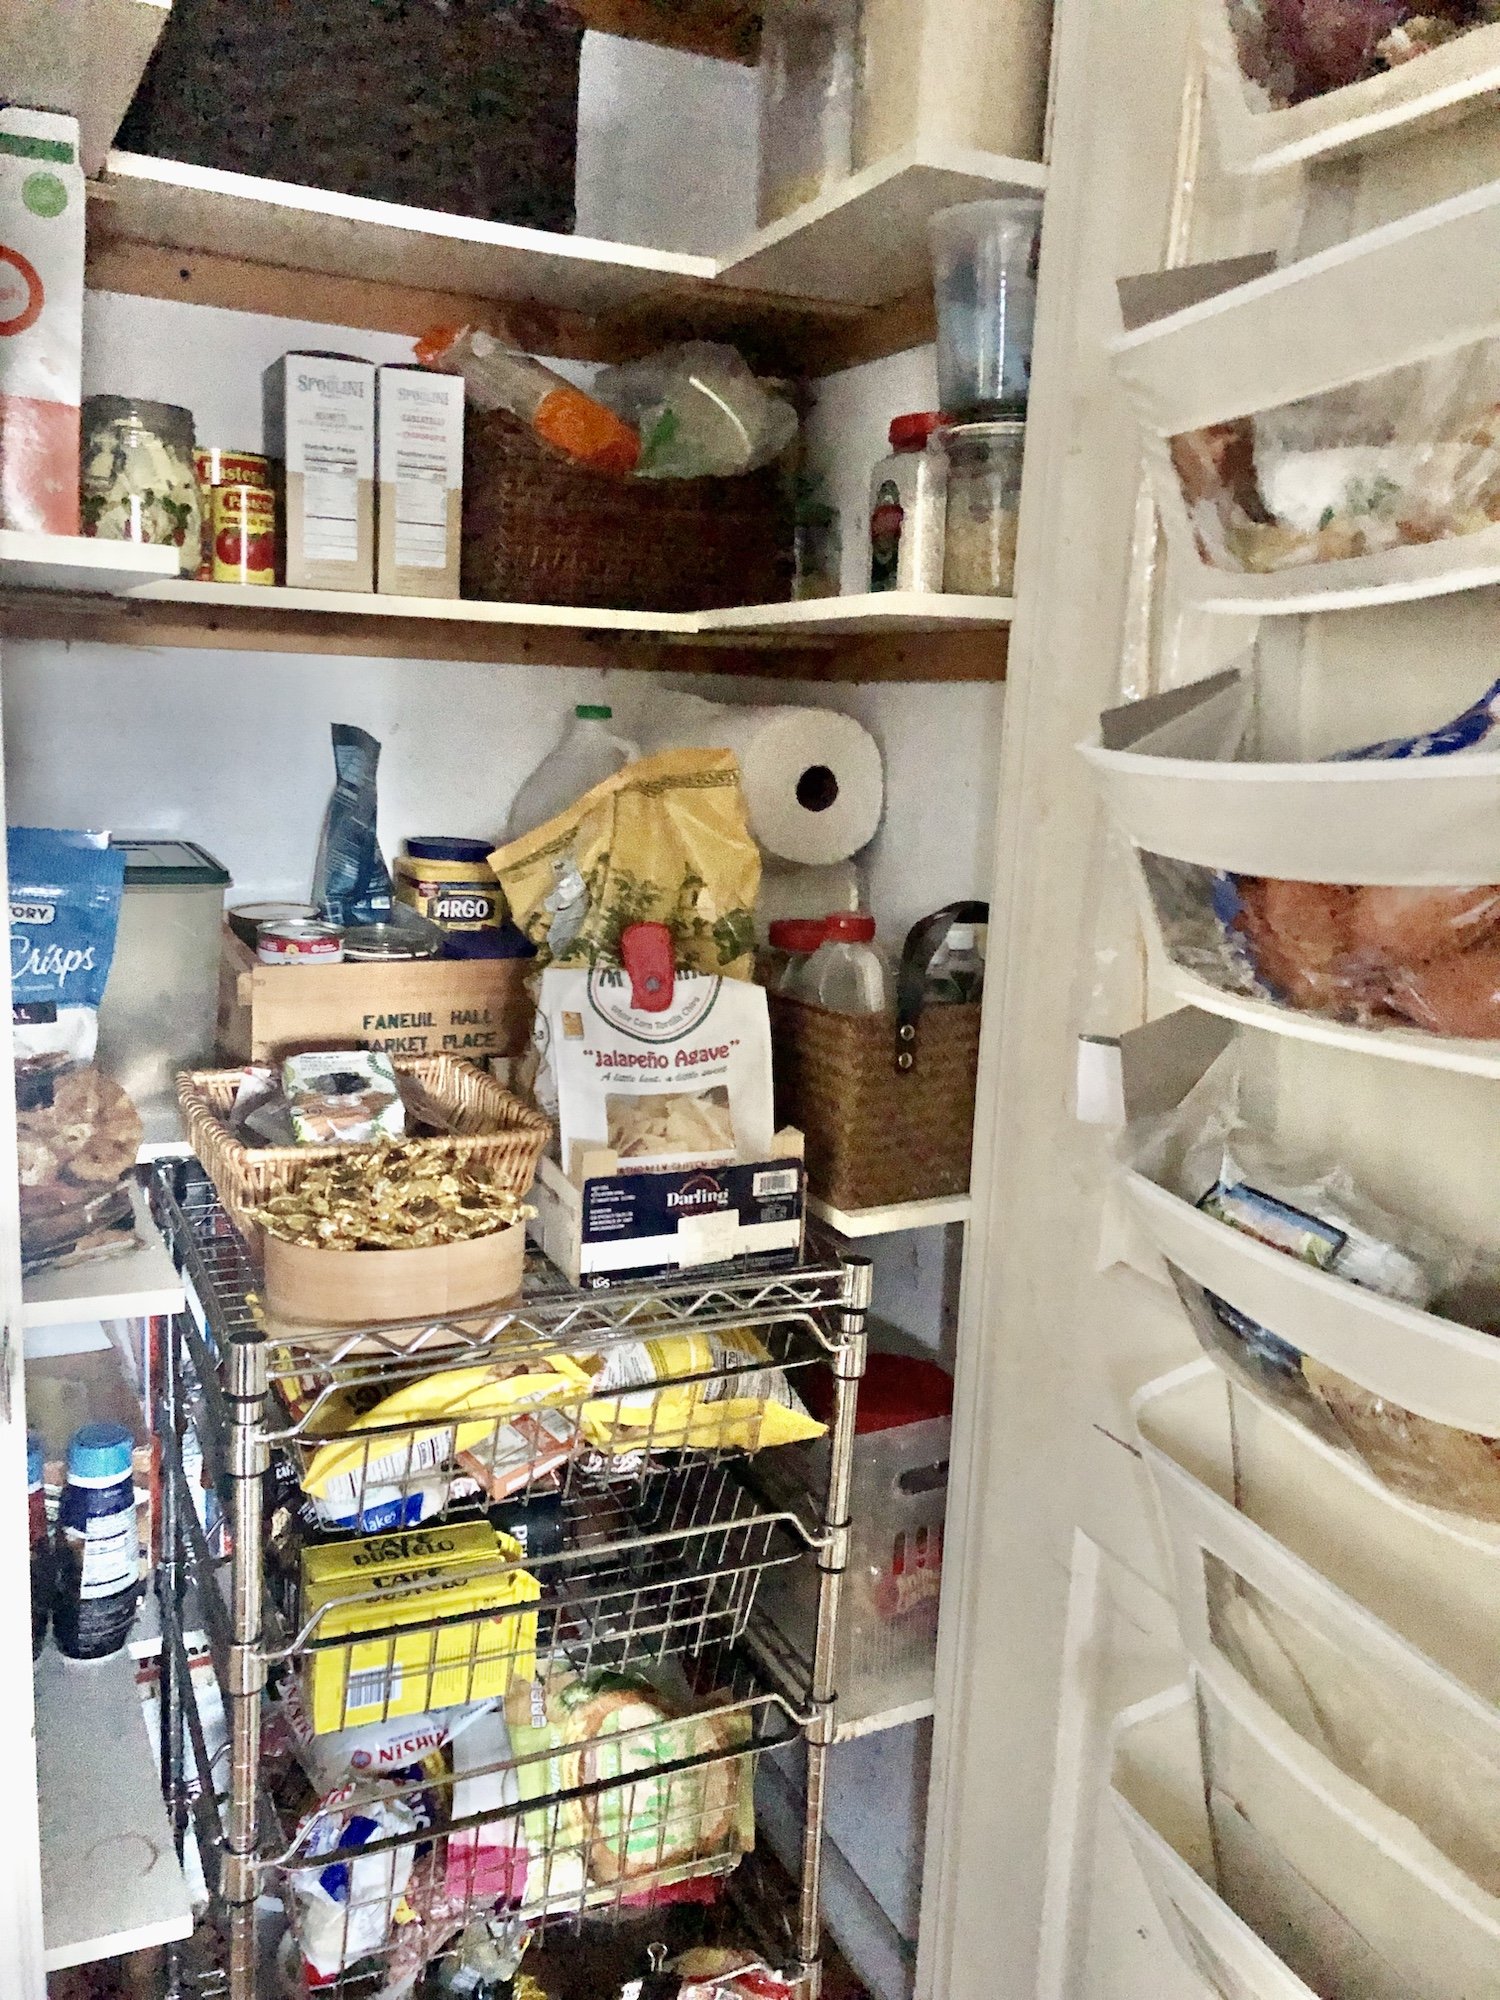
Our main pantry was once a coat closet and was transformed many years ago with the addition of shallow shelves on 3 walls and a wheeled wire cart with drawers that juuuuuust fits in the blank space in the center.
Clearly we feel food is more important than coats…just kidding - we have more convenient places for coats and outerwear now.
The bones of the main pantry closet are good. The contents have just gotten way out of hand. We are lazy creatures. And we tend to buy in bulk for things we think we are going to use a lot (ergo the 25 lb pandemic black bean purchase - hey…we are finally down to the last 2 pounds!).
I like to bake so I also stock up on flour and sugar whenever it is on sale, along with our favorite snacks and crackers and pastas.
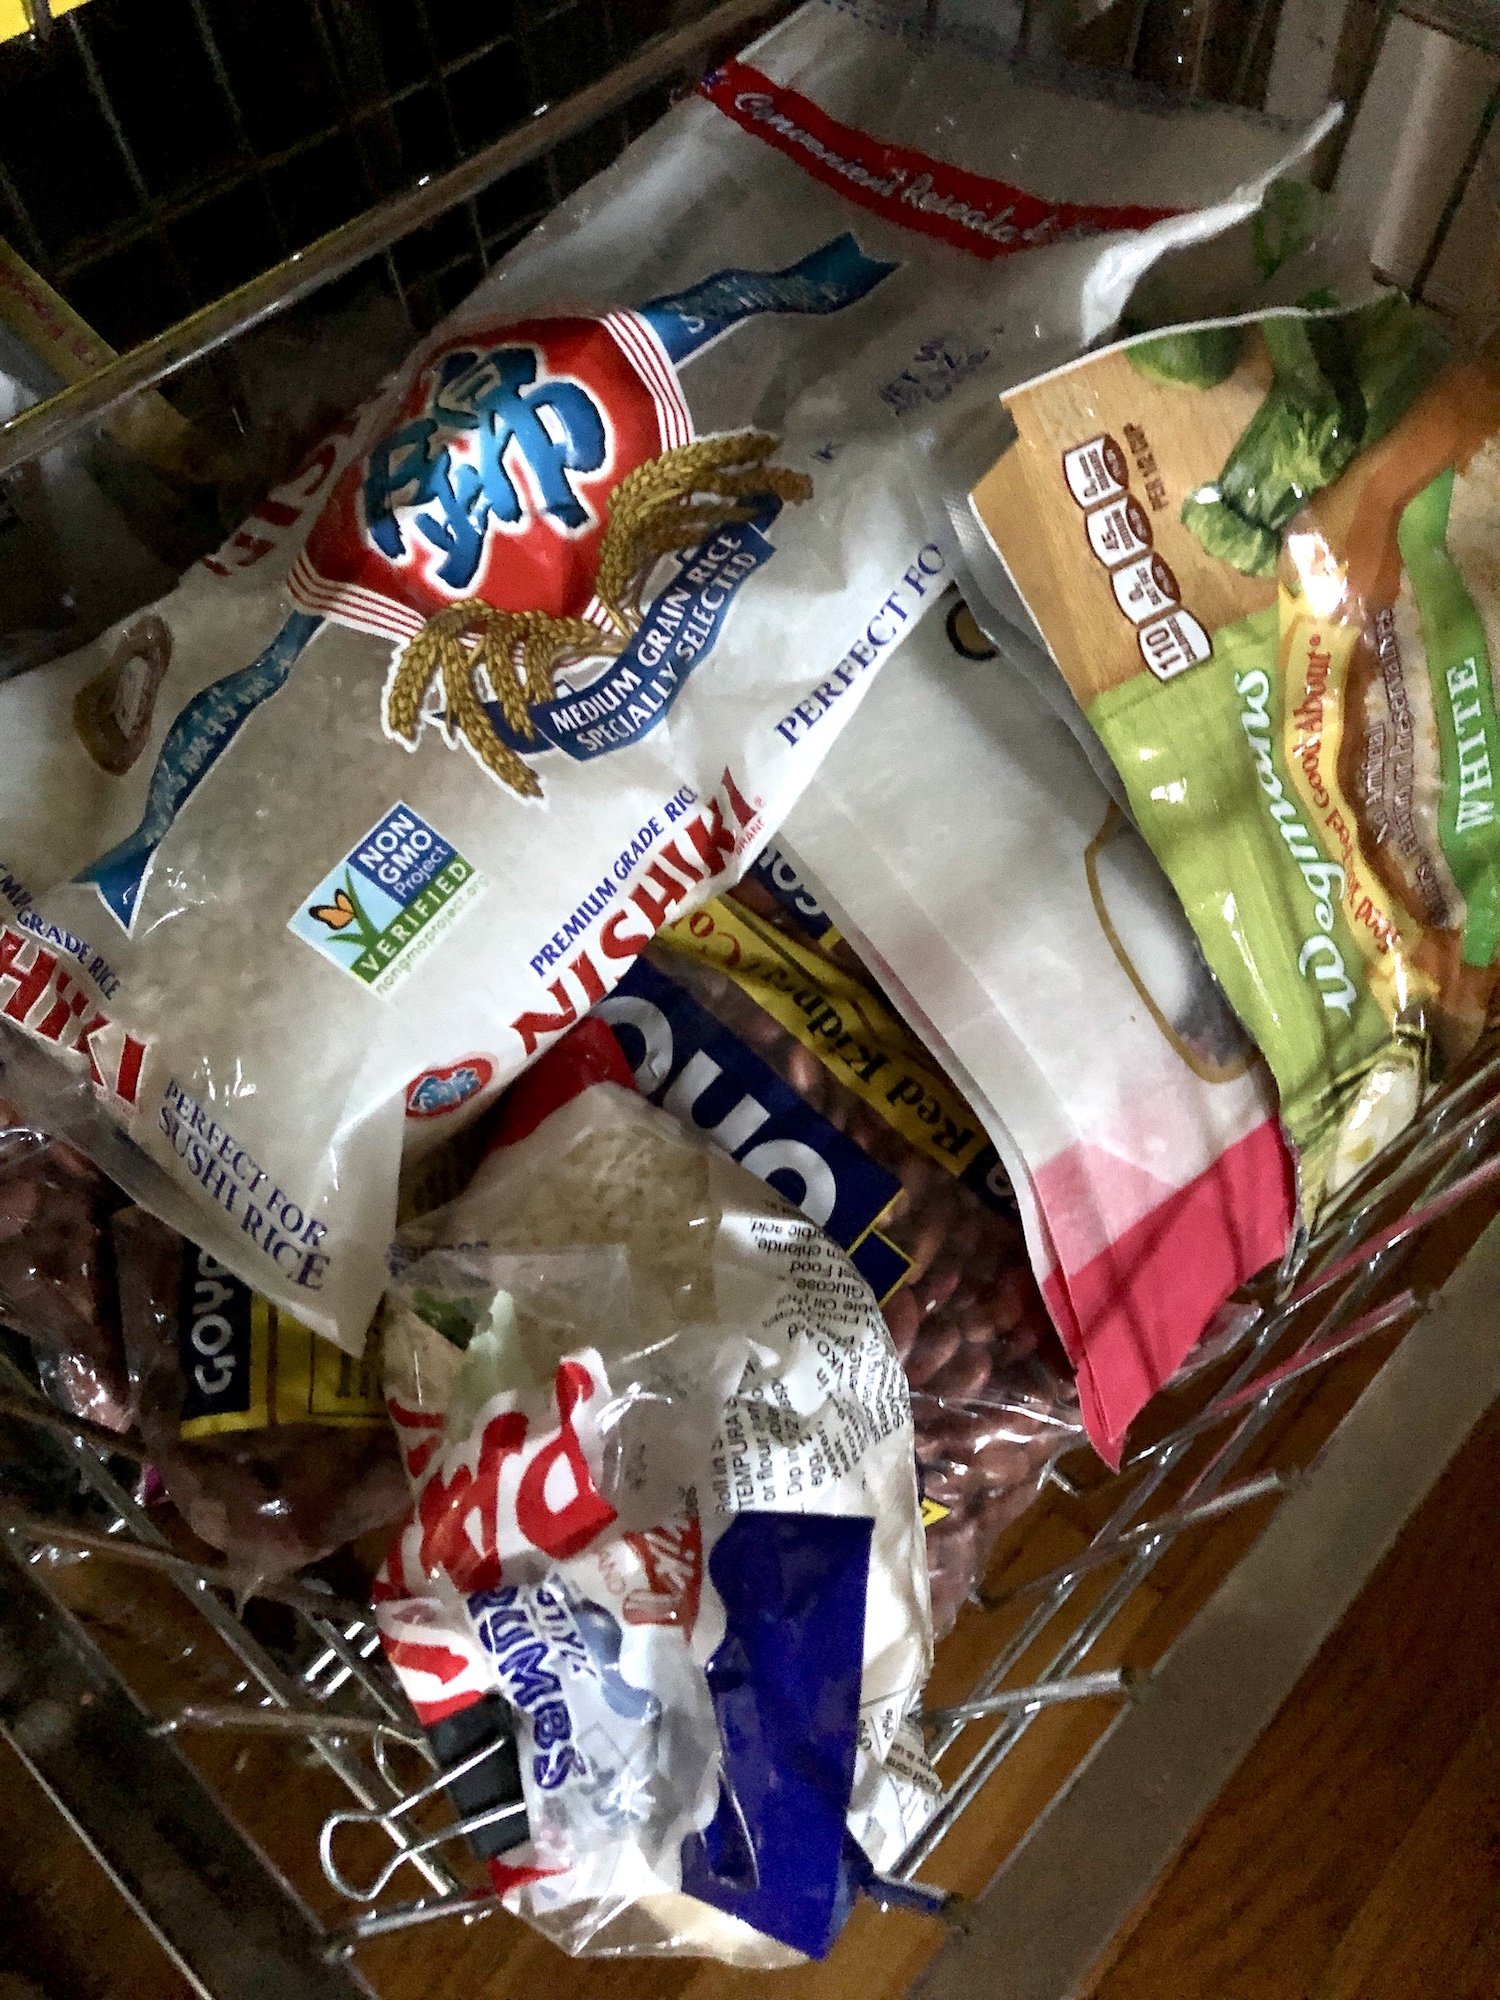
We had taken to just clipping bags shut and tossing them in precariously on top of the rolling cart. It was a hot mess in there. Multiple boxes and bags of the same things had been opened. Many things that had disappeared into the nether regions of the pantry had gotten stale or expired. And something in the vicinity of the onions was smelling a little funky…
I forgot to take pictures before I started on the latest purge, but you can use your imagination…here are the post purge, but pre-organization pictures that I DID remember to take.
The last time it was REALLY organized was when we had mice, and the time before that it was due to a meal moth infestation. I am very proud that THIS round of organization is NOT brought to you by something requiring an exterminator!
And the woodland creatures that frequent our back porch are enjoying the largesse of our recent purge.
Here are our some of our favorite
Tips to Maximize Efficient Pantry Storage
Use Shallow shelves (ours are 9” deep) so you have a fighting chance that nothing gets buried in a back corner to whimper into obscurity and expire unnoticed.
Use Wheeled carts or bins to take advantage of floor space. Wheels make these are easy to move if they are in the way of what you need, or, you know, want to clean the floor!
Store the most often used items between waist and eye level. This is the prime real estate because it is easiest to access.
Store lighter weight items on the highest shelves…safety first!!
Take advantage of the back of the door. It’s cute to have a frosted glass or decorative door on the pantry - and if you don’t need any more space because either you don’t store much or your space is huge, that’s awesome. But if you need to take advantage of every inch, the back of the door is space not to be wasted!
Use containers sized to your shelves - not just because it looks so much nicer, but because it stores things more securely and takes up less space than an odd assortment of package sizes and shapes.
How adorable is this sunny yellow pantry with scallop trimmed shelves by Martha Ohara? Image via This Old House #pantrygoals
Purchasing Habits for perishable and staple items
If you buy in bulk, and boy do I wish everything was available that way - bring your containers to any places that allow that. I dream of the day I can go down the street to a local dry goods store with my containers and zero them out to refill!
If you are just buying Costco-sized quantities, offload dry goods to containers in the prime pantry locations and store the extra remainder of the bag in sealed bins in the less convenient storage places (top shelves, auxiliary pantry/mudroom) to use to refill when you run low.
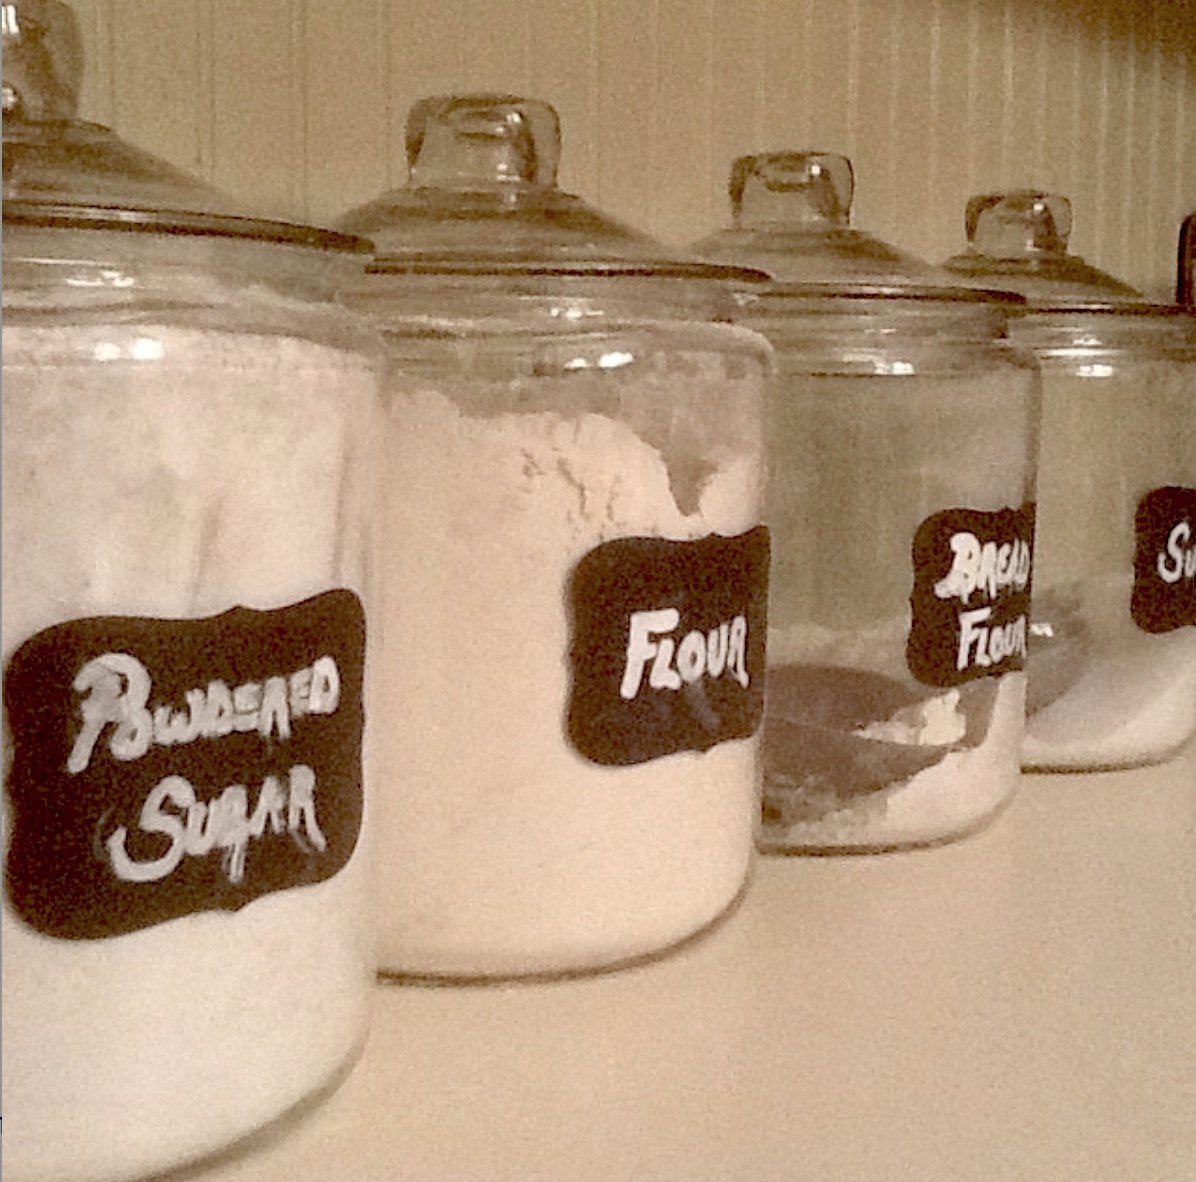
Trying to lug around a 10 or 20 pound bag of flour every time you want to bake something is a wholly unnecessary workout and takes up WAY too much prime real estate for just one item, so offloading is the best solution. I bake often enough that I store my flour, sugar, bread flour, and powdered sugar in 1 gallon glass jars right on my counter and refill from our auxiliary storage.
Some things are fine purchased in quantity - paper goods, baking staples, chocolate…you can never have too much chocolate (or TP?!) on hand!
Some things don’t age particularly well…oil or things that contain oil like crackers and nuts turn rancid when they get old. I store nuts in the freezer for exactly this reason, but even in the freezer, there are limits. I just unearthed some almonds from 2002 😳that no longer, erm….sparked joy.
Taking Inventory
We have a list of the essential pantry staples (linked here) we like to keep on hand that make weeknight gourmet meals quick and easy to produce.
We typically stock 3 types of cereal, 3 types of crackers (I have been know to have a small crisis when we are out of pretzel thins…), oatmeal, and several types of rice and dried beans and legumes, some of which we use in vast quantities so will require larger storage containers, and some less so we can use smaller ones.
There are dried fruits - diced apricots, raisins, craisins, diced candied ginger, and dates, along with assorted pastas, more baking ingredients like brown sugar and chocolate chips…and dozens of other canned goods, ingredients, and condiments to consider.
I ALWAYS have to have Irish breakfast tea (or some robust black tea equivalent) in a canister on the counter as I drink upwards of two pots of it on any given day, and it is correctly consumed with milk 😏 so we always have to have that in the house. I store extra tea so I hopefully never run out…and a crisis ensues if I have to make emergency tea or milk purchases. I hate tea emergencies!
And then there are the spices. Oh the spices we have known…my daughter likes to delve into recipes for various cuisines from around the world and we have spices I have never heard of that we need to store.
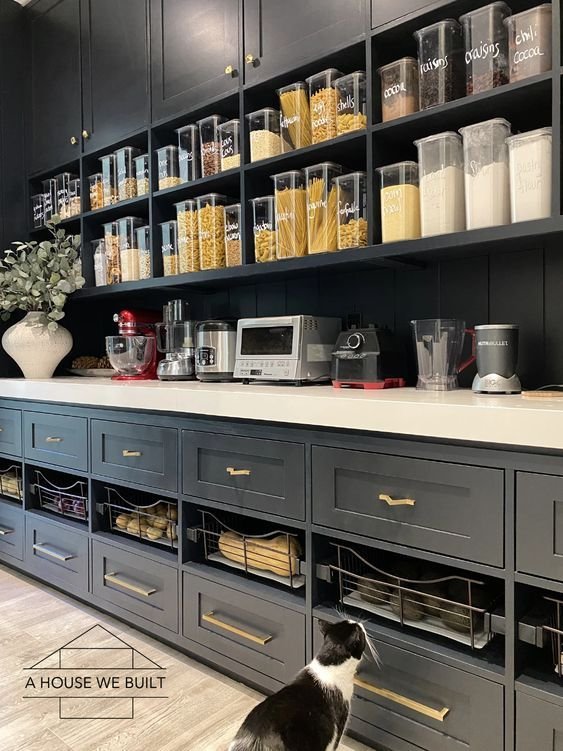
This pantry from A House We Built is so pretty in dramatic black. I love the hand written container labels and the pull out baskets below, and the curious feline too. Oh to have this much pantry space! Their website list the links for everything they used here.
Container Choices
For bulk items, square or rectangular shaped containers are a more efficient use of shelf space. Round containers need a larger footprint for the same volume.
Clear containers make it easy to see at a glance how much of anything is left and what might need refilling. Pro tip: For items like rice or pancake mix, cut out the cooking instructions and tape them to the back side of the container to make life easier.
For individual bags or packets, baskets or bins can corral like items.
For cans, jars, and bottles, can racks, tiered shelves, or lazy susan turntables might be a good solution. The object is to be able to see and get to everything with a minimum of rummaging.
And we’ll need some storage for potatoes, onions and garlic that includes air circulation and easy access.
Our spices and our tea live in whole different cabinets and I’ll show you what we’ve done to store those in the coming weeks.
So far, we’ve accomplished the great 2022 pantry purge and relocated the extra backstock of everything to these airtight bins on the mudroom/pantry shelves.
I’m currently measuring the shelf spacing, taking inventory, and making a list of the sizes and number of containers we need.
Next week, we’ll be organizing and labeling in the pantry…I just ordered some containers - we’ll see how they work and report back on our kitchen food storage progress!
Once the pantry is pristine - okay, pristine might be a stretch - we’ll tackle the refrigerator and freezer situation.

