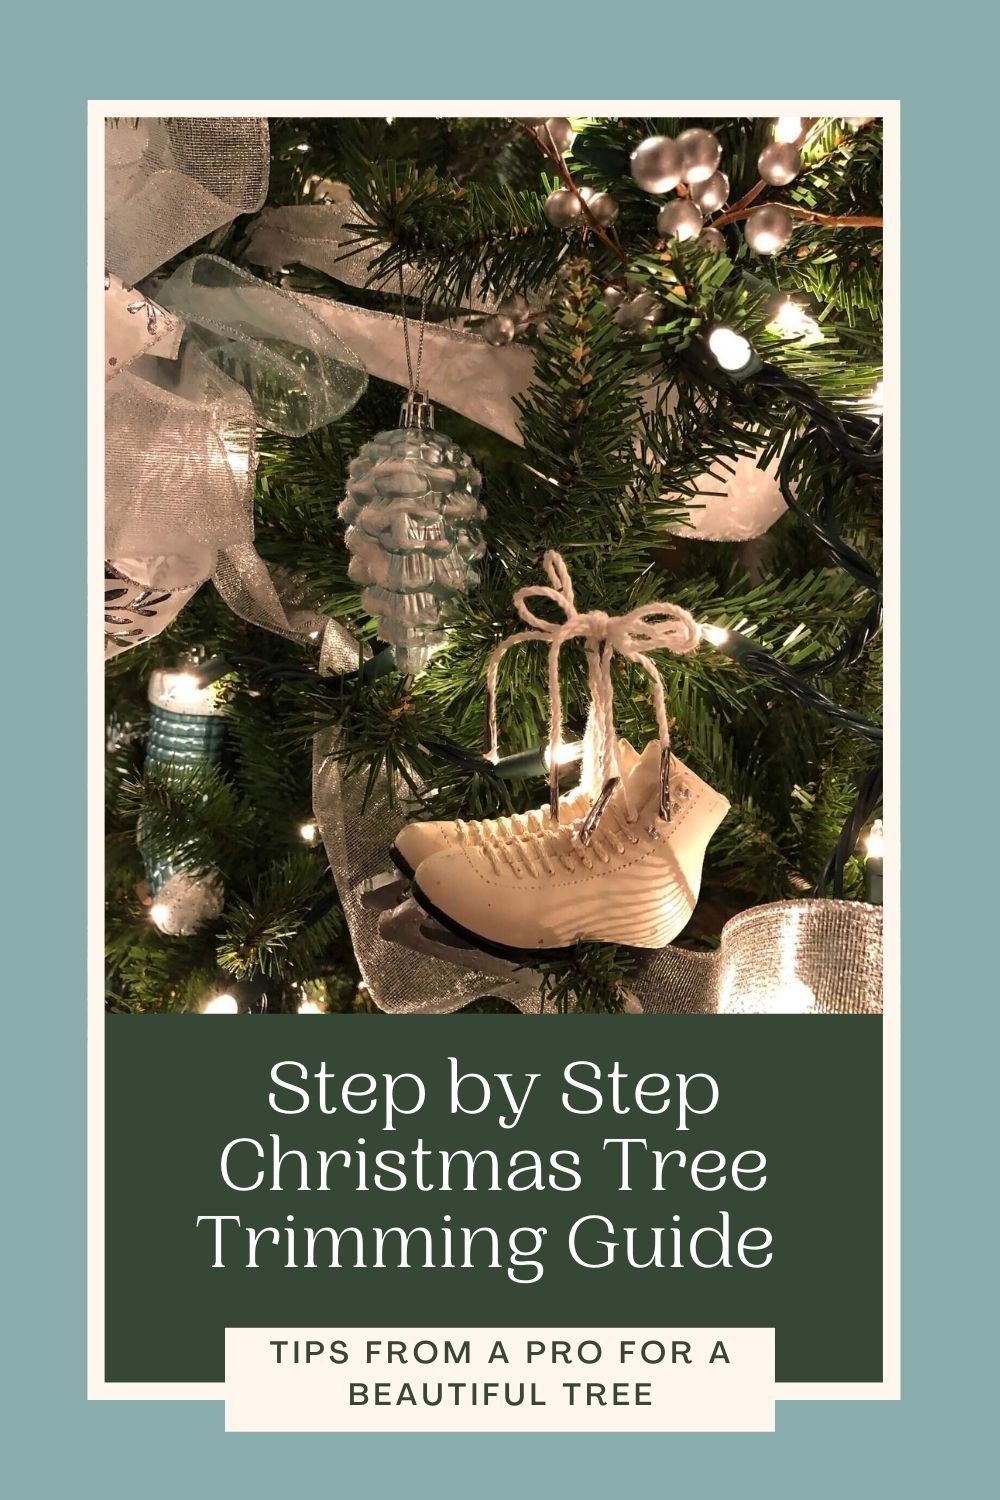
It’s THAT time of year…time to put up a Christmas tree! Everyone has different ideas of what makes for a perfect Christmas tree.
We are just about to start on our tree decorating here…breaking out the traditional (for us!) spiked beverages and Manheim Steamroller Christmas music, and I figured you may be on a similar schedule, so I’ve updated this post again to add some more specifics for getting the perfectly decorated tree!
Choices, choices
The debates rage on…colored lights or white? Sentimental or themed ornaments? Even the topper is a controversial subject…star or angel or bow or something more whimsical?
Some people don’t feel it is Christmas unless the tree is fresh and the house smells of evergreen (and the vacuum cleaner is full of pine needles).
Some people prefer the flexibility and ease of faux. There is beauty in each of these options if they are well done and not just haphazard!
I love the smell of fresh greens and so always include some in the decor around the house, but I love the ease and flexibility of decorating a perfectly shaped faux tree. Also, no watering, and no pine needles to constantly vacuum!
I am in the camp of “more is better” when it comes to Christmas decorating…given the time and wherewithal, I would have a different themed tree in every room (and I have had years in the past where my petite house had 7 decorated trees! Admittedly only 4 were full size trees…I am currently down to 2…
Please note: this post contains affiliate links meaning I may make a small commission on any purchases at no extra cost to you.
Here are some of the cardinal “rules” we follow for a beautiful tree that mixes what I feel is the perfect combination: a bit of sentimental with a bit of “decorator” finish.
You can adapt the decor however works for you and your family, but getting the base right will make for a more beautiful version of your perfect tree!
Choosing a Tree
When choosing a faux tree, keep in mind that the more tips it has, the fuller and more realistic it will look (and the pricier it will be).
I don’t trust the lights on prelit trees to hold up more than a couple of years, so if you are buying a really nice quality tree, I‘d opt for unlit and add whatever kind of lights you prefer.
Since so many of the lights on our very nice prelit tree died, my kids did me the enormous favor of cutting them all off (no small task!) so we could rehabilitate the tree last year with adding our own lights and not have to intermittently swear at it, pray over it, and jiggle it to try to get a quorum of lights on every evening?!
King of Christmas offers a range of beautiful trees in various sizes and degrees of fullness (7.5’ w/ from 2700 – 5000 branch tips) and various light options as well as unlit. I have a new prelit flocked tree from them that I am about to unbox…stay tuned! And Amazon offers some less expensive Dunhill lit and unlit trees.
My kids cutting the dead lights off our prelit Christmas tree in a prior year.
Decorating the bedroom tree
Prepping the Tree
Fluffing the Tree
For faux Christmas trees, (and wreaths, and garland), fluff the greens before decorating – wear cotton or silky gloves to save yourself from getting all scratched up…one clients faux tree came with fluffing gloves LOL – our team thought this was the best thing ever! But cheap white cotton gloves work just fine.
Fluff from the bottom up, working around the tree and fluffing and shaping each branch from trunk to tip.
PRO TIP: adding each tree section only as the previous one is fluffed makes it much easier to see what you are doing.
Shape the branches out and up in a way that a tree would naturally grow.
Adding Lights
Next, if the tree is not prelit, add lights – 100 lights per foot of tree height is a good rule of thumb – if you want the lights all the way to the inside and you are in the camp of “more is better”, you will need 200 lights per foot. Check the manufacturers info to see how many strands can be connected end to end (usually for 100 light strands it is about 5).
Install the lights by zig-zagging back and forth in sections starting at the top and working downward with the lights plugged in so you can see how evenly they are distributed. For an 8’ tree that is getting 800 lights, 4 sections with 200 lights per section works well.
I personally am a white lights devotee and I am not a fan of most LED lights. I find the standard white (blueish) ones are just horribly ghoulish and depressing giving off more of a Tales From the Crypt vibe than a Christmas Cheer one?!
And the “warm” ones, while getting better all the time, used to be either slightly orange or an eerie yellow and don’t hold a candle (no pun intended!) to incandescent white lights – those are (or at least were) the best approximation of candlelight, which is the idea. But that’s just my bias. You do you!
I’m trying out a new tree this year gifted to me from King of Christmas and it is flocked (for a change of pace!) and prelit with warm LED lights so I’ll see exactly how far those lights have come…
The Sitting Room Tree at The Inn at English Meadows in Kennebunkport, ME; Christmas installation by JRL Interiors
Let the Tree Decorating Begin!
Coordinate the look and colors on the tree with the décor in the room whenever possible for an elegant, cohesive feel.
A base of white, silver and gold will mix with almost ANY décor scheme. But blues, pastels, jewel tones, or brights might work beautifully depending on your room.
This does NOT mean you can’t use all your favorite sentimental ornaments…read on!
The Essential Decor
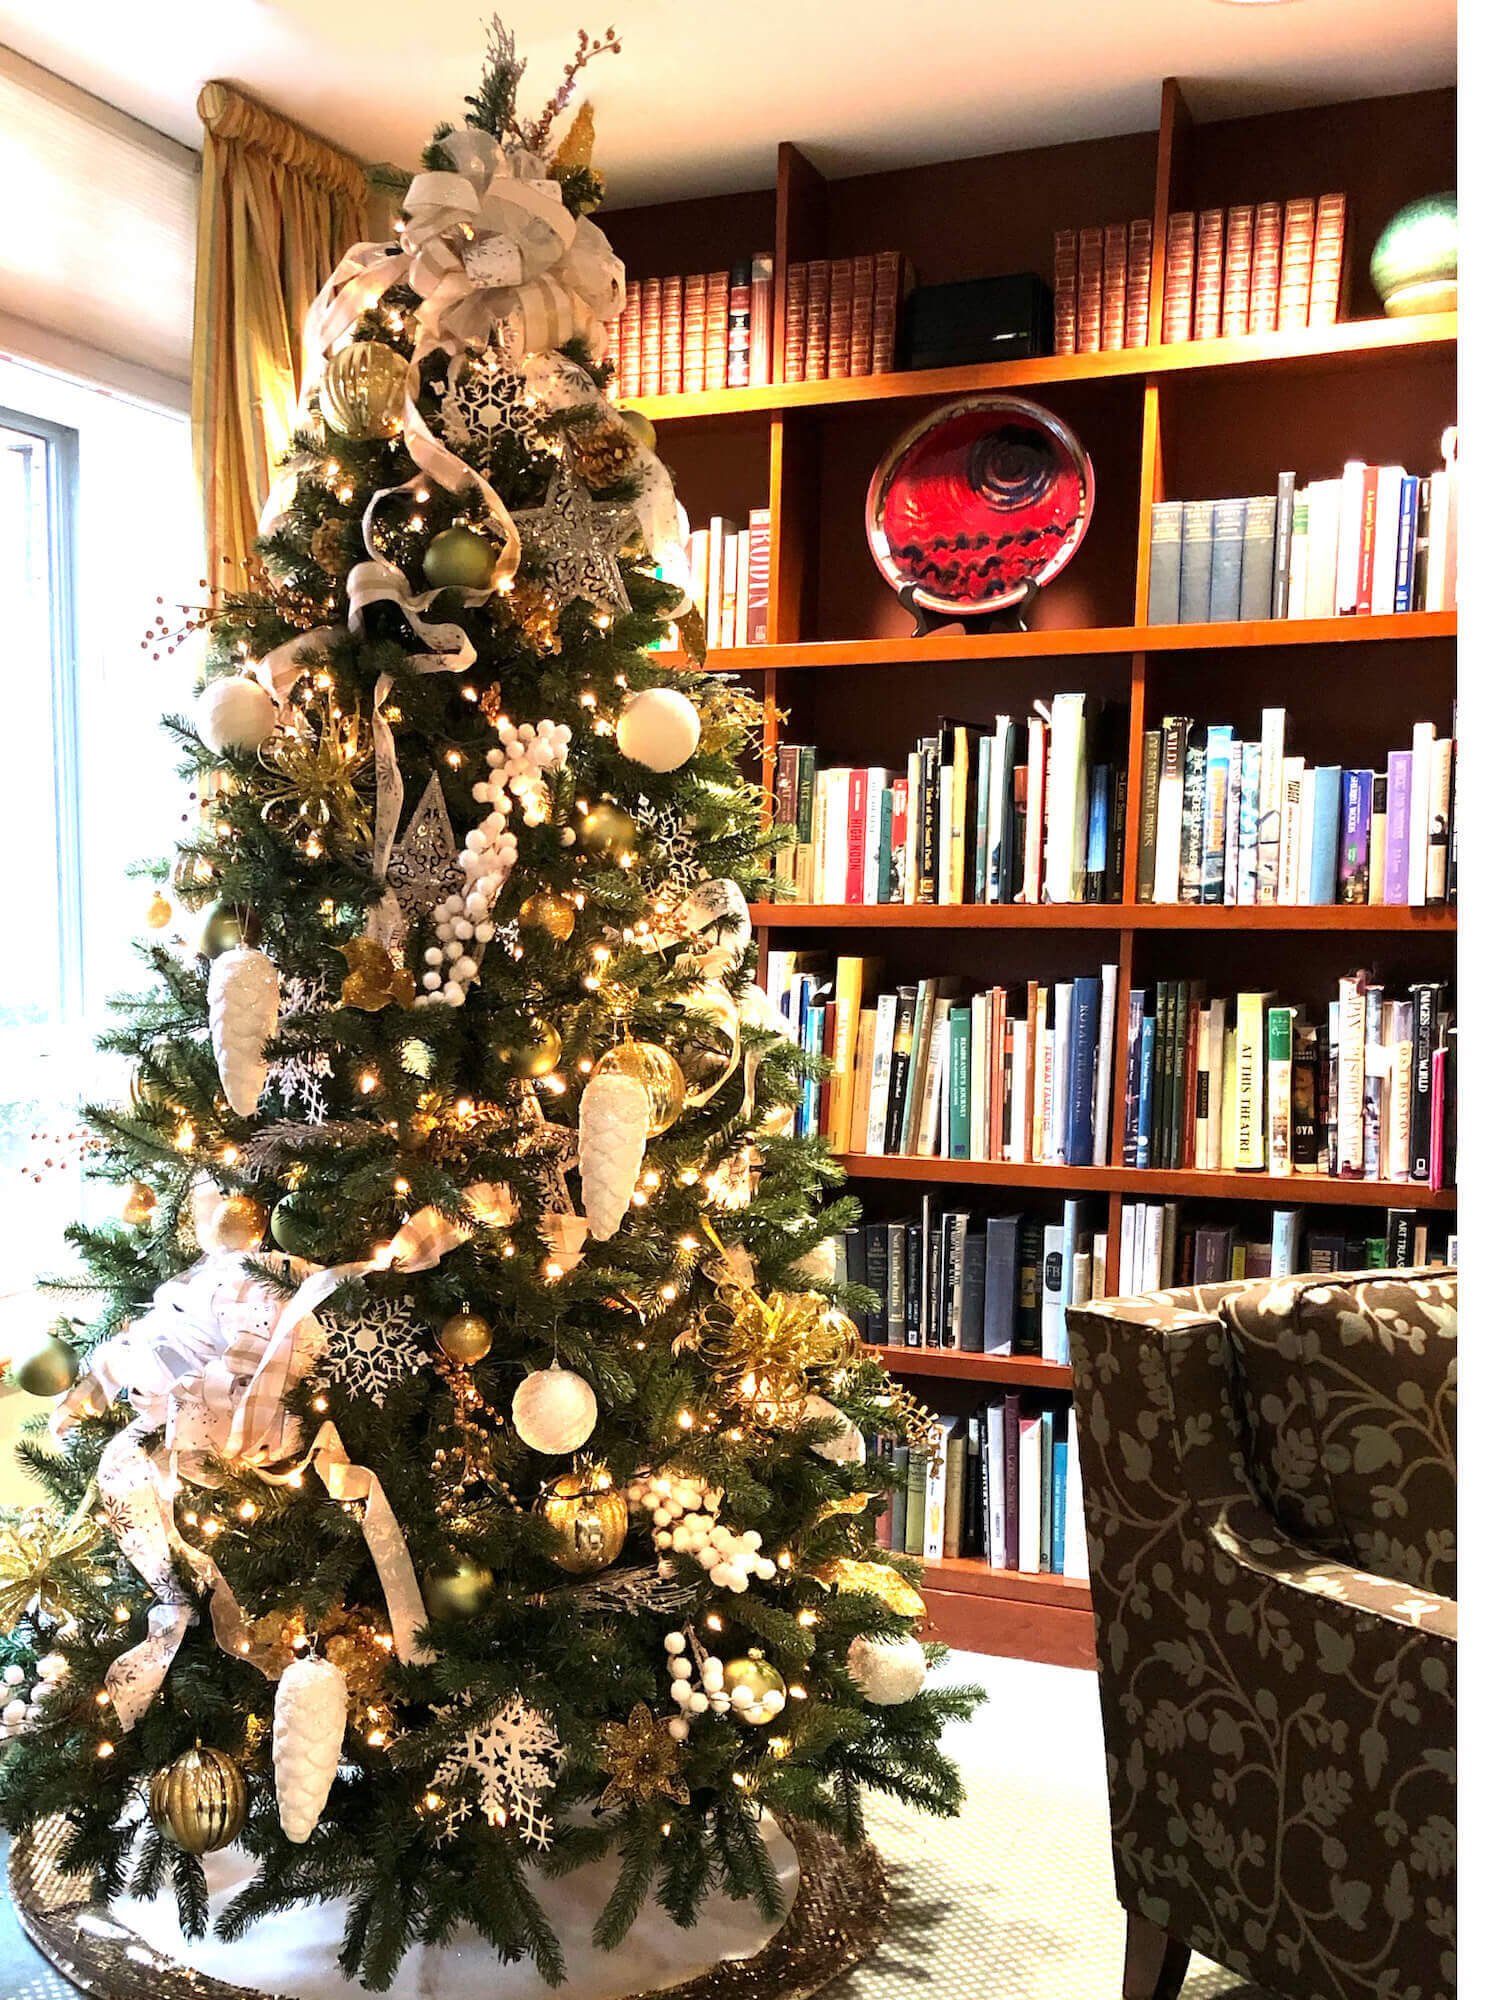
The Library Tree at a commercial installation by JRL Interiors featuring gold, silver, white and sage decorations
Tree Topper Options
Decide on the topper (if you are even using one…it’s NOT a requirement!) and work from there. Will your tree have a star? angel? bows? feathers? sprigs and twigs? a hat? a weathervane? none of the above?
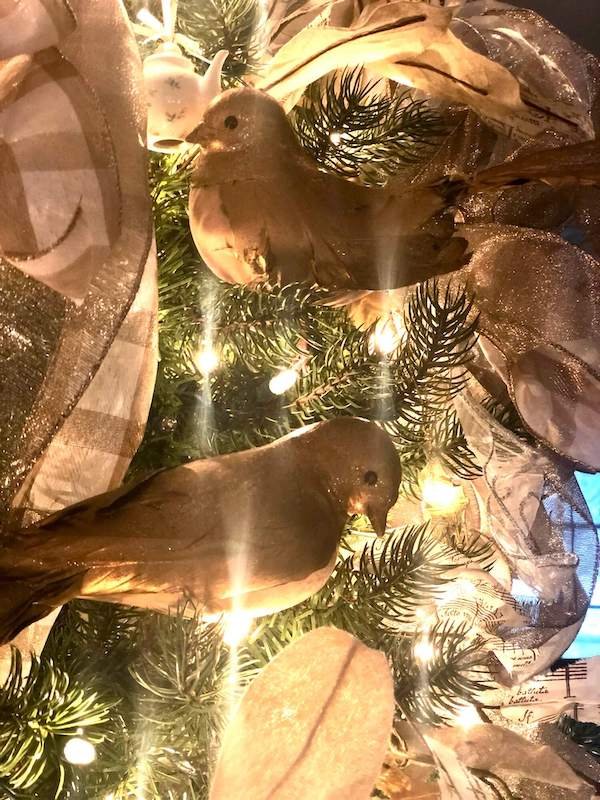
My son insists that anything non traditional looks weird, so for the first time in his 26 years, I’ve conceded to a star topper on our living room Christmas tree, but in years past it has sported a bow with cascading ribbons, and last year sprigs and twigs and a pair of gilded birds (we named them Holly and Ivy and they have been on our tree somewhere every year for the last 20 years!).
The All-Important Ribbon
The next step will be to add the ribbon, which I prefer in lieu of garland for a more dramatic statement.
USE WIRED RIBBON - it is infinitely arrangeable. Unwired will not stay where you put it and just ends up looking droopy and sad.
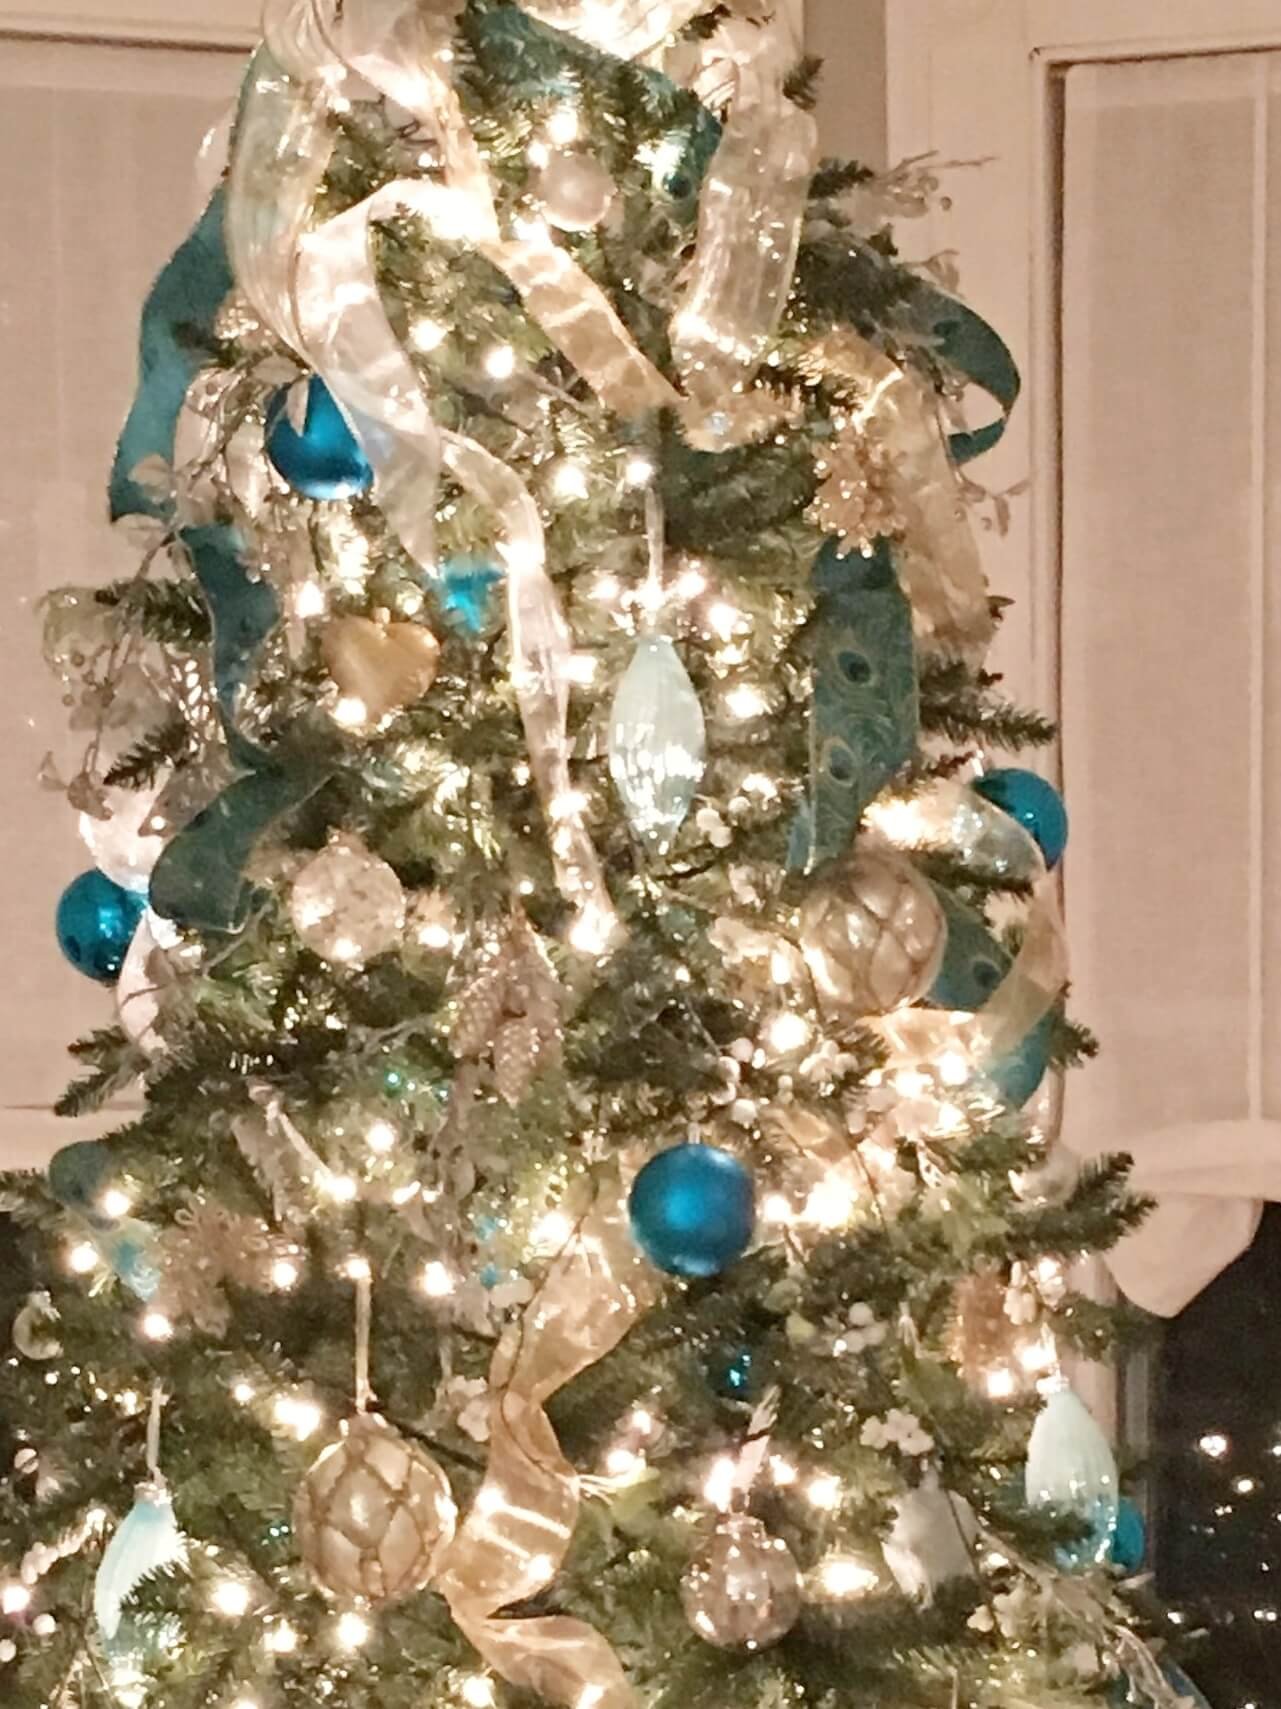
Use at least three different patterns of ribbon. I like to include a mix of solids and patterns, opaque and sheer, and different textures for the best result. A little metallic sparkle in at least one of the ribbons helps bounce light around.
You will need 25 yds of each ribbon type to create a lush display on an 8’ tree.
Use wired ribbon that is at least 2” wide (and up to 4”) for a standard 7’ to 8’ high tree. Use even wider for taller trees - scale is critical! At least two of the three need to be 2”+ width, the third can be a little narrower (1” to 1-1/2”).
PRO TIP: the wholesale clubs like BJ’s and Costco have AMAZING prices on wired ribbon…I stock up every year and have amassed an embarrassing amount. At these prices, you can change it out year to year if you like, but investing in beautiful ribbon is always reasonable as it is reusable and wired bows are always re-fluffable.
If you use a large bow at the top, trailing streamers of the different ribbons that make up the bow can cascade down the tree in sweeping zig zag patterns tucked into the branches periodically.
The option I am currently using is an odd number (3 or 5 for a 7 to 8 foot tree) of wreath sized bows (~ 8”-10” in diameter) placed at zigzag intervals starting near the top of the tree with trailing streamers of ribbons arranged to loosely connect them in a pattern similar to the one described for the bow topper. THIS post has a how to video for crafting the perfect bow!
The Secret Ingredient
After whatever garland or ribbon you choose is added, add sprays of berries, branches, or leaves – gilded, silver, white, bright, or snow-crusted/flocked, or glittered all show well against the green of the branches.
Tuck the stem end into the tree and bend the spray branches so they are in the sort of organic shapes that would occur in nature.
Don’t skip this! The variety of texture that this and the ribbons add to the tree is what makes it interesting and dynamic!
This tree has gilded sprigs and berries, and white and ivory leaf branches printed with music tucked in for contrast
The Ornaments
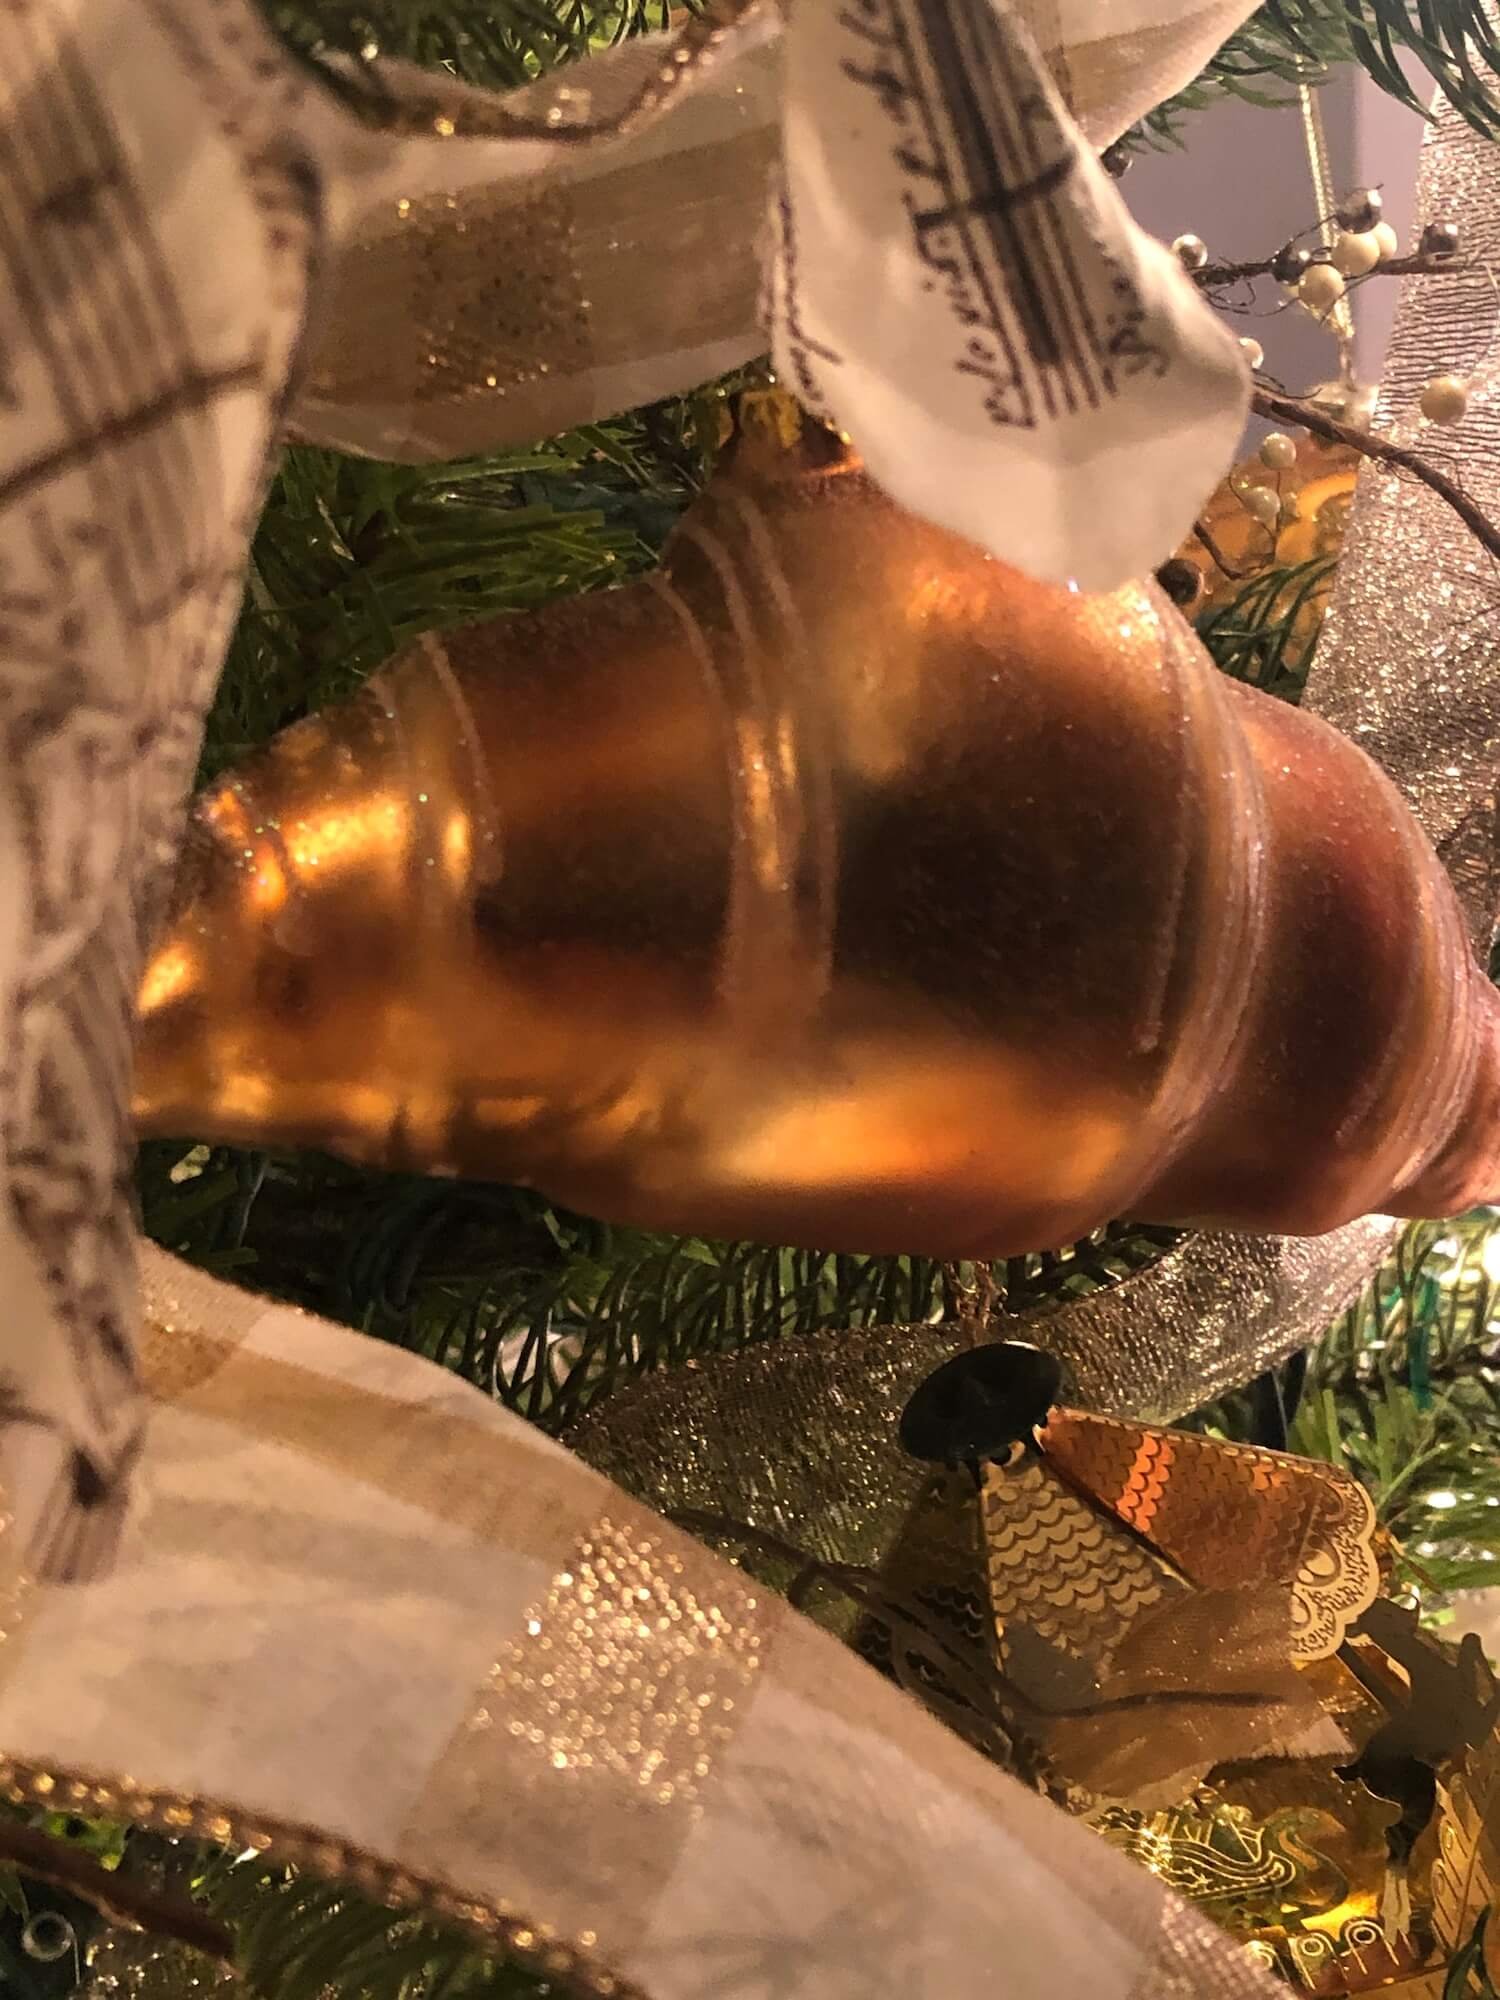
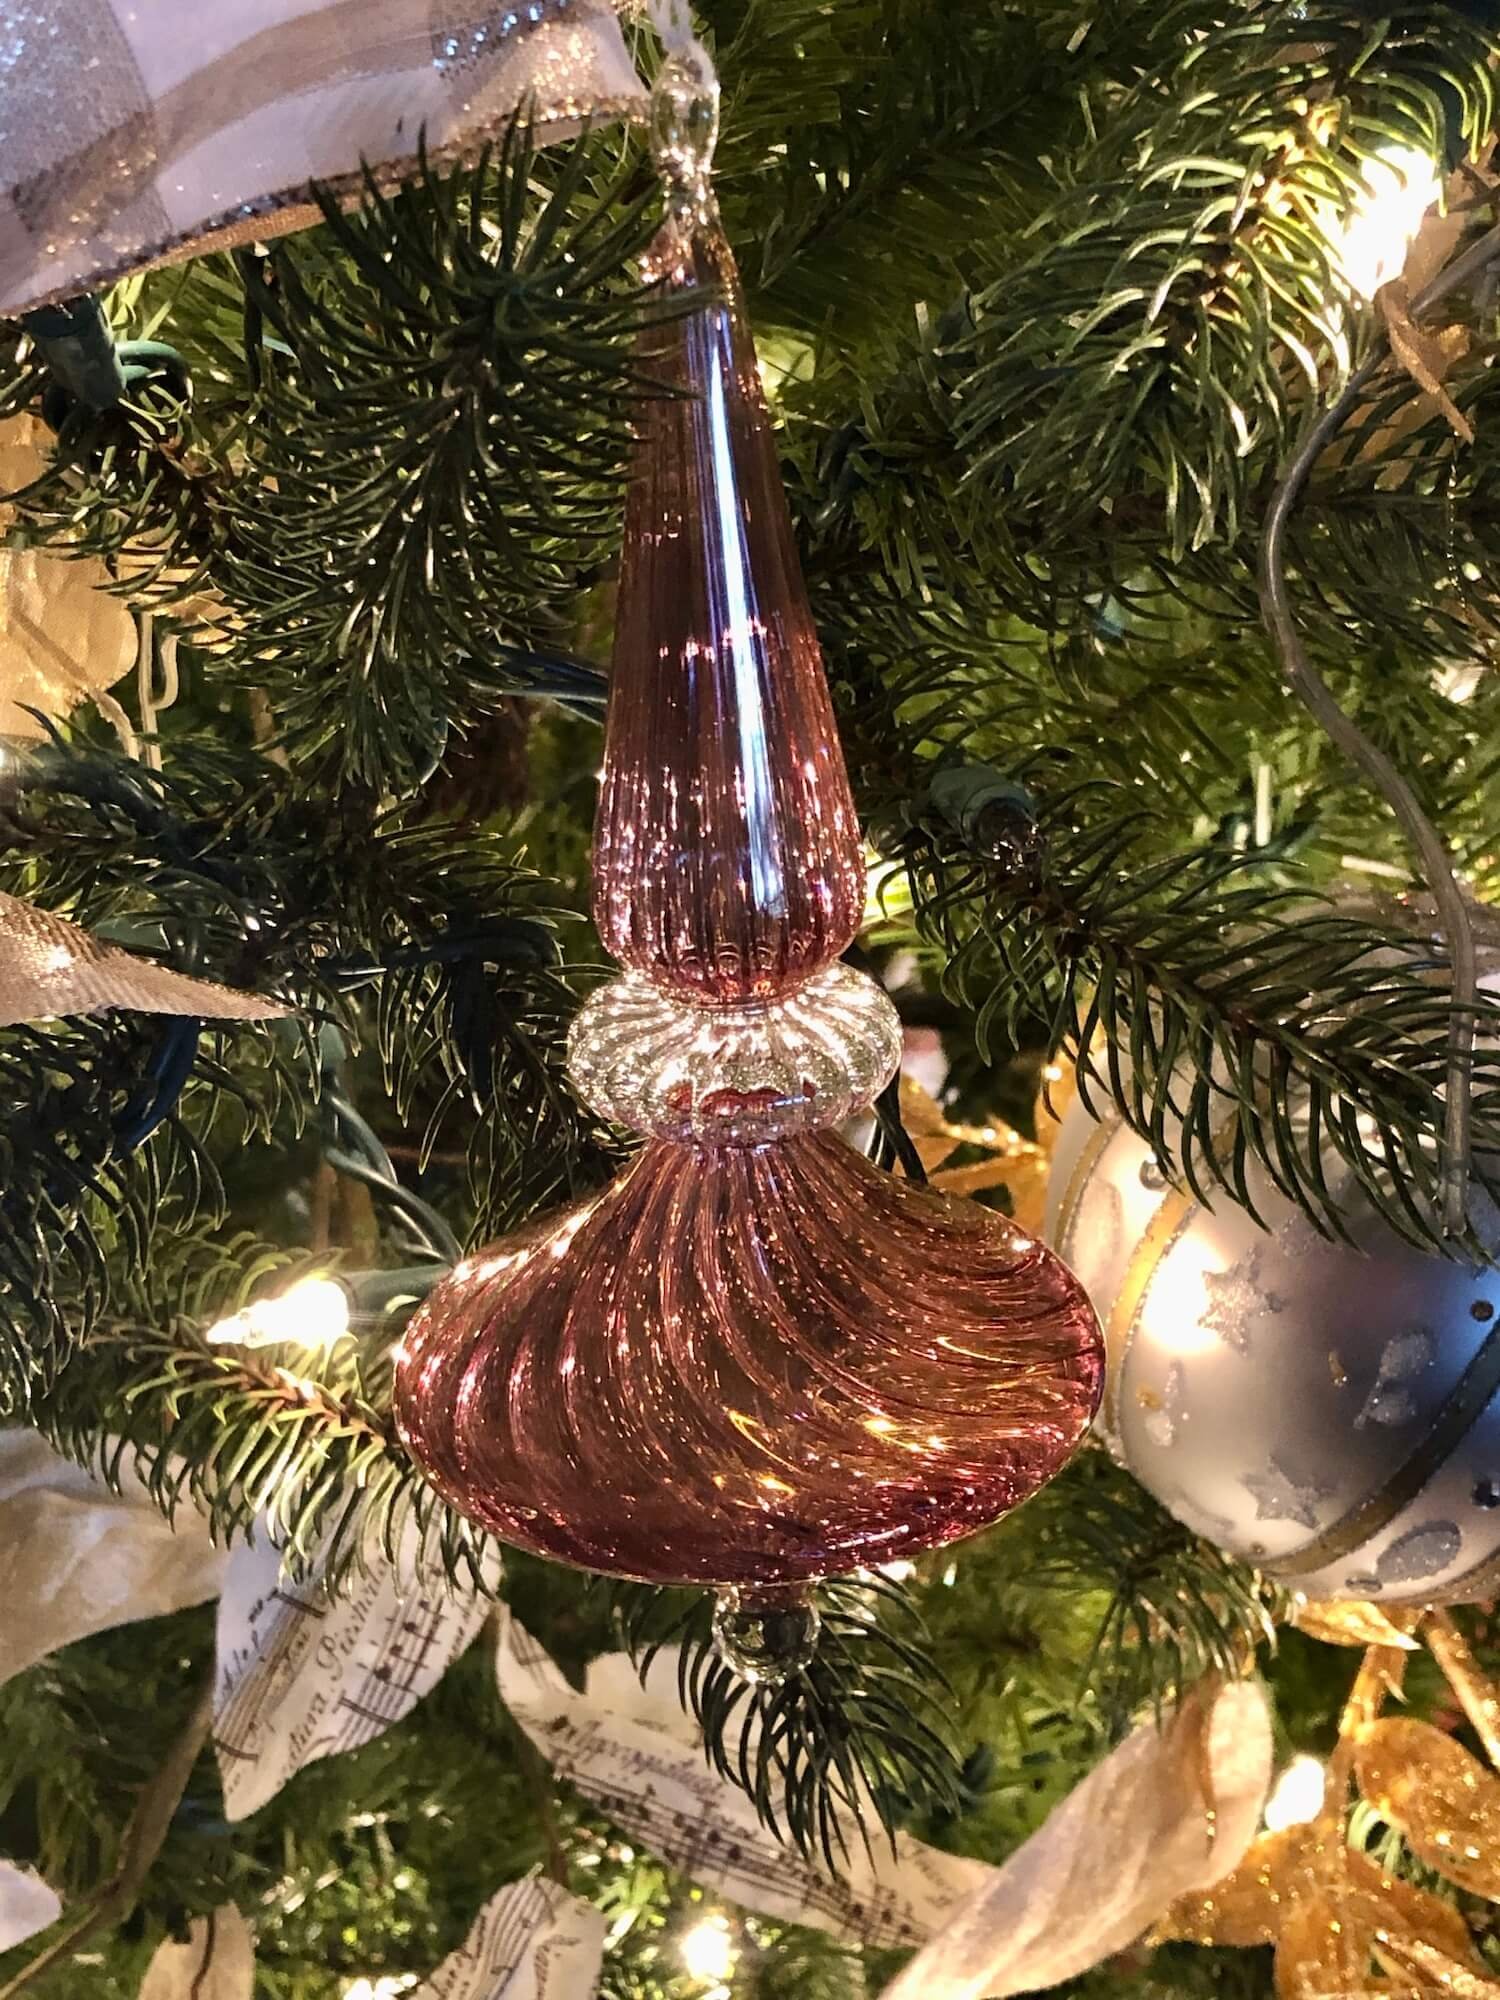
Last, add ornaments. Be sure to include a variety of shapes, finishes, and sizes - this is critical!
Start with the largest ones first, dispersing them evenly, and work down to the smallest sizes.
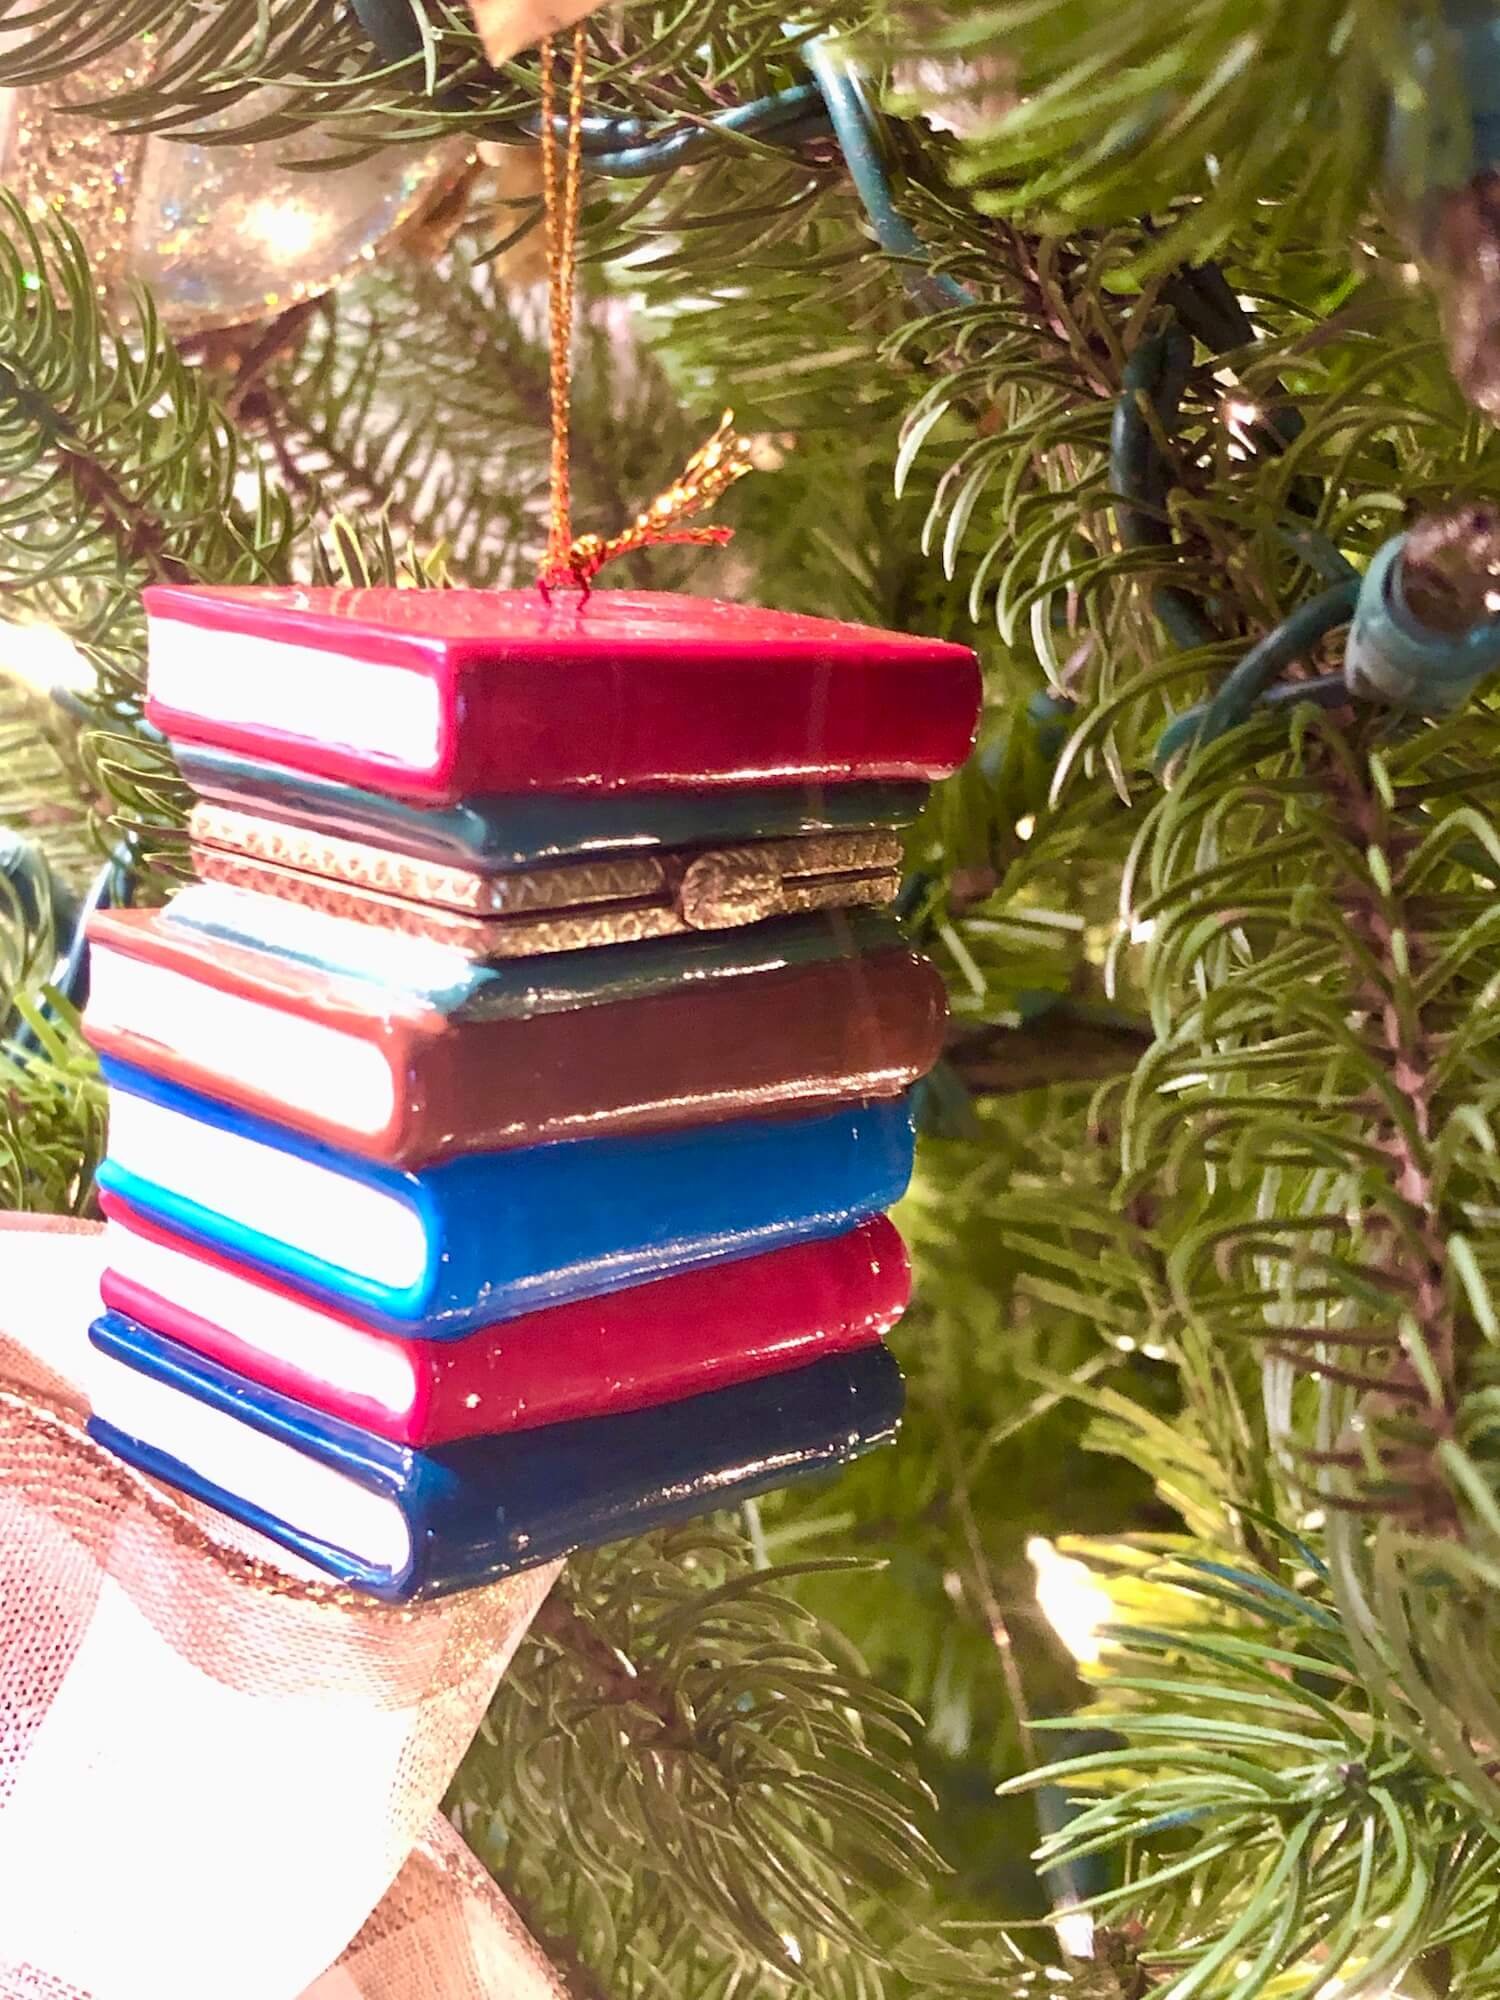
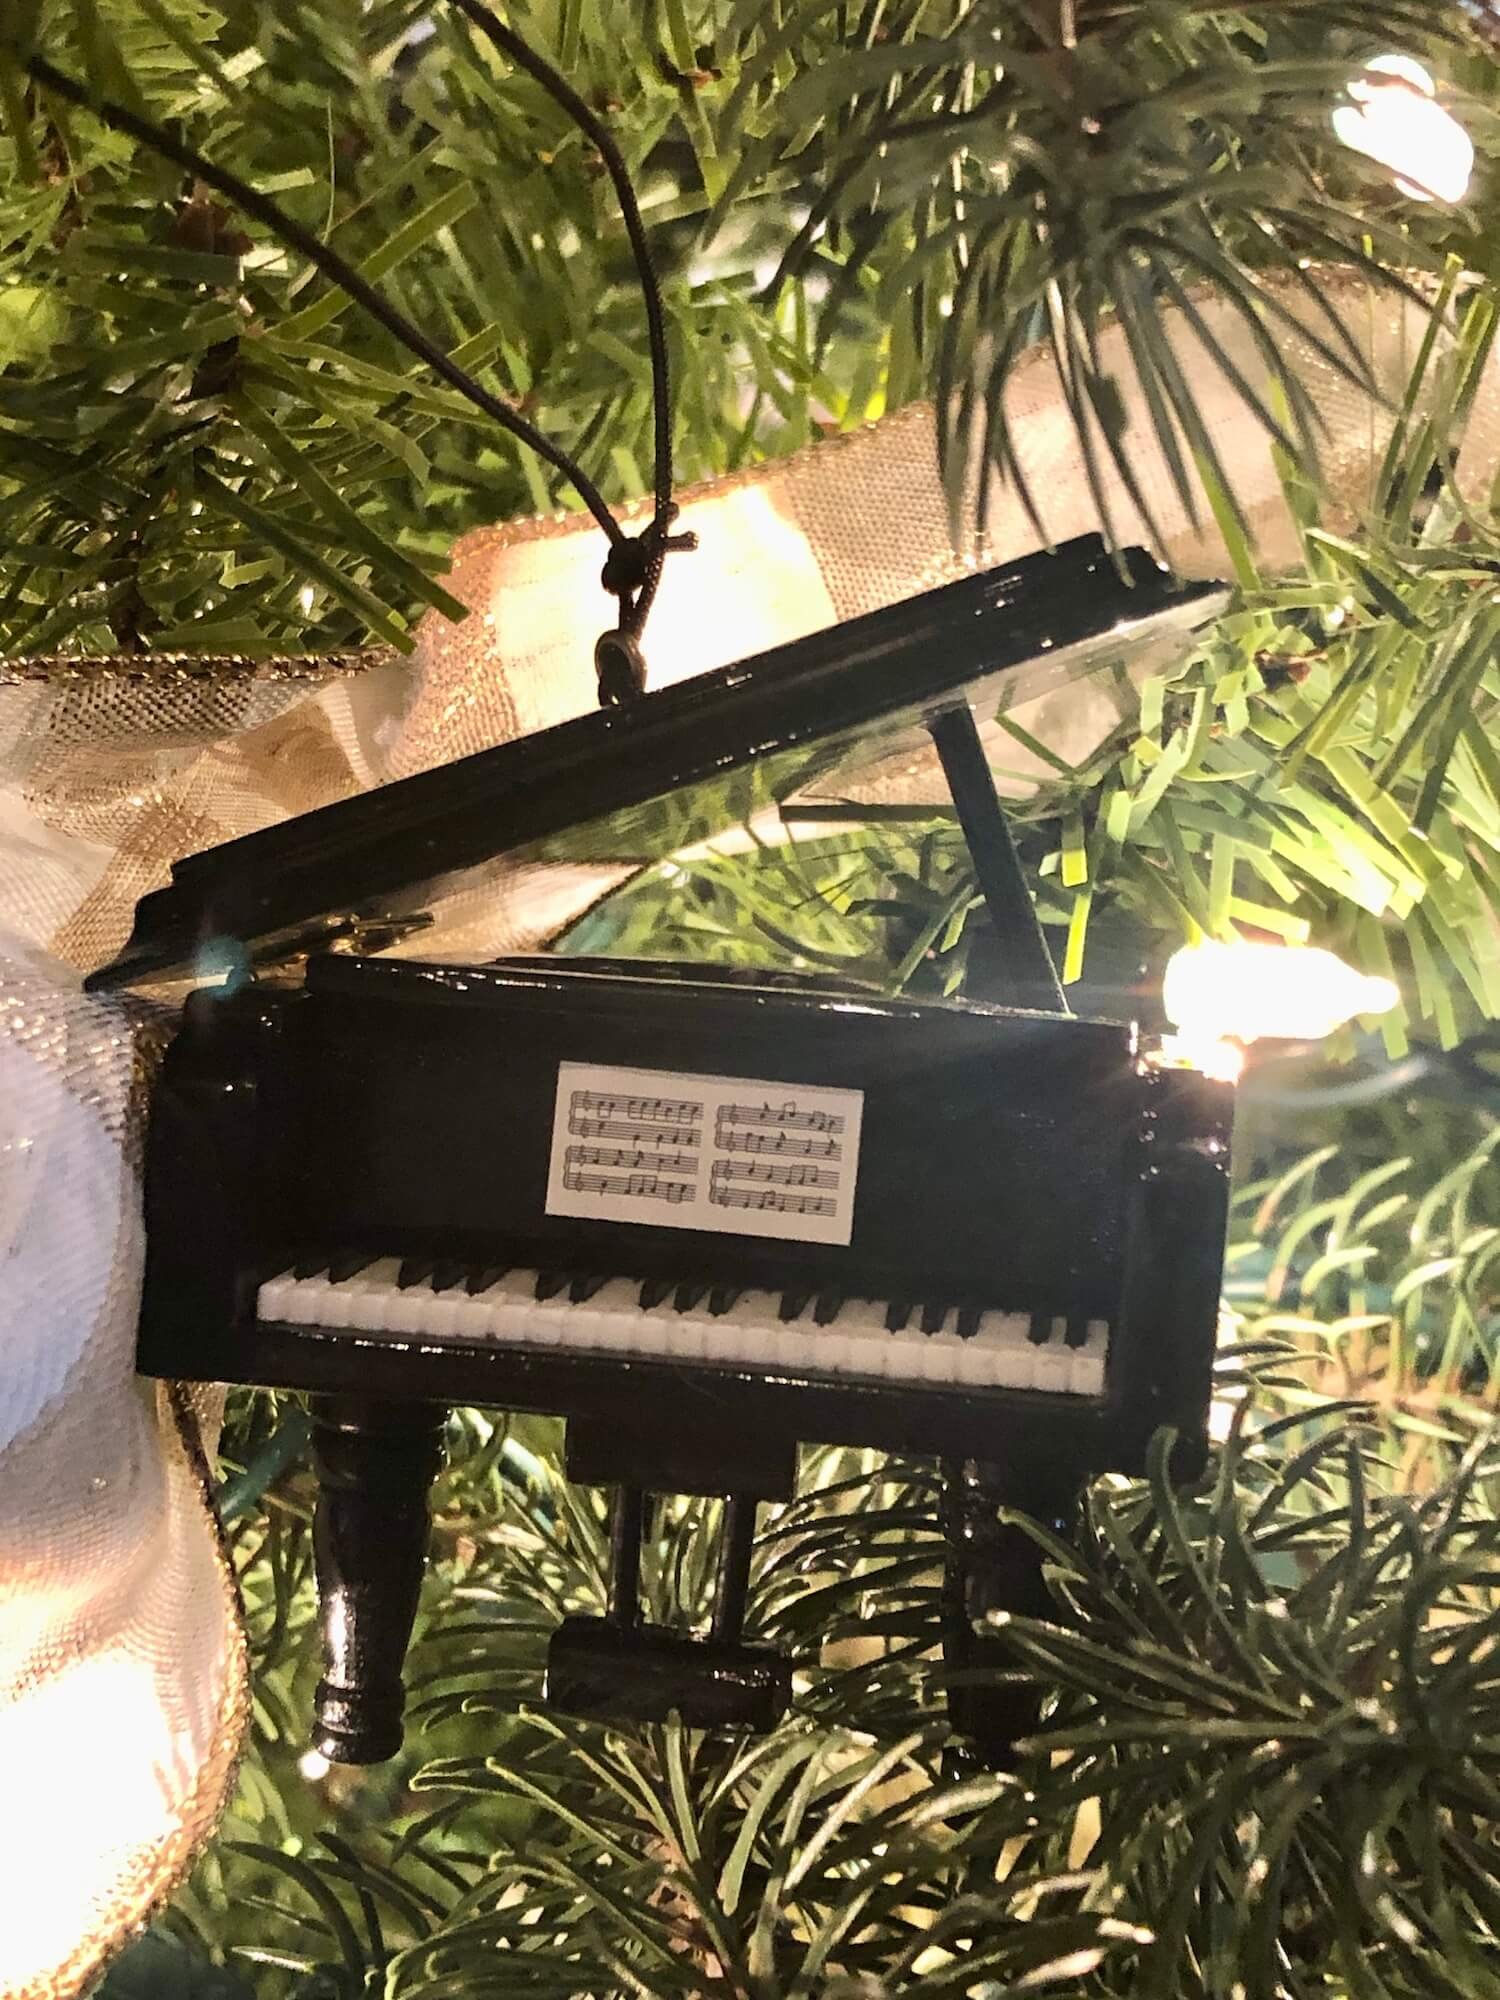
Many things can be ornaments - they don’t necessarily have to be sold as ornaments - I’ve used dried hydrangeas, silk flowers, birds, bird houses, candy, nutcrackers, wicker sleighs, and even stuffed animals over the years as part of the tree decorations depending on the theme and location.
I like to start with a quorum of color-themed ribbon and larger ornaments to establish an overall look. Odd numbers are preferable - 3-5 of each type (I like to include 3 types) of the largest pieces (these should be at least in the ~ 6”- 8” size range for maximum impact), distributed over the tree so it is balanced.
Once the base of color and large pieces are installed, then fill in with the smaller ornaments.
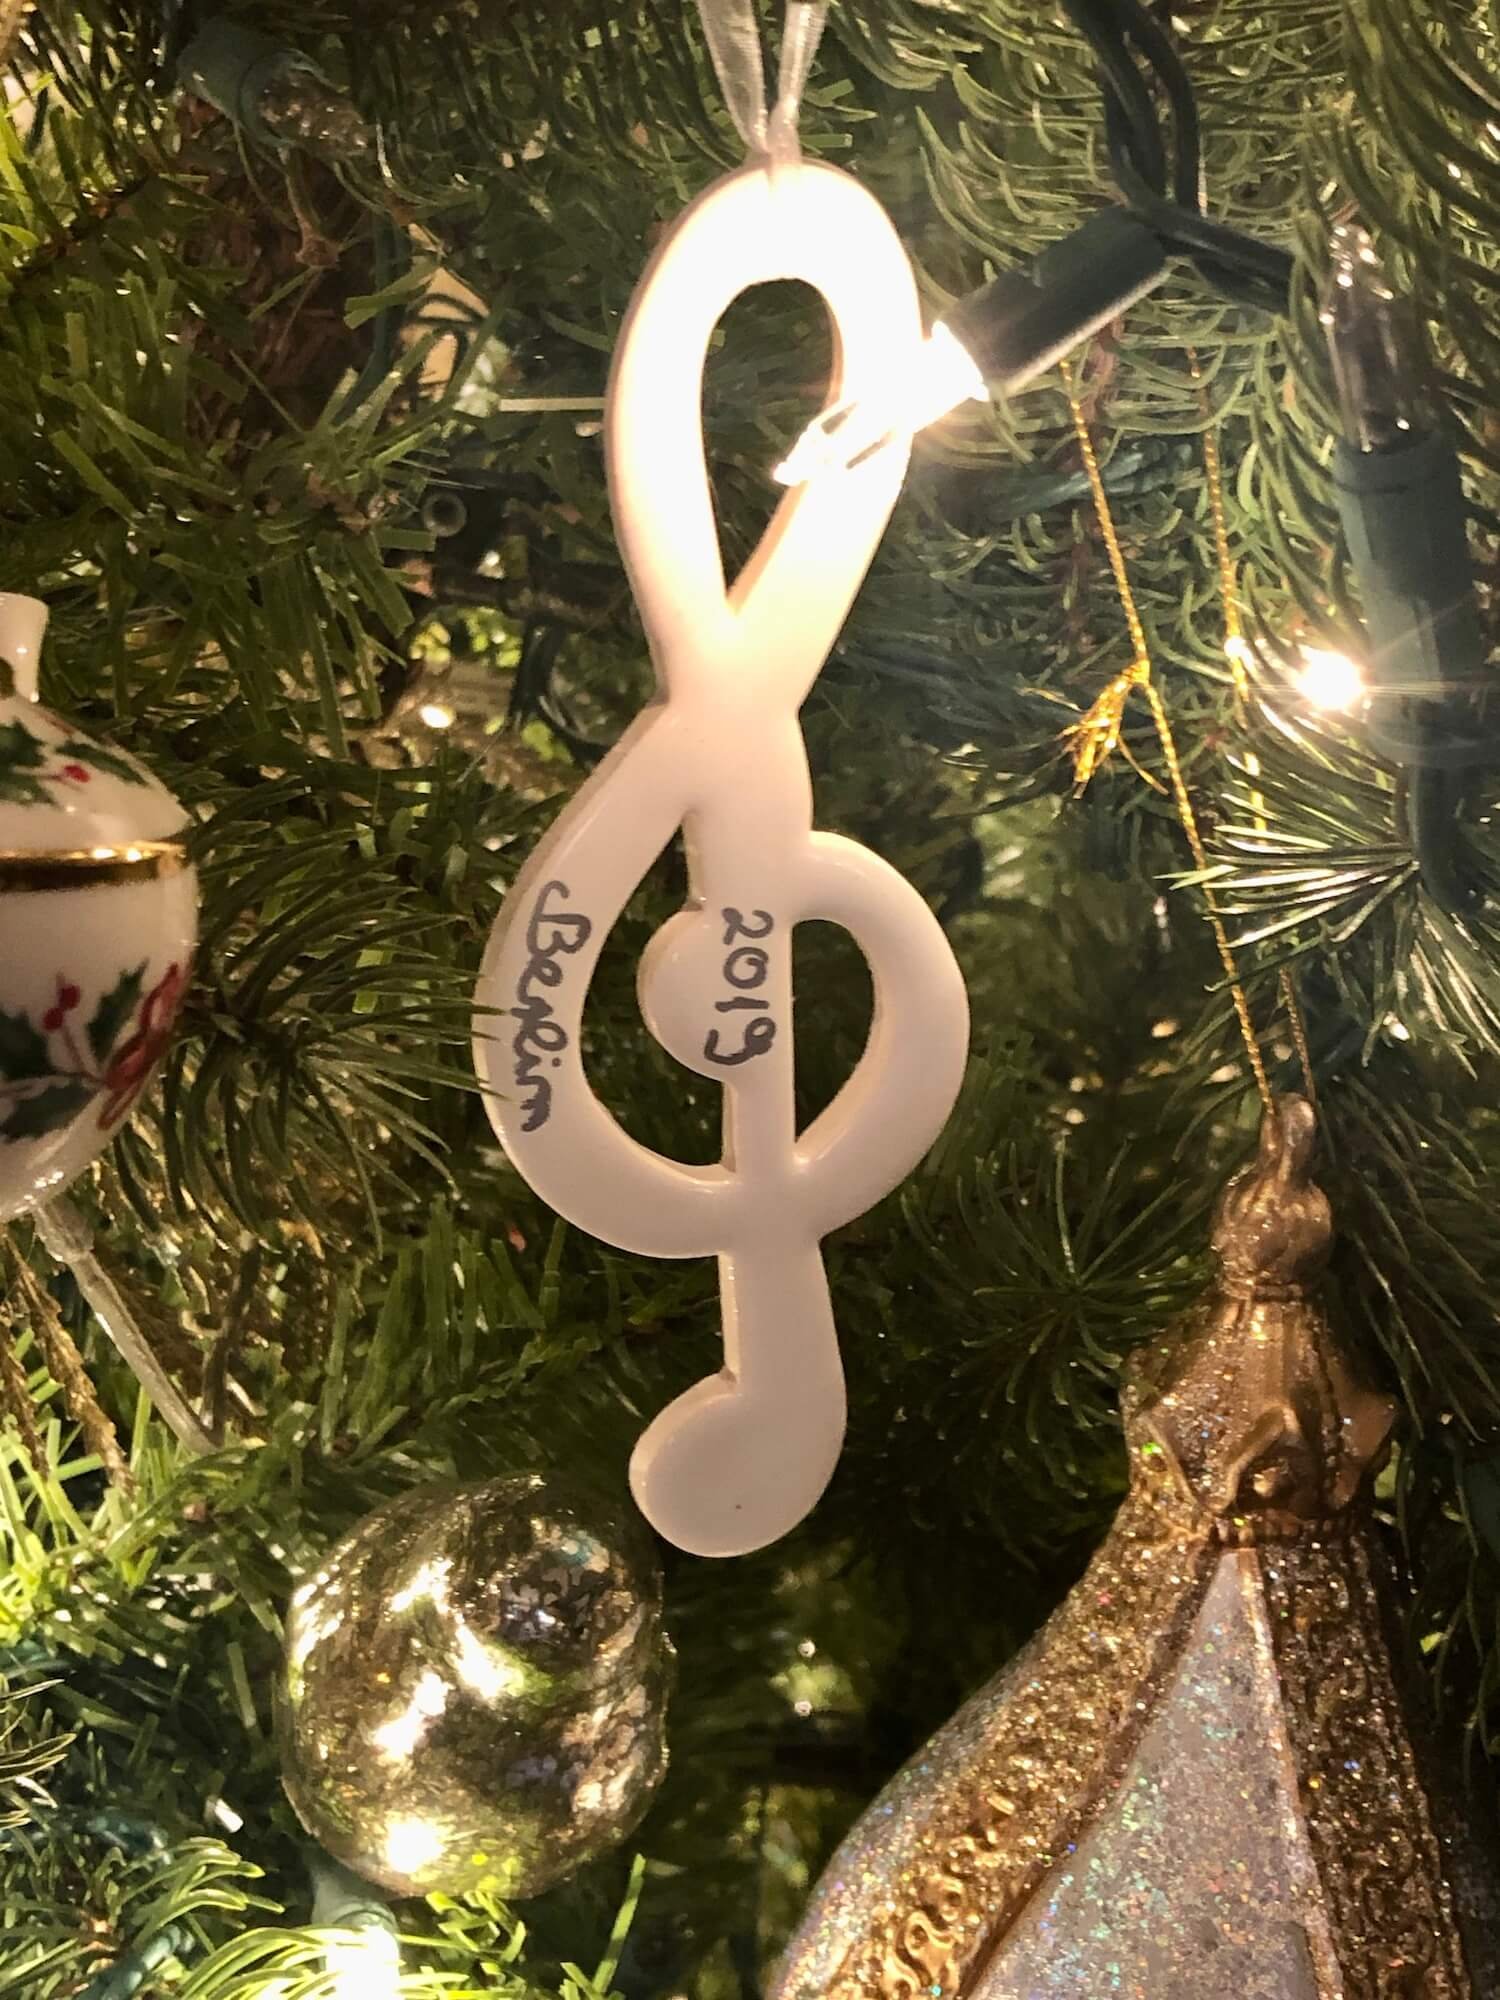
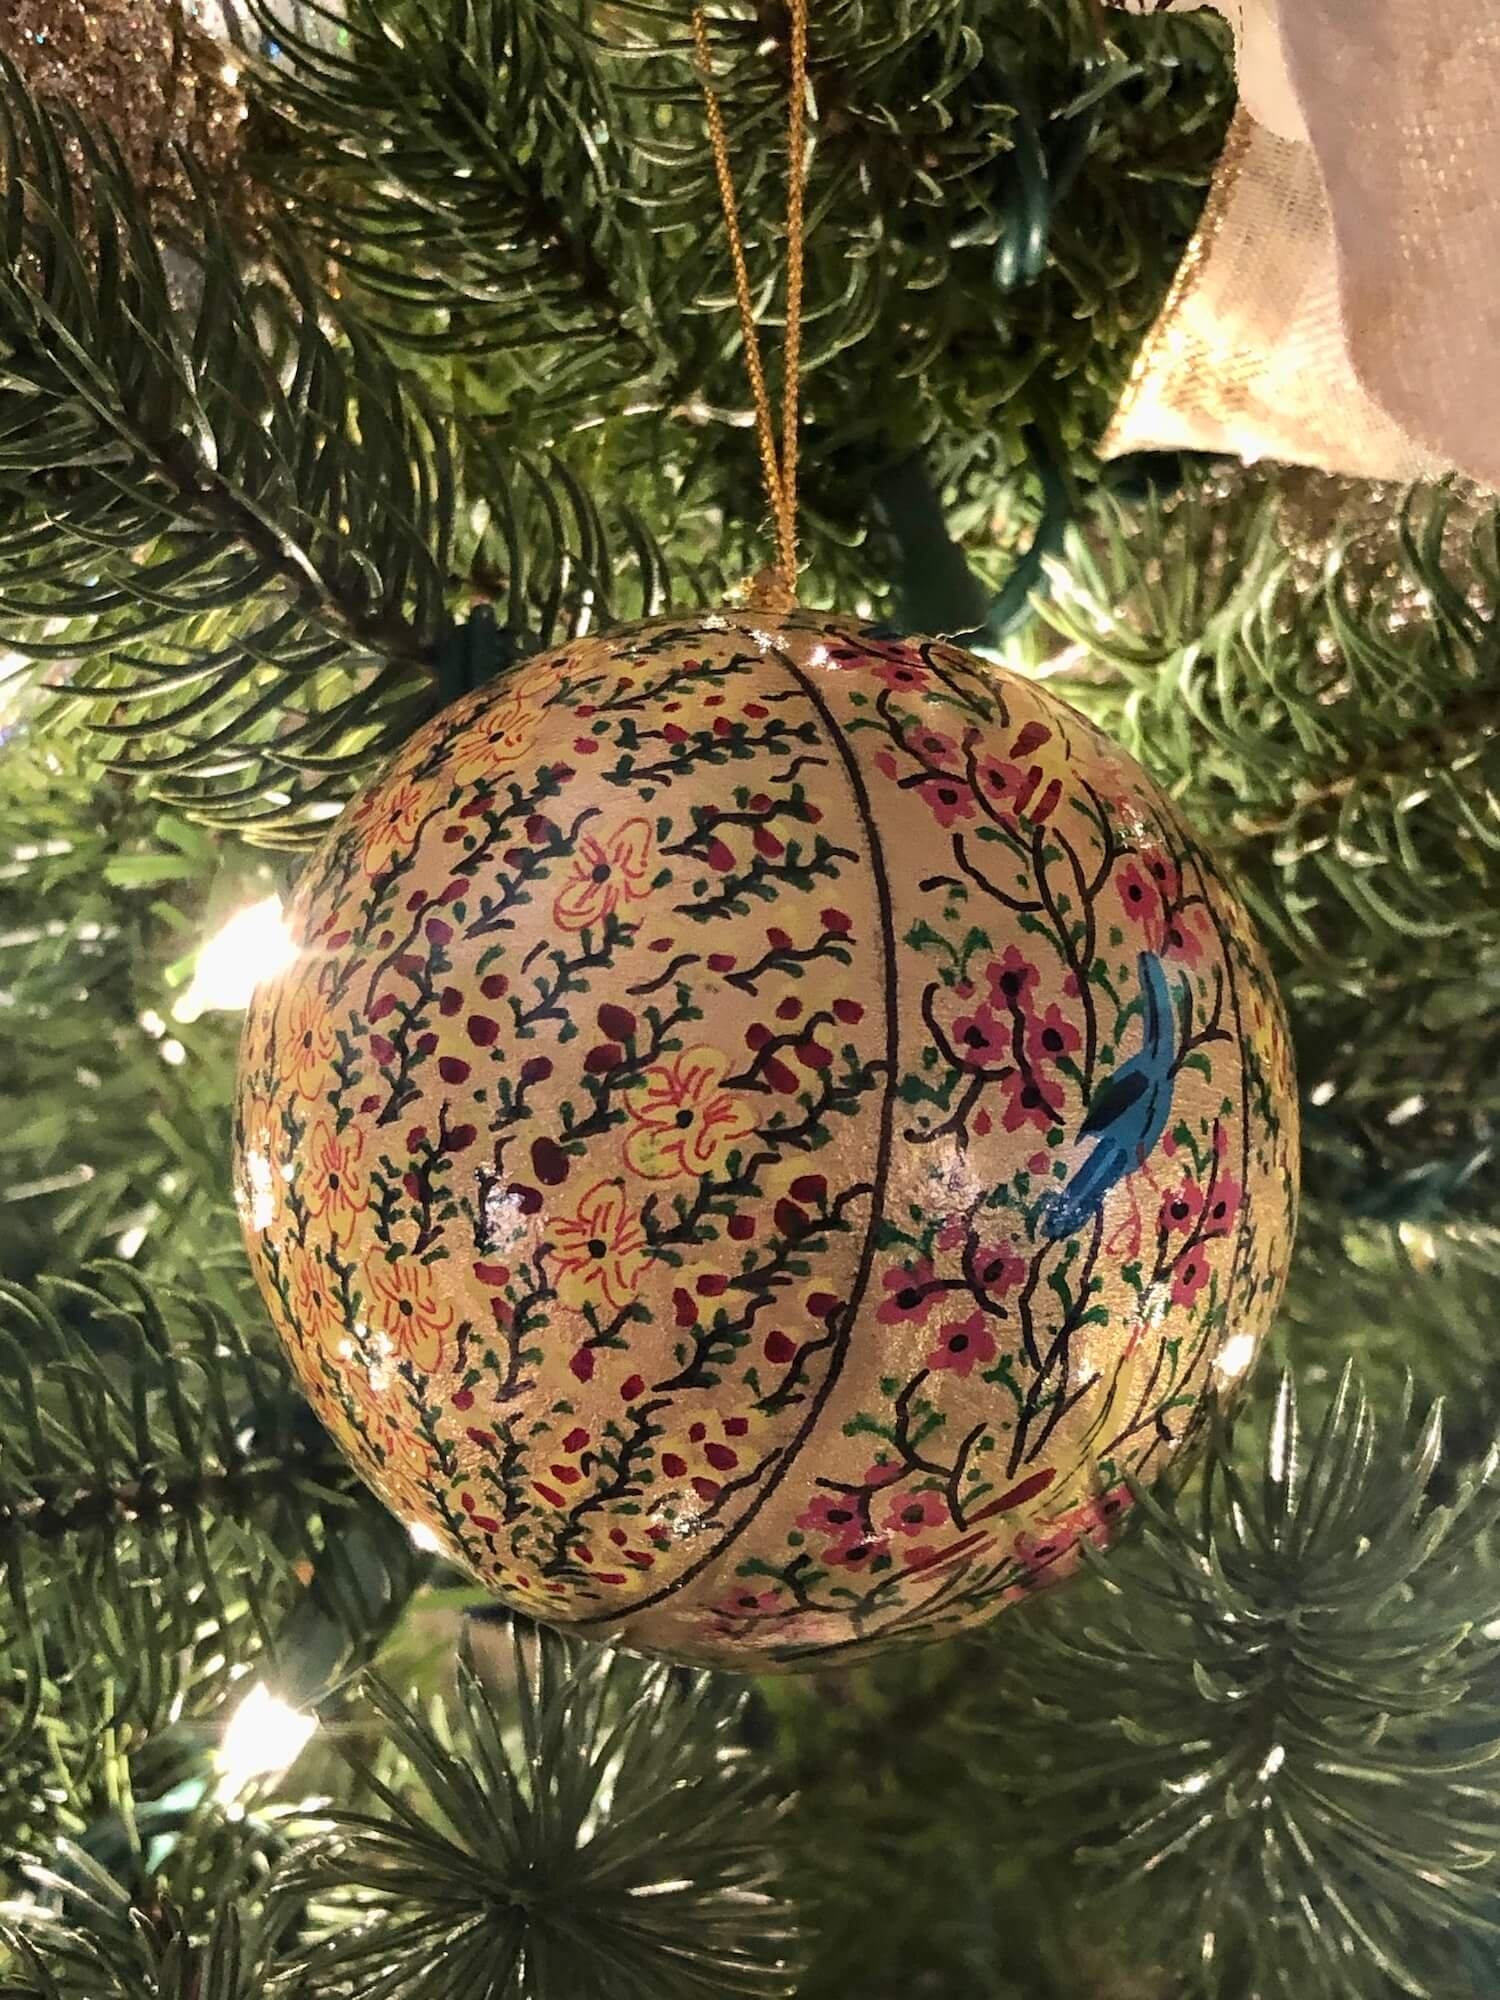
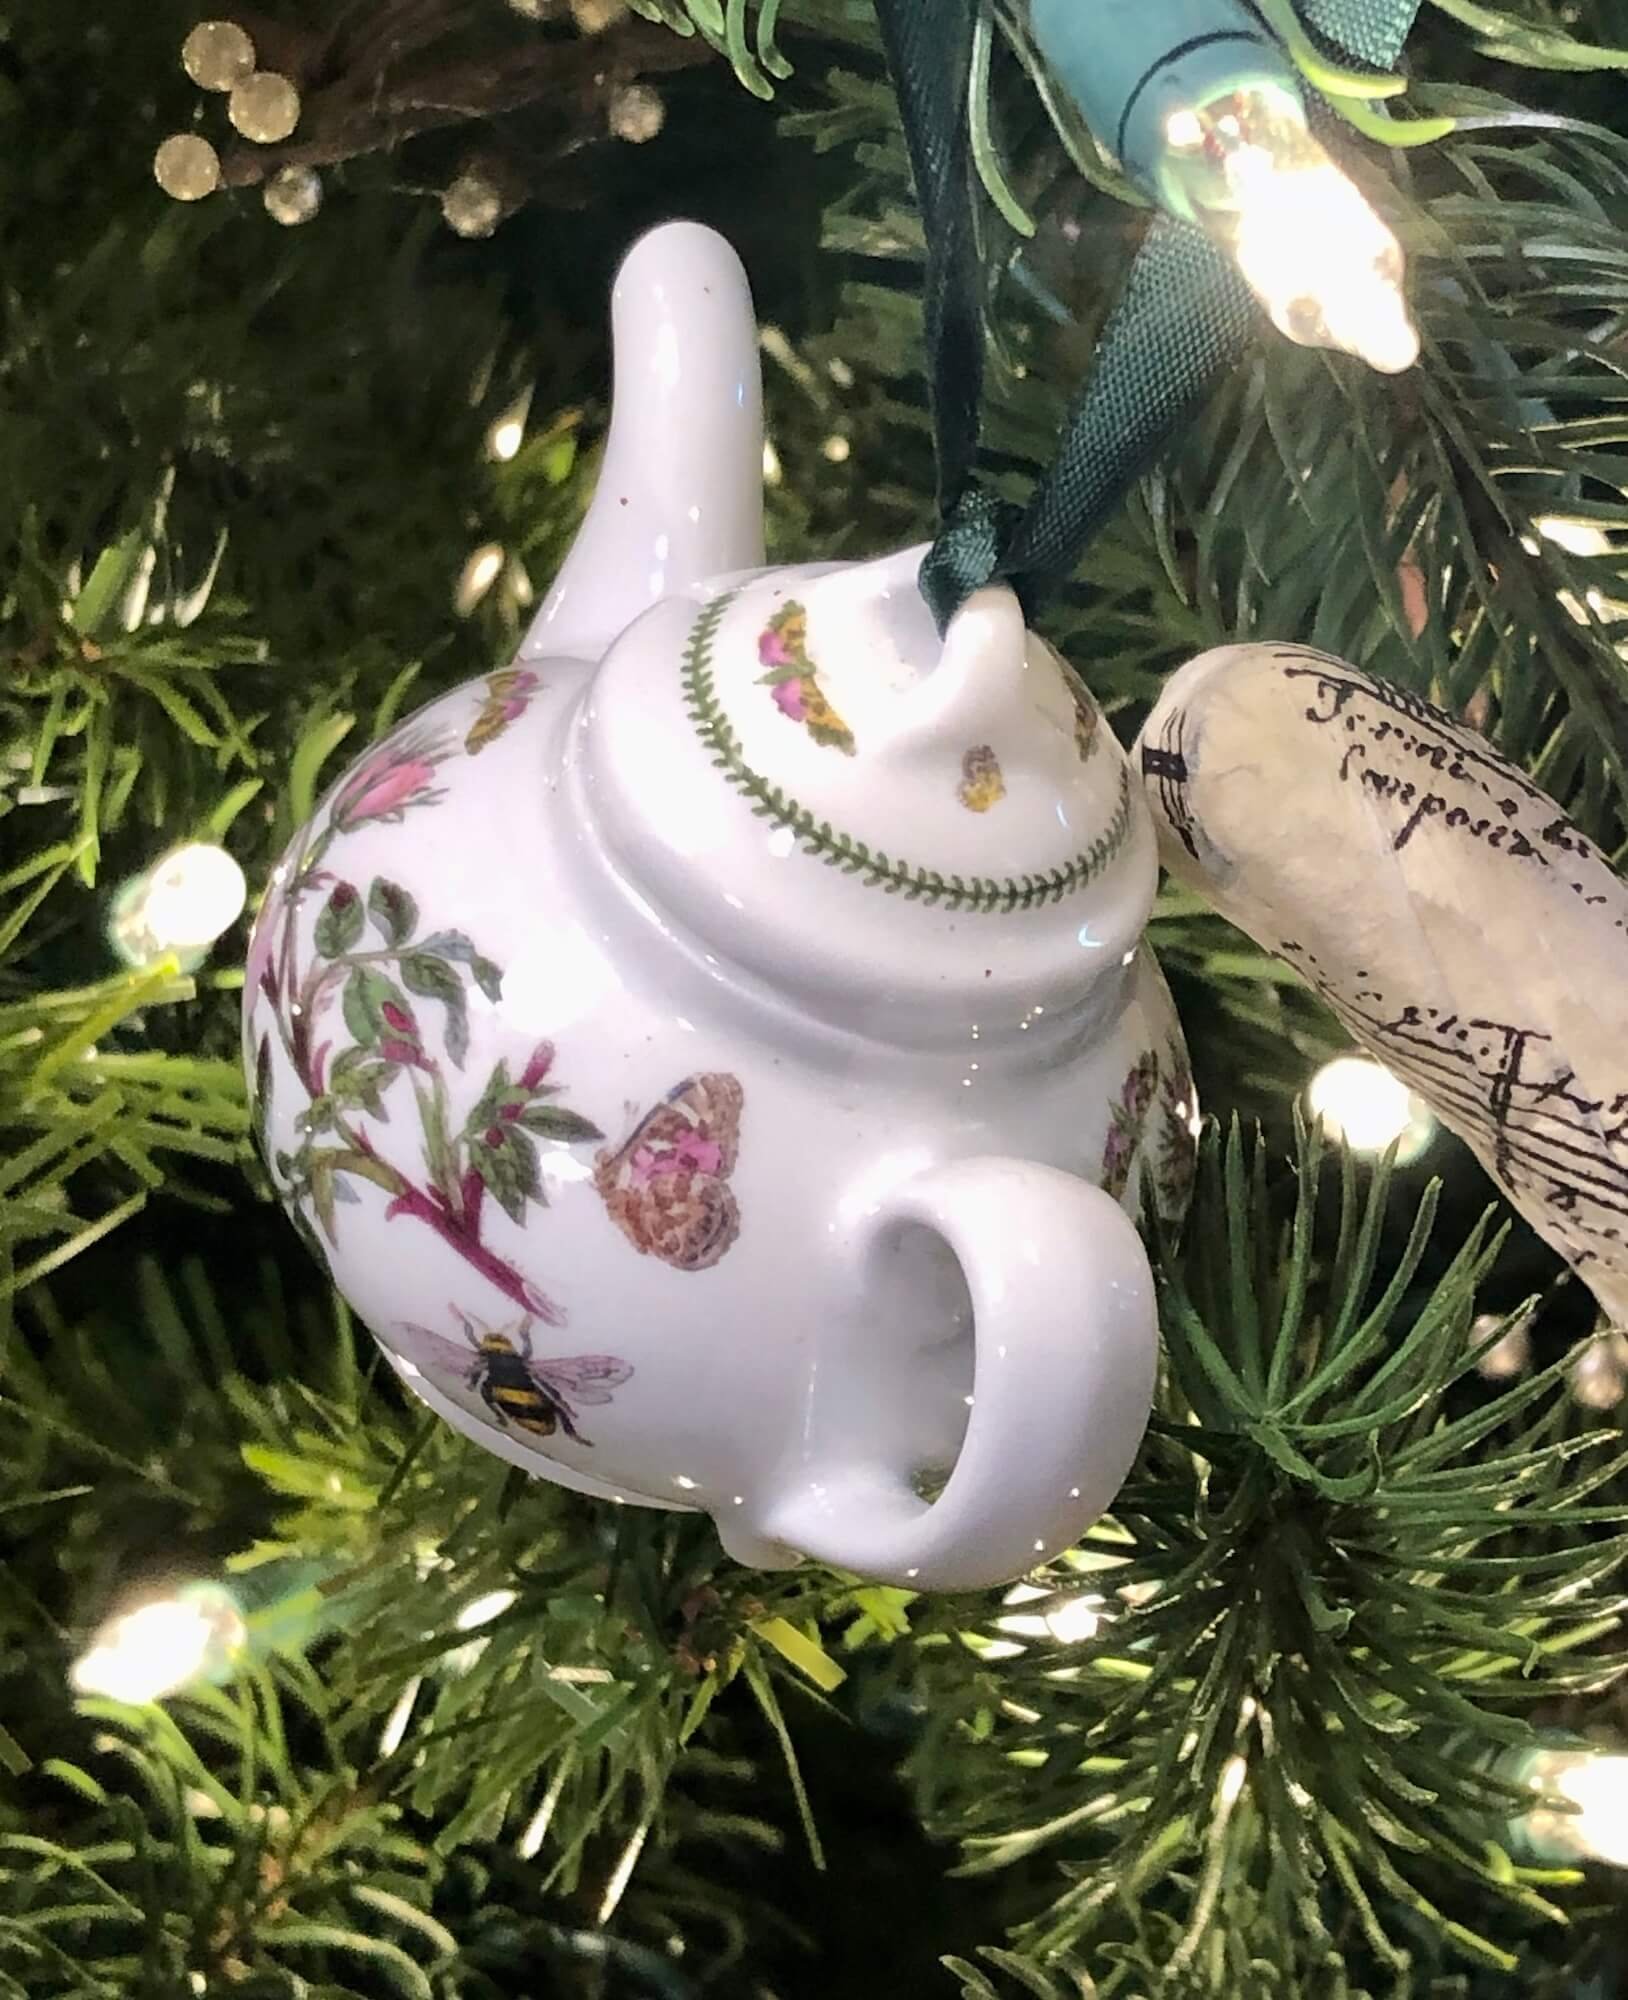
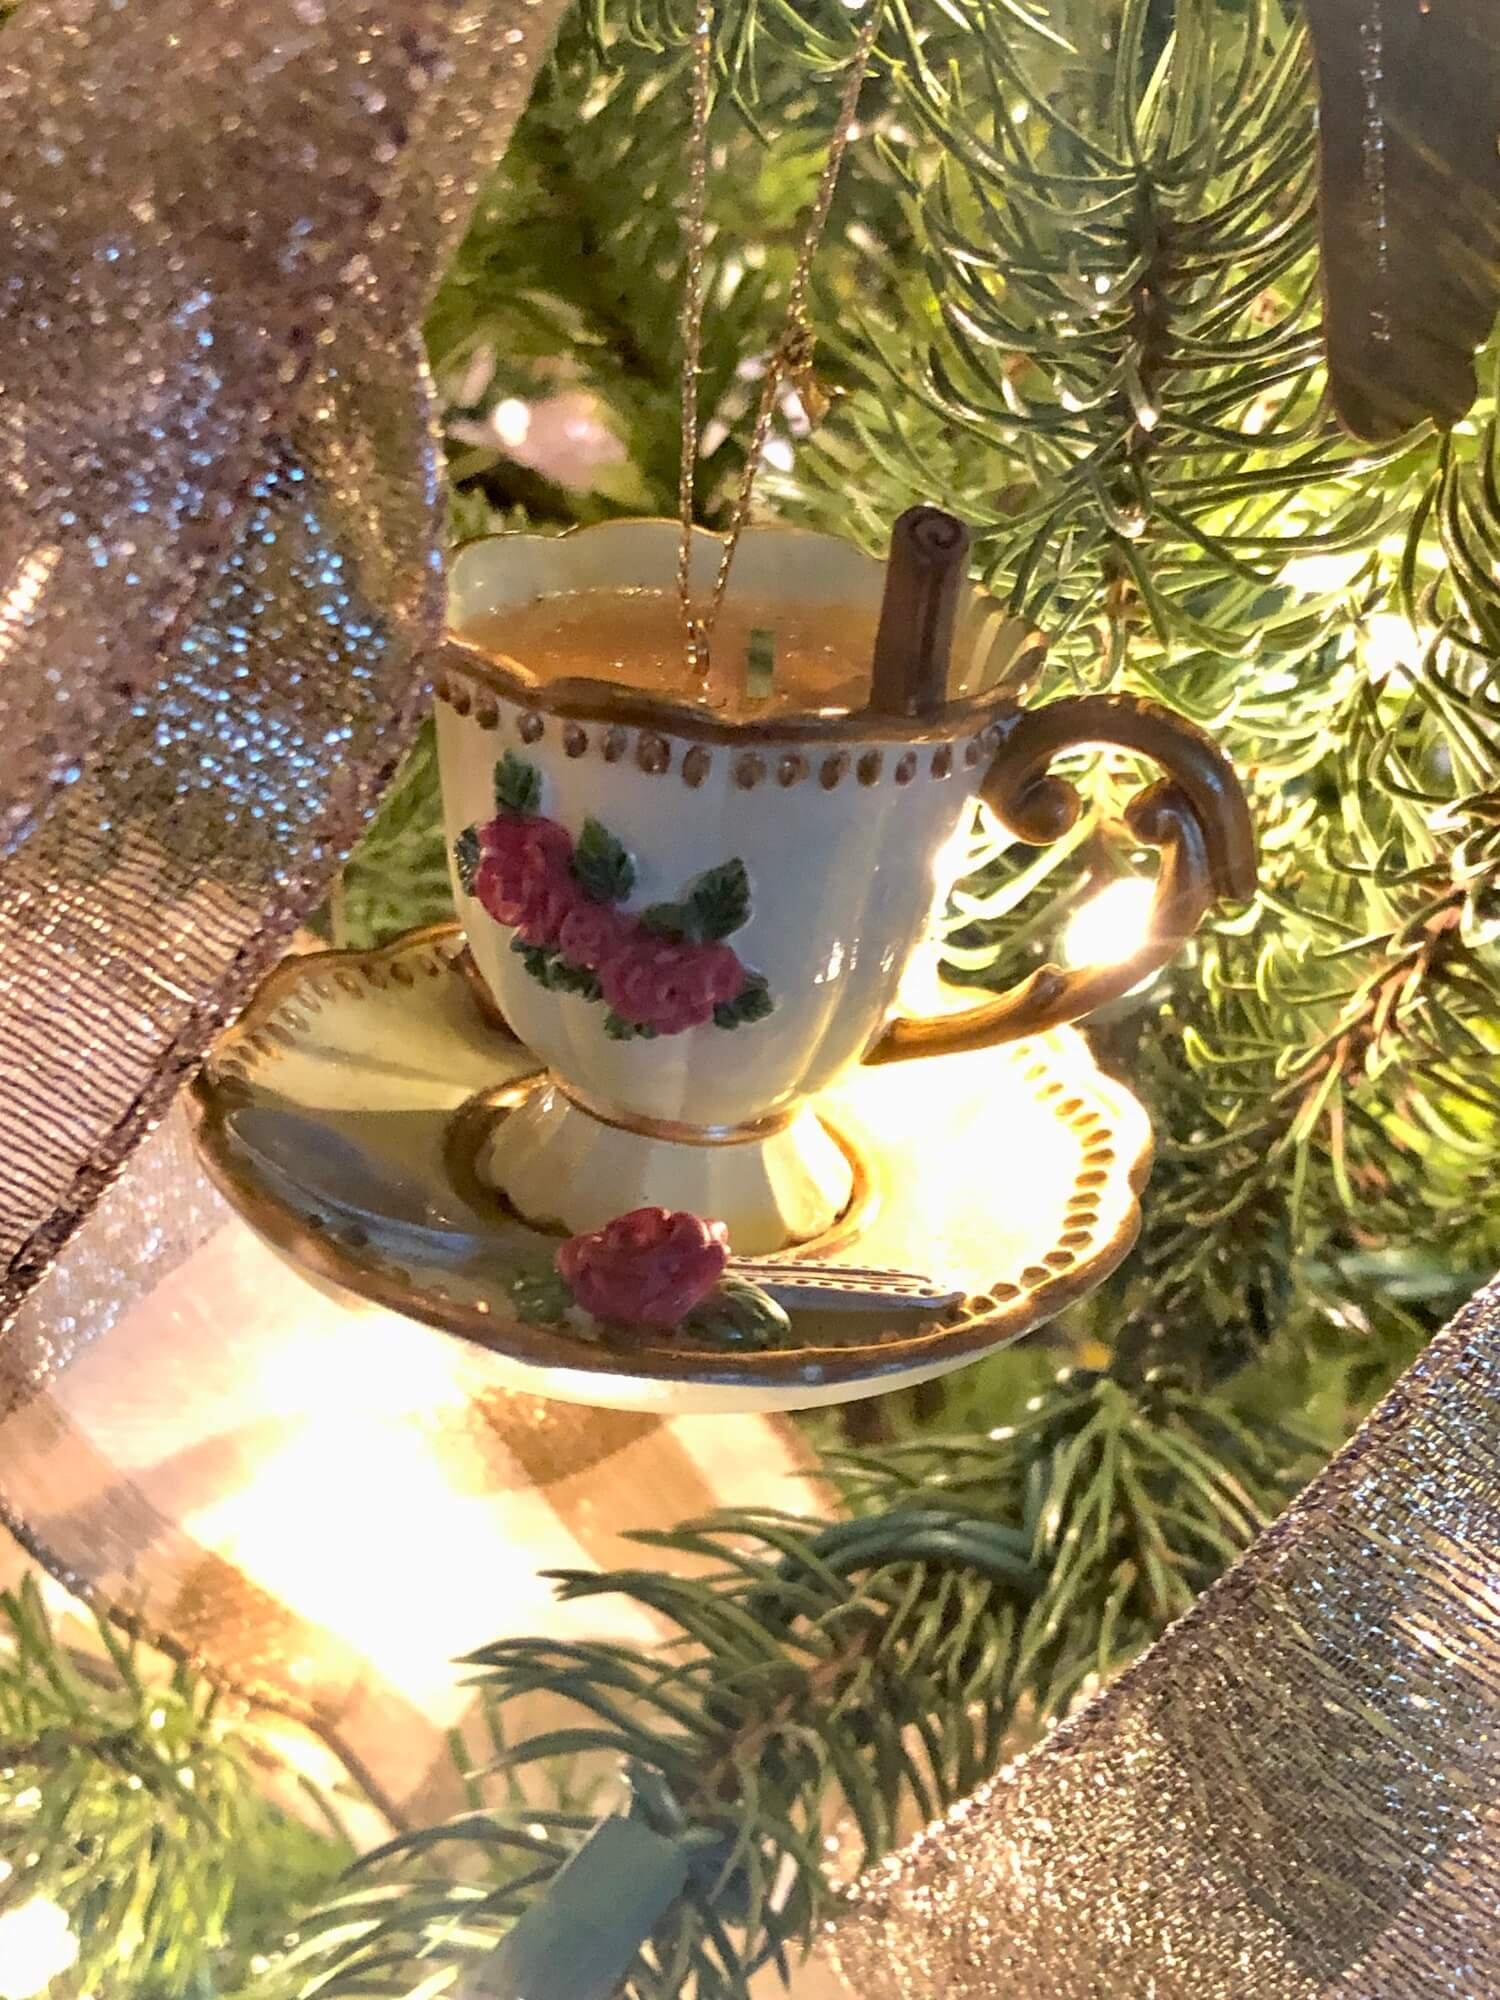
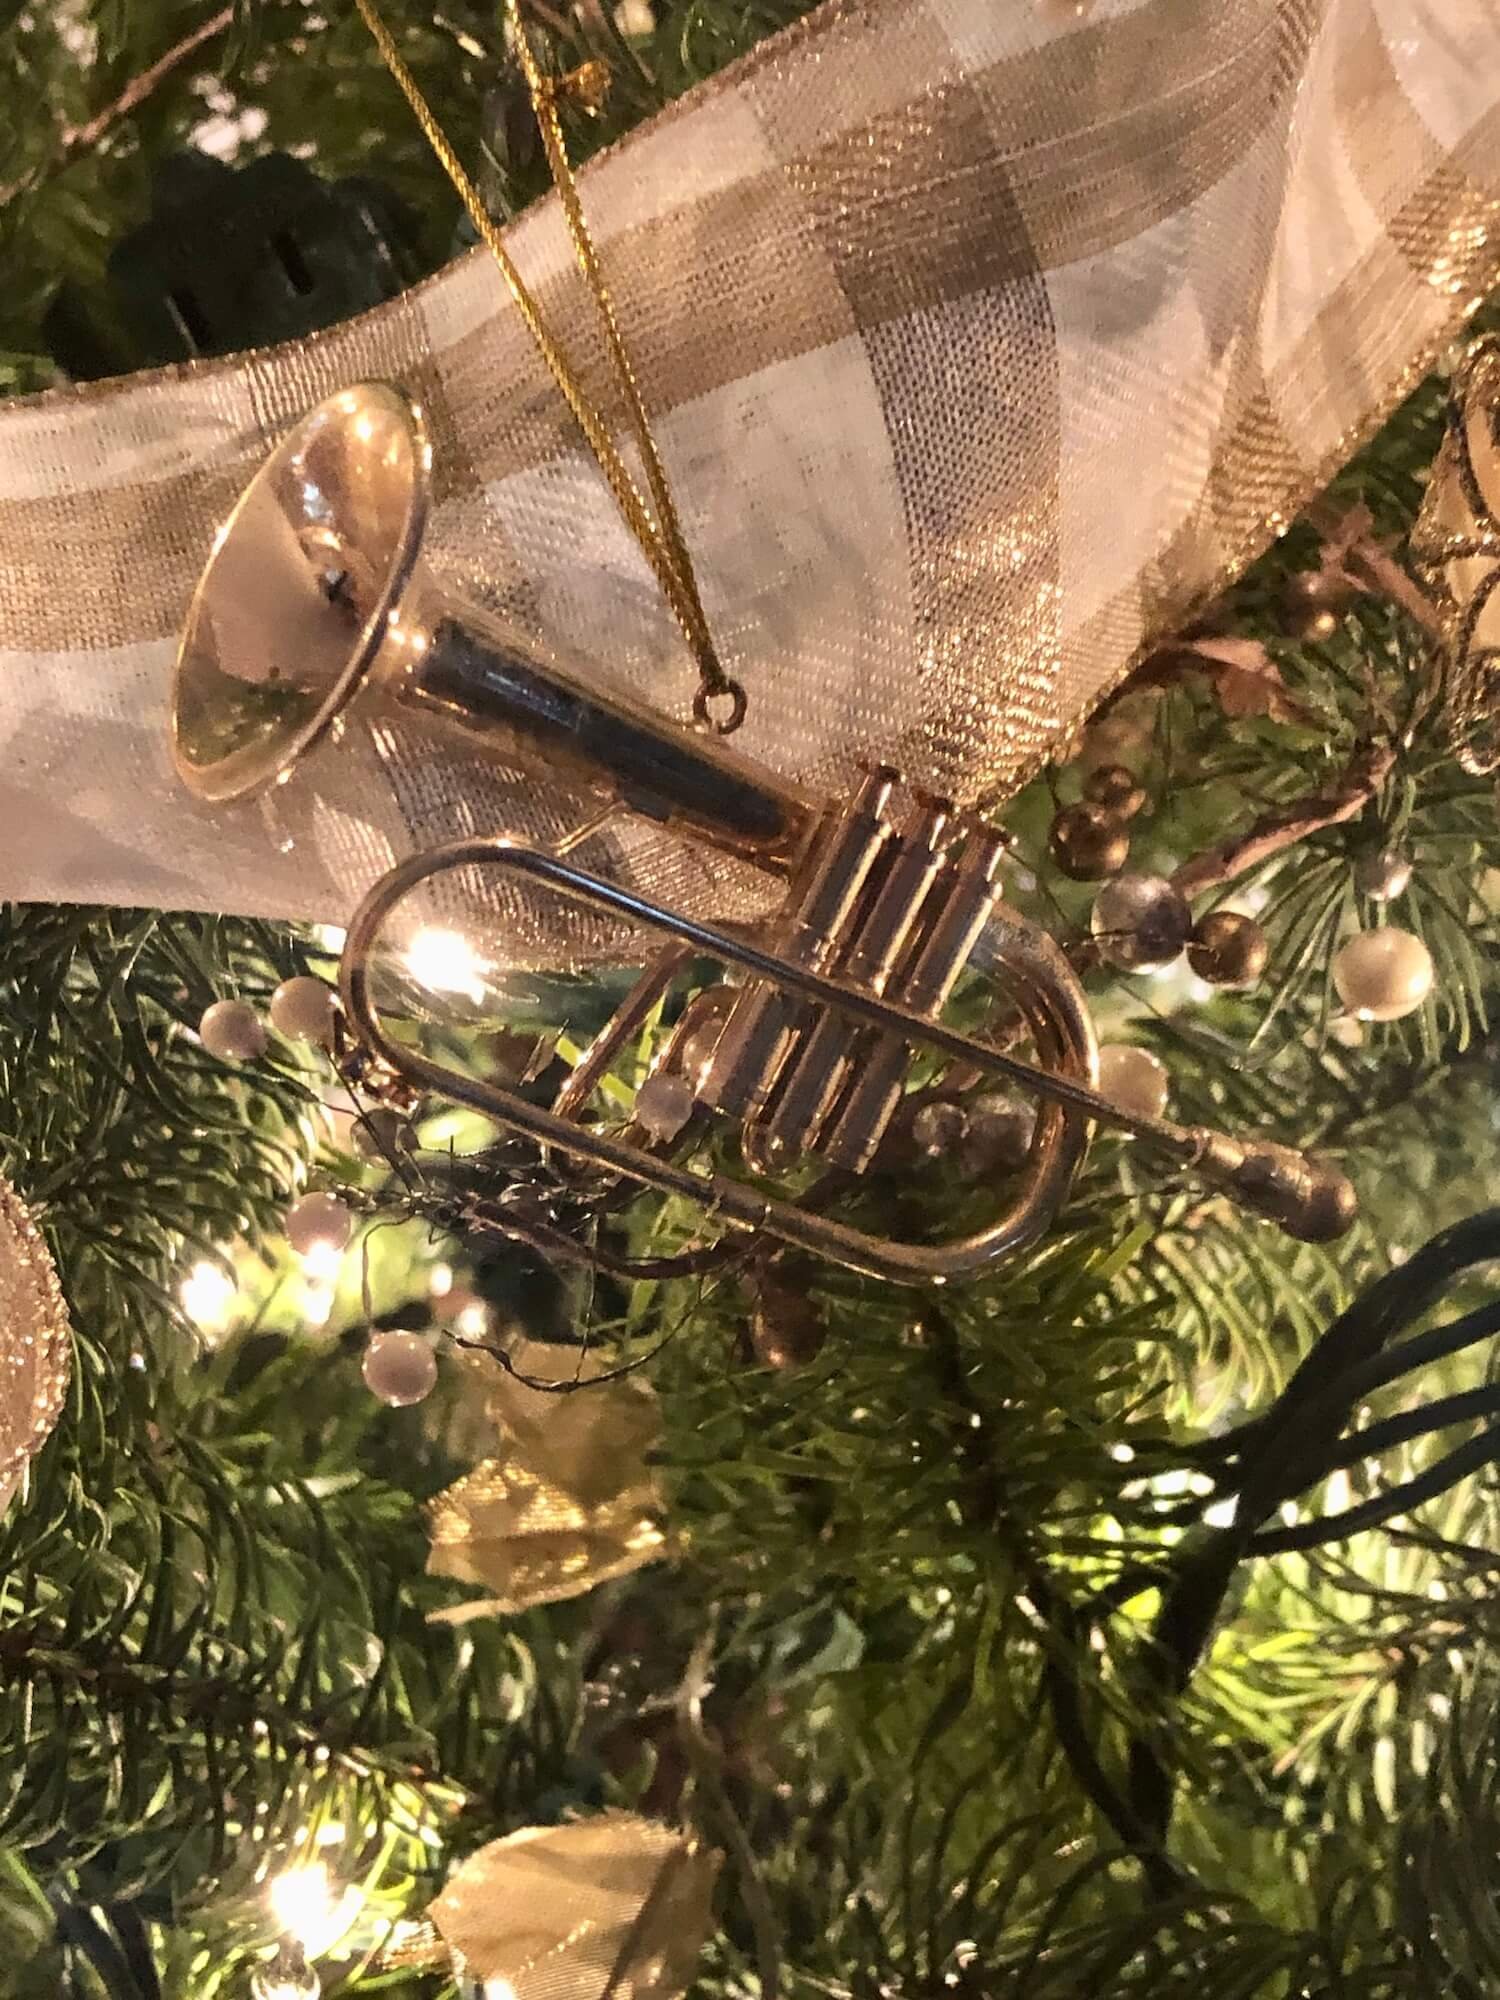
Most of the time, sentimental ornaments are on the normal/small side and a whole tree of just these can look a bit haphazard, but showcased against a backdrop of coordinated color and texture, they can shine and still look cohesive.
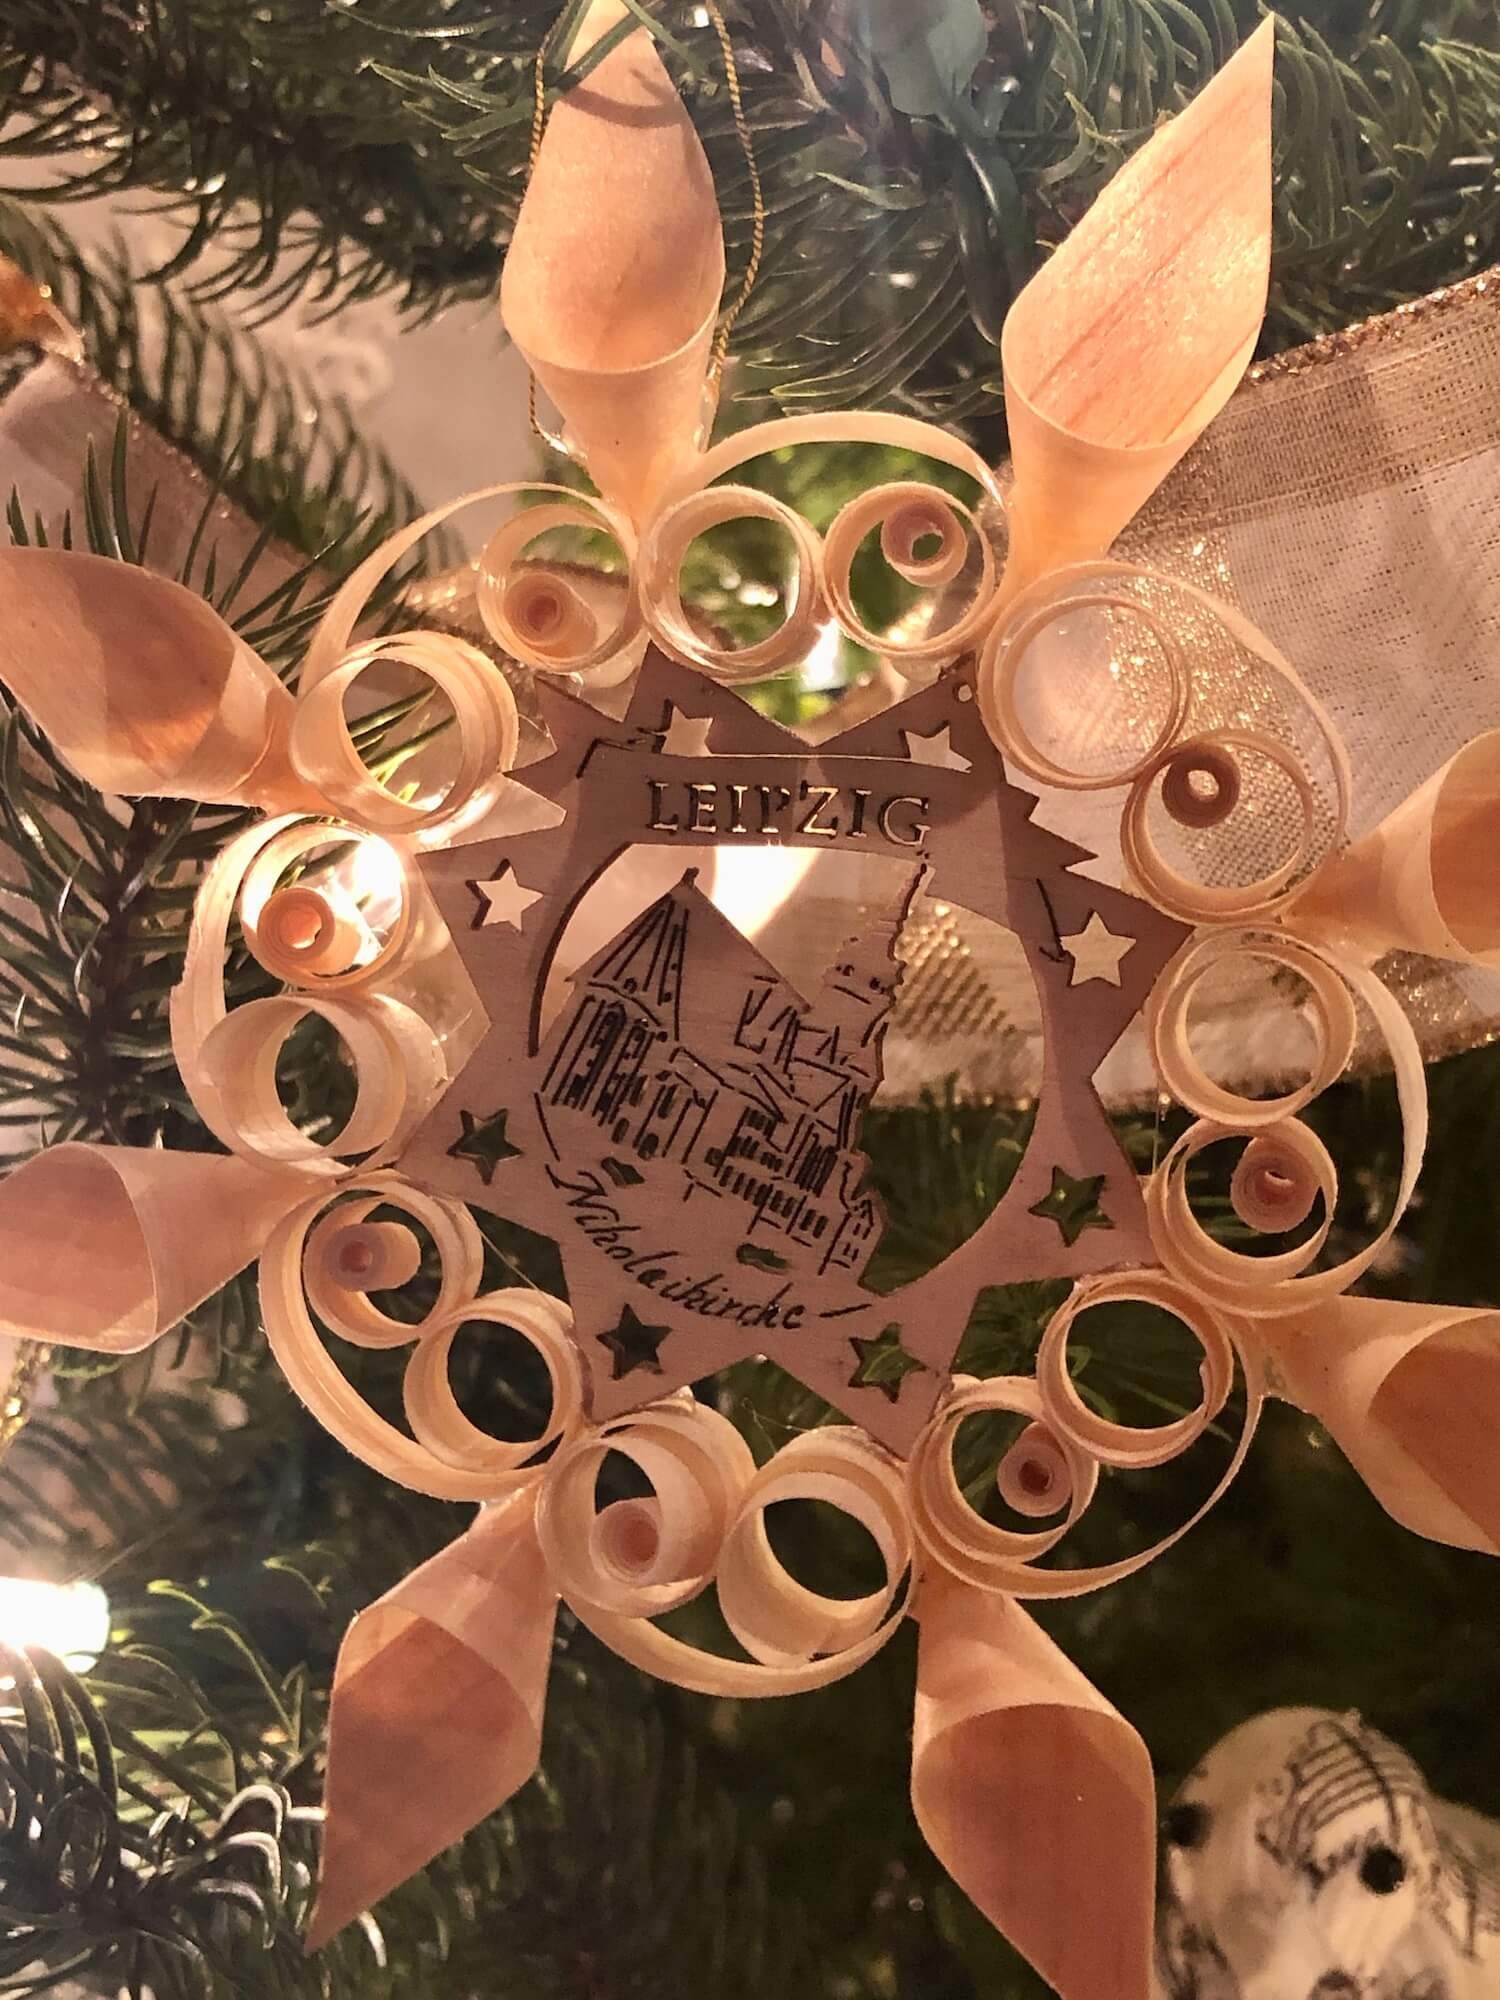
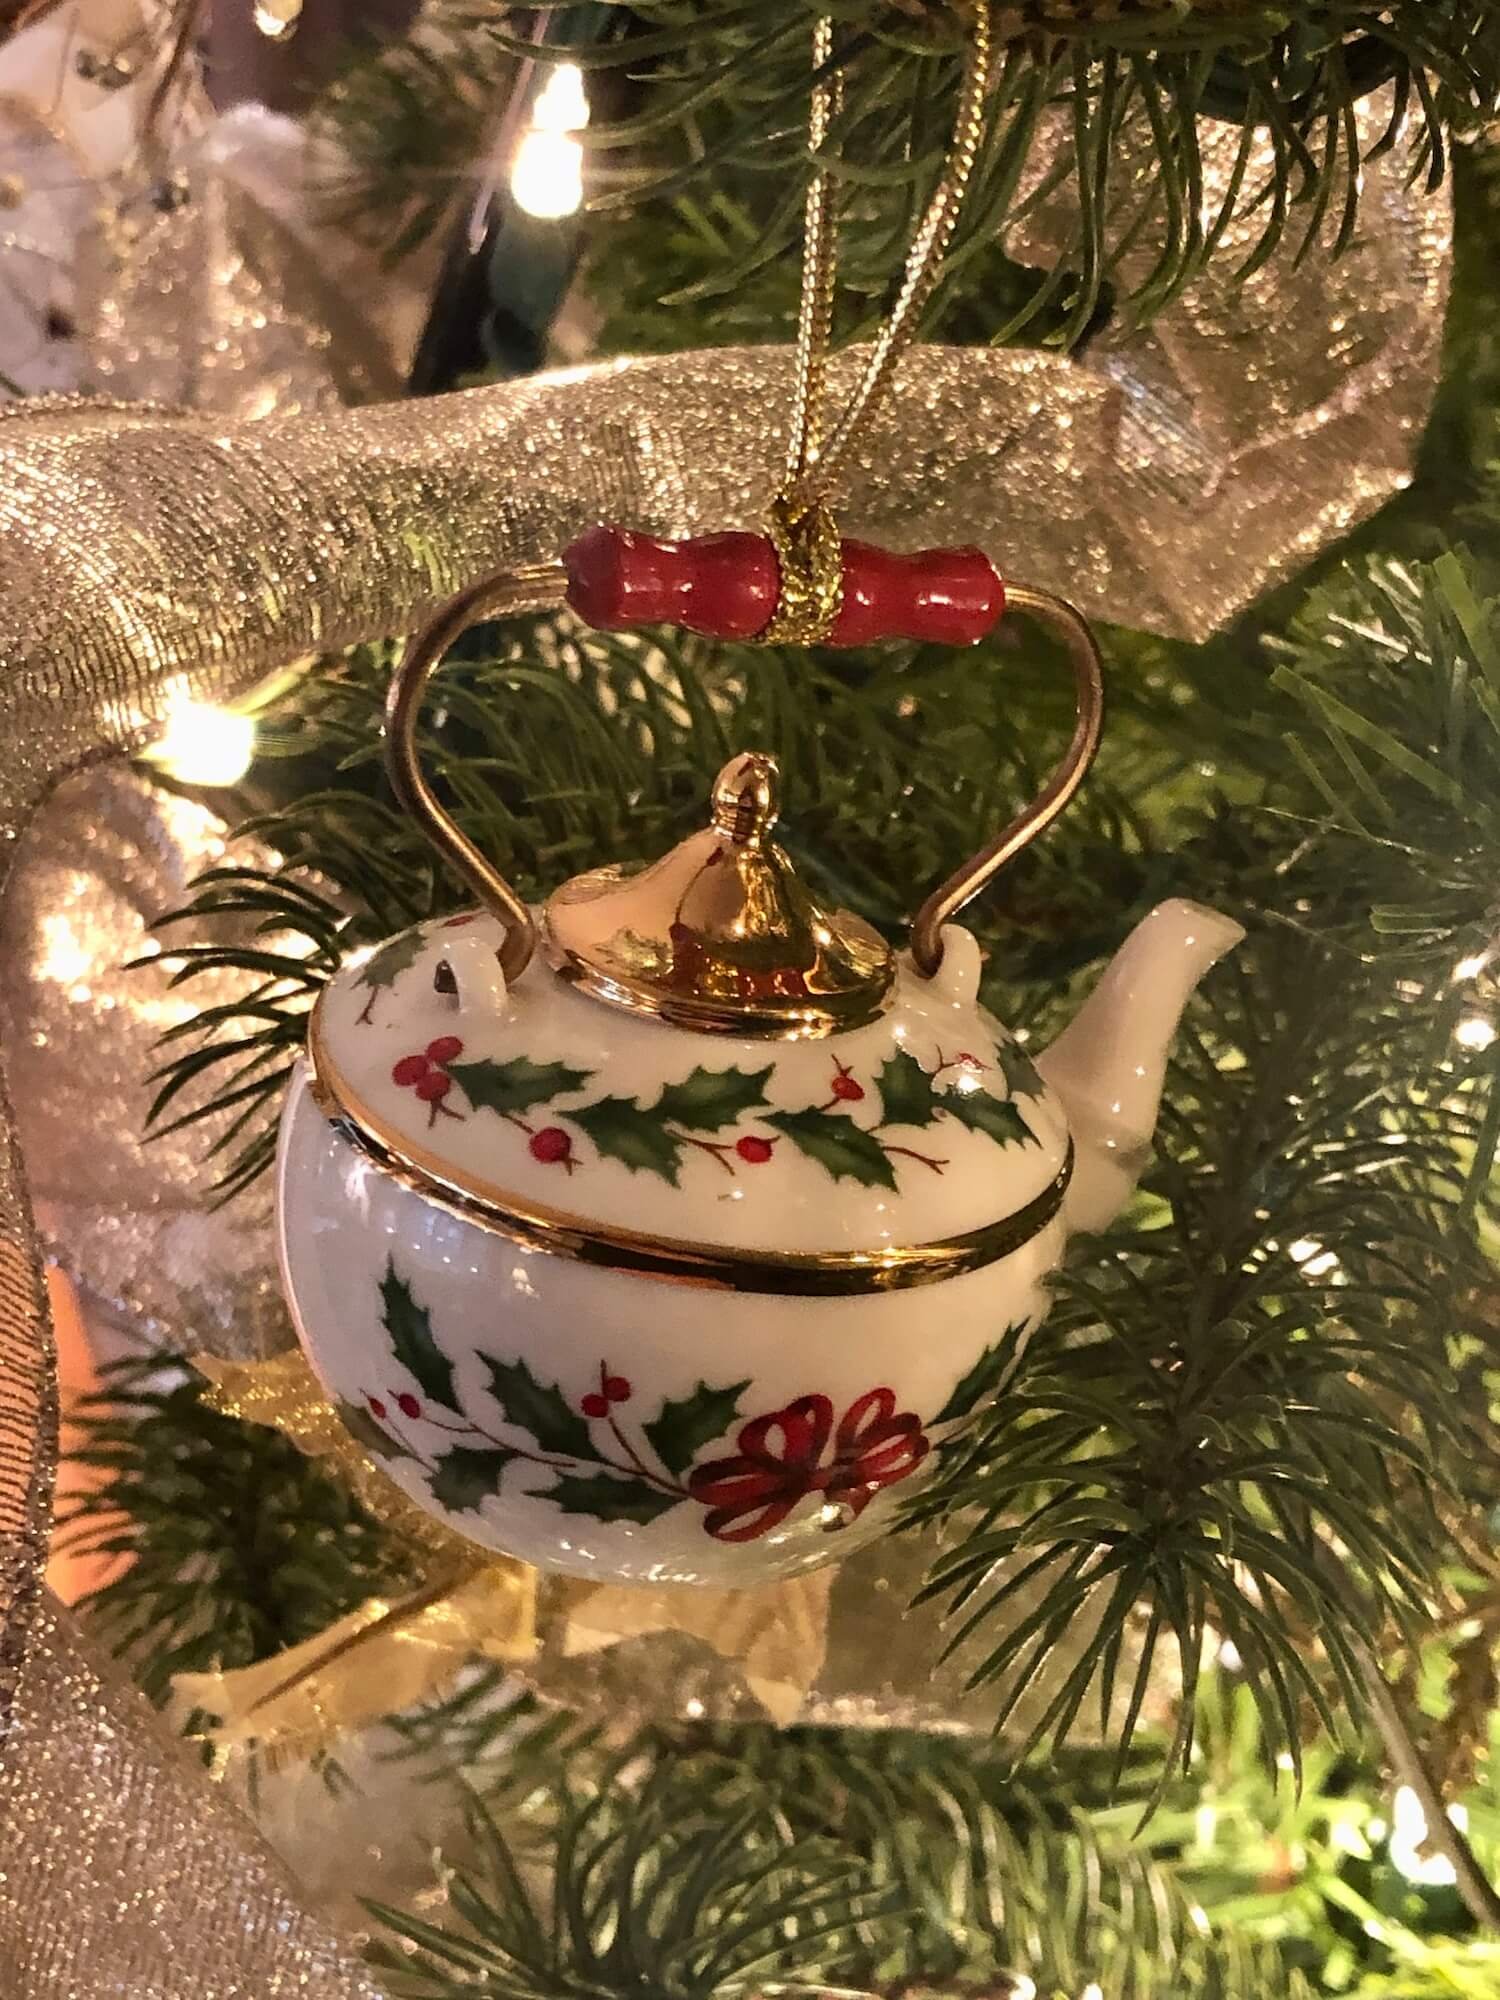
We have a large number of different sentimental ornaments from travels, and from gifts that have been given to celebrate our favorite activities, or family memories.
The Big Finish
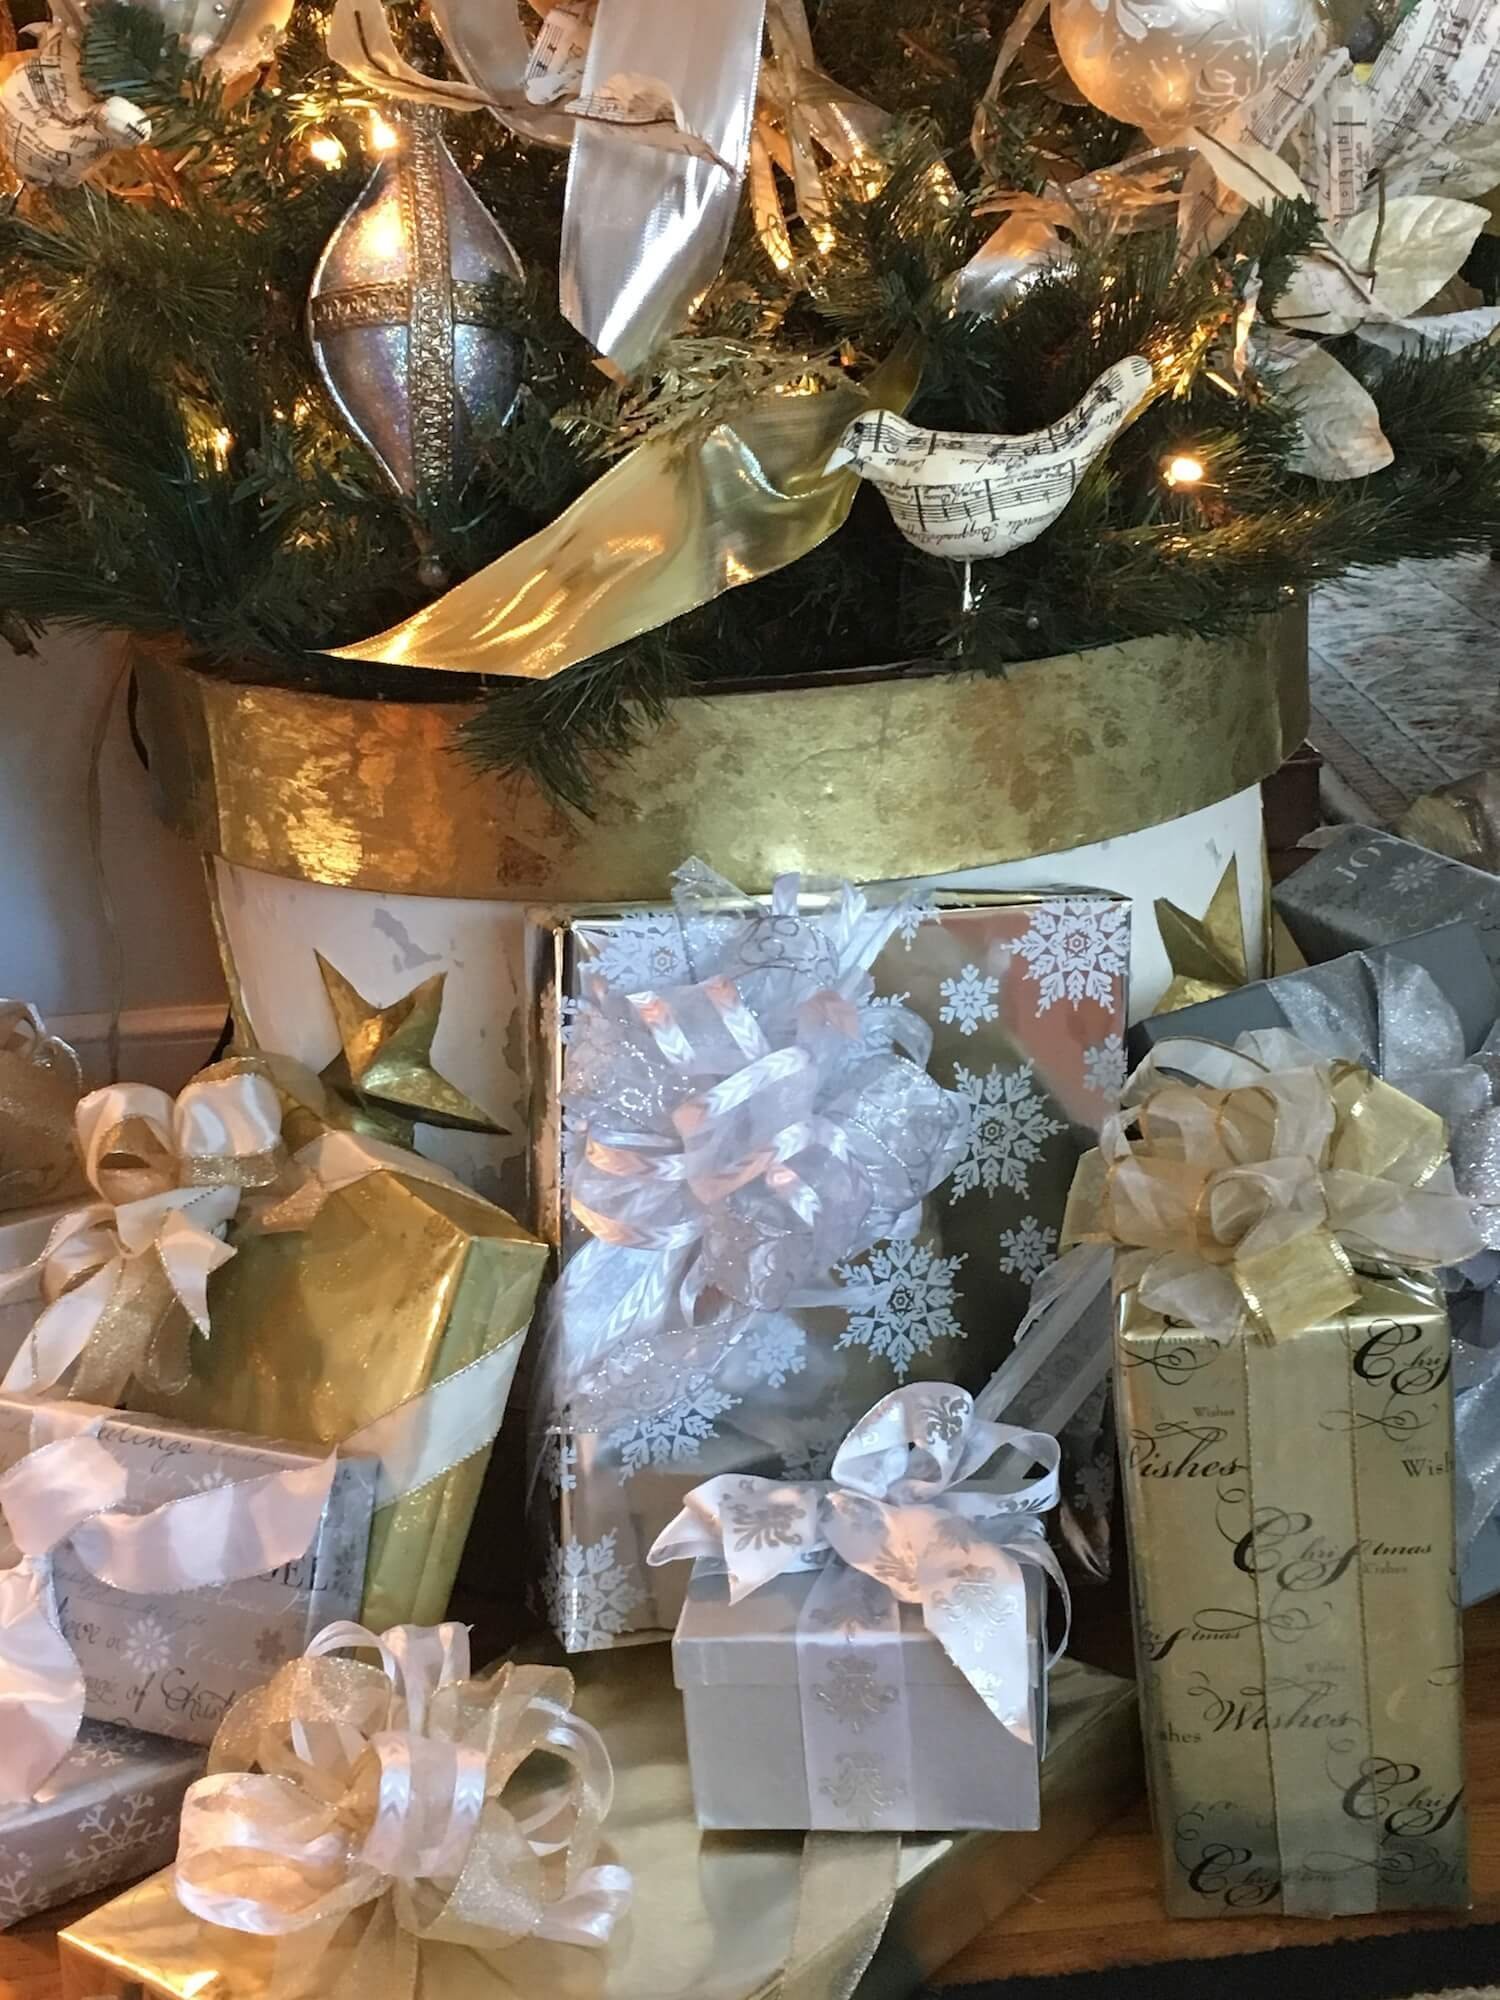
Finally, use a swath of coordinating fabric to disguise the base of the tree – an actual tree skirt is not really necessary. Containers work really well too and are my favorite tree base. I have used this paper mache drum for years, but sadly, it is in terrible disrepair AND it is too small for our current tree stands.
Large baskets, planters, urns and decorative boxes could all work for this as long as the container is big enough to accommodate the tree stand. A ring of plants or piles of books could be a fun stand-in for a tree skirt too.
Wrap your packages in coordinating colors/themes for a final finishing touch.
PRO TIP: It occurred to me a few years ago to assign each family member a color of paper so I didn’t have to label the gifts with tags and hunt around under the tree for names!
But gift wrapping is a whole OTHER post – you can read that HERE along with the secret to getting a bargain on fabulous ribbon!
A beautiful tree needn’t be a compromise - get the ingredients right, and your tree decor and all your special memories will shine!

