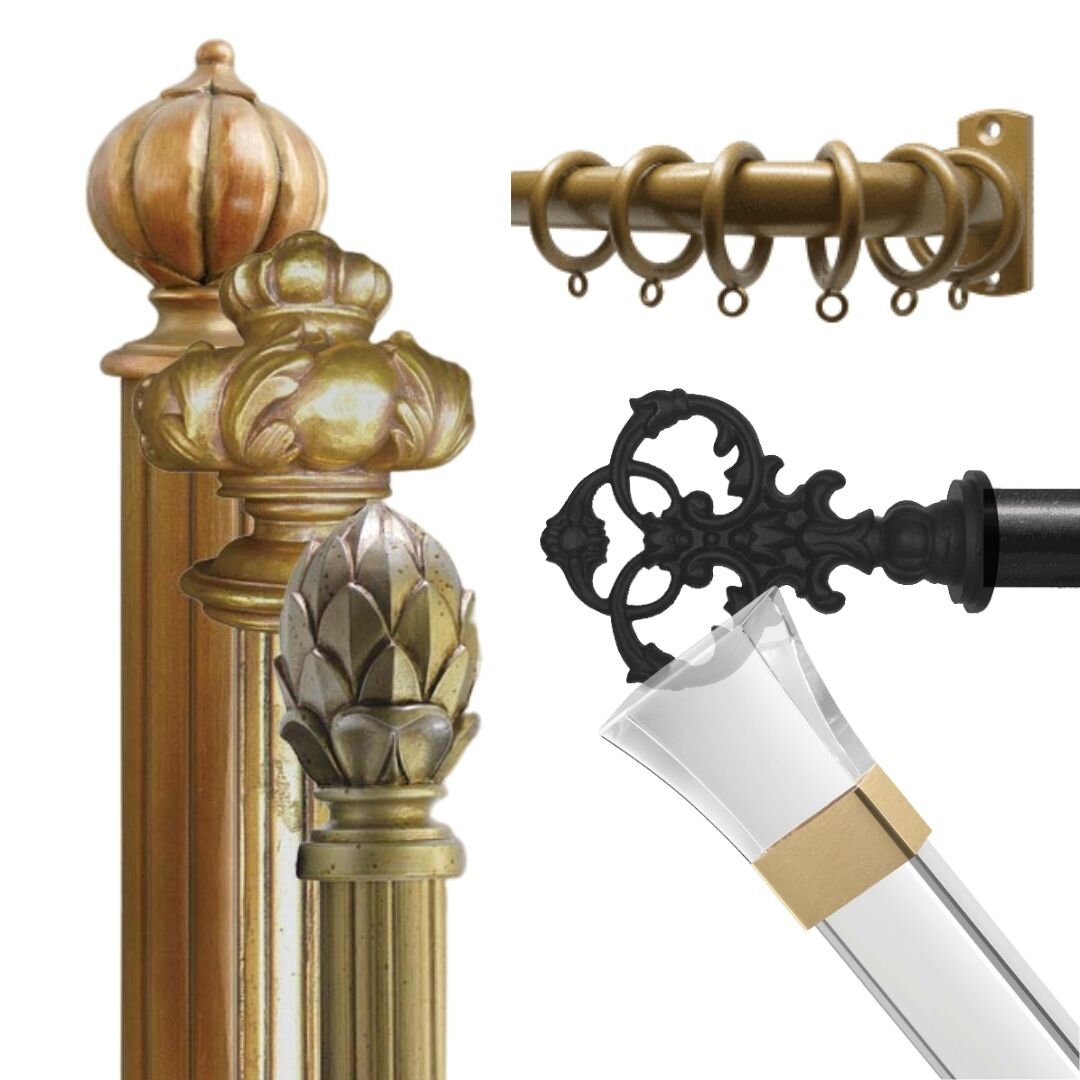
Today I have curtain hardware on the brain…probably because these GORGEOUS custom lucite and satin brass beauties came today! These are a substantial scale because they are going into a room with eleven foot ceilings and hefty millwork.
NOTE: since this post was originally written, these have been installed in a chic home office, which you can see HERE
#customdraperyhardware #lucitefinials #luciteandbrass #curtainhardware
Nothing finishes a room like curtains. They can add so much style, softness, and personality to a room depending on what you choose. And curtains need curtain hardware of some sort in order to hang up, obviously.
Curtains and curtain hardware have a language all their own and luckily I am fluent in curtain-ese…I’ve always wanted to be fluent in a second language, do you suppose that counts??
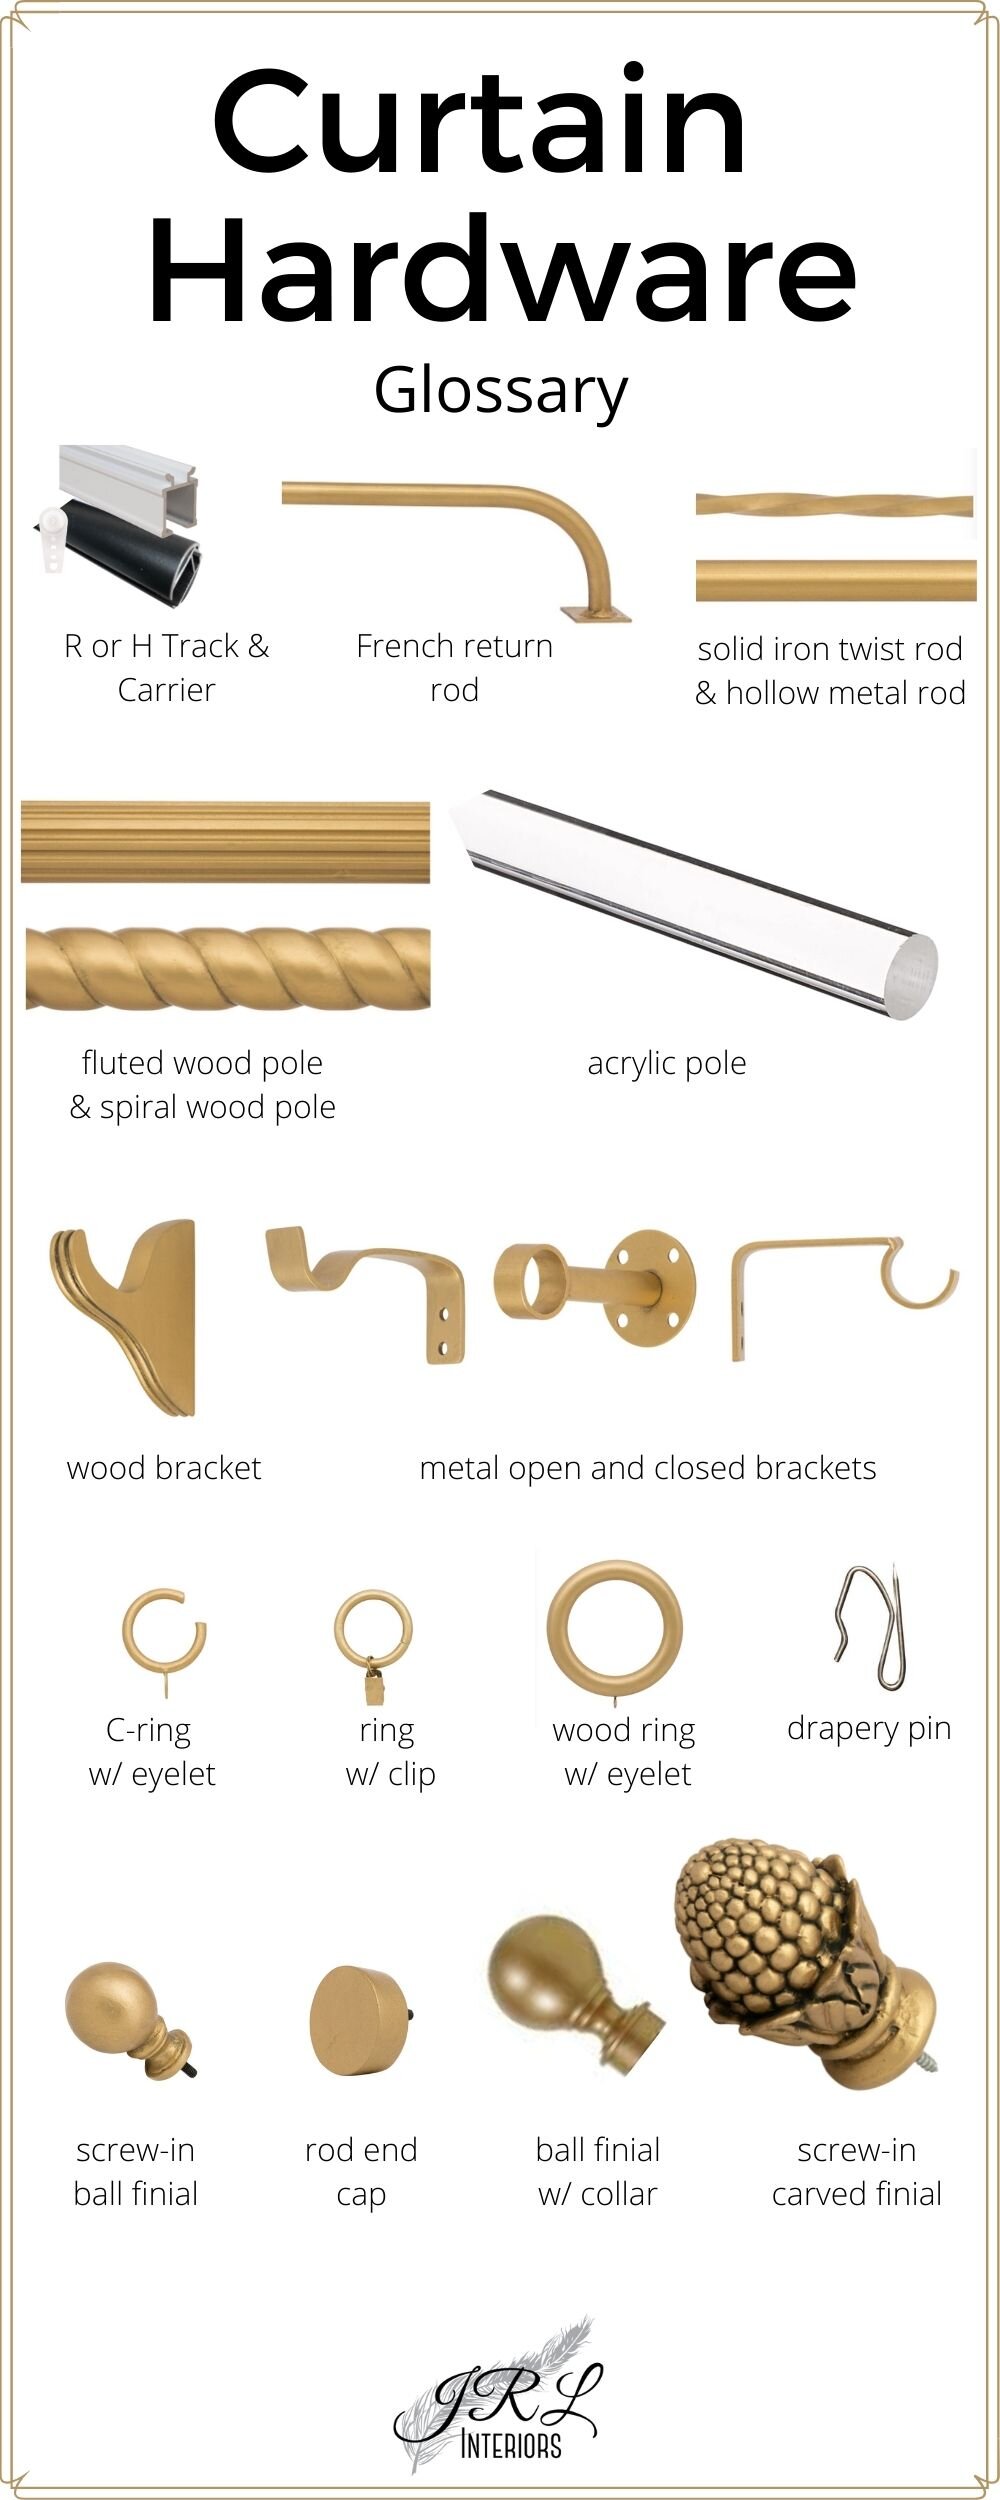
Well, in any case, here I’m demystifying the terminology a little and sharing some pro tips for curtain hardware and installation.
We added a single curtain panel to each of the windows flanking the fireplace to frame this feature wall and showcase it. The panels, which add softness and texture to a wall of hard surfaces, are hung from custom French return rods for a clean transitional look. #customdraperyhardware #customcurtains
When it comes to curtain hardware there are SO many options! Pretty much ANYTHING can and has been used to hang curtains, from branches to canoe paddles to copper pipe! But what you choose and where you put it impacts everything about the finished feel.
Curtain hardware can be used for valances or panels, though if you want a more custom finished look, mounting tailored valances on a board is a great way to achieve that.
If you are of a certain age, you might remember that unfortunate era where panels were gathered onto poles and the exposed rod space in the middle was sometimes covered with a matching scrunched up sleeve of fabric providing a perfect space for dust bunnies to play hide and seek.
This would be the same era that gave us balloon valances hung from 4” flat “continental” rods (not sure WHAT continent gave us those!) and stuffed with tissue paper to make them pouf-y like some bloated pufferfish…suffice it to say, I am very glad that era has passed!
The most classic window treatment, and one that never goes out of fashion, is floor length curtain panels. and that is the one we will be focusing on here. I always argue for these to be hung from rings rather than gathered onto a rod. Probably because I’m still traumatized from the curtain-rod-scrunchie era! For more modern H-track rods, the panels hang from hidden carriers.
Rods can be custom or ready-made. I loooove the beauty and quality of custom rods, but for this bedroom from the One Room Challenge , we needed to reuse the very inexpensive existing rods.
We upcycled them with by painting them with antique gold Rub ‘n Buff and bought inexpensive metal rings which we painted to match.
My genius installer even showed me a trick to make the finials fit more tightly…wrap the end of the rod with strips of duct tape to thicken it - the tape gets hidden by the finial collar and the finials don’t slouch!
Inexpensive ready made rods were customized for this pretty bedroom
Basic anatomy of a traditional curtain rod
Curtain rods always consist of brackets and rods. Much of they time curtain rings are used as well, although there are curtains that are attached to the rod by other means including: gathered on rods, grommet curtains (not a favorite of mine, but if you like them, by all means use them), and tie or tab top curtains.
A glossary of curtain hardware terminology
Brackets
Curtain rods are held up by brackets. The thinner and longer the pole, the more brackets will be needed to keep it from dipping in the middle. The size of the brackets is determined by the diameter of the rod and how far from the wall you want the rod to be.
The measurement from the wall to the center of where the pole sits in the bracket is called the return because this is the amount of fabric on the edge of the panel that should return to the wall covering the gap on the sides of the curtains.
Professional drapery installers will use a small hook screwed into the wall next to the bracket to anchor the fabric return. You can see more about how to make ready made curtains look more like custom in this post.
The material for the brackets usually matches the rod material, but there are plenty of exceptions.
French return rods don’t require typical end brackets since the rod bends and returns to the wall. Instead they have end plates. They may still require other support brackets depending on the length of the rod.
Custom French rods in a champagne finish
Rods
Curtain rods range in diameter from 1/2” to 3”, with 1 3/8” and 2” being the most common sizes for wood poles and 3/4” to 1” being the most common size for metal poles. Metal poles come in solid and hollow versions.
Custom made rods are generally much higher quality in addition to being sized at exactly the length needed. We use a local fabricator for all our custom metal hardware components.
All ready-made metal rods will likely be hollow and are most frequently telescoping to cover a range of sizes. When using ready-made rods, you want to target as close to the low end of the stated range as possible - for example, if you need a 4’ rod, get the one that says 48” to 72” and use it at its most collapsed rather than a 28” to 48” that will end up extended.
There are 2 reasons for this: 1.) It will be sturdier since it it essentially a rod inside a rod and 2.) in order for the rod to telescope, one size is a smaller diameter than the other side - this always makes it look not completely level and creates an awkward bump that the rings will catch on if you need to be able to open and close the curtains.
Gilded wood rods with carved finials hold asymmetrical swagged valances in this elegant New England sitting room
Finals
The decorative ends on rods are called finials and there are endless options available. These may match or contrast with the rod material for many possible combinations. Mixed metal rods are a great foundation for mixing metals in a room.
Some rods can have very minimalist caps rather than finials and French style rods curve back to the wall so have neither caps nor finials. French style rods are a very clean elegant look for transitional style spaces.
French rods can be one piece with the mounting plates welded to the ends or made to fit over post brackets so they appear to be one piece but are significantly easier to install.
Finials may screw directly into the rod or be attached over the end of the rod via a collar with a set screw (remember to factor that in to the length of the rod!)
custom cast iron black rods with simple ball finials and rings are an elegant finish to these embroidered euro-pleat custom drapery panels #customdraperyhardware #customcurtainpanels
Rings
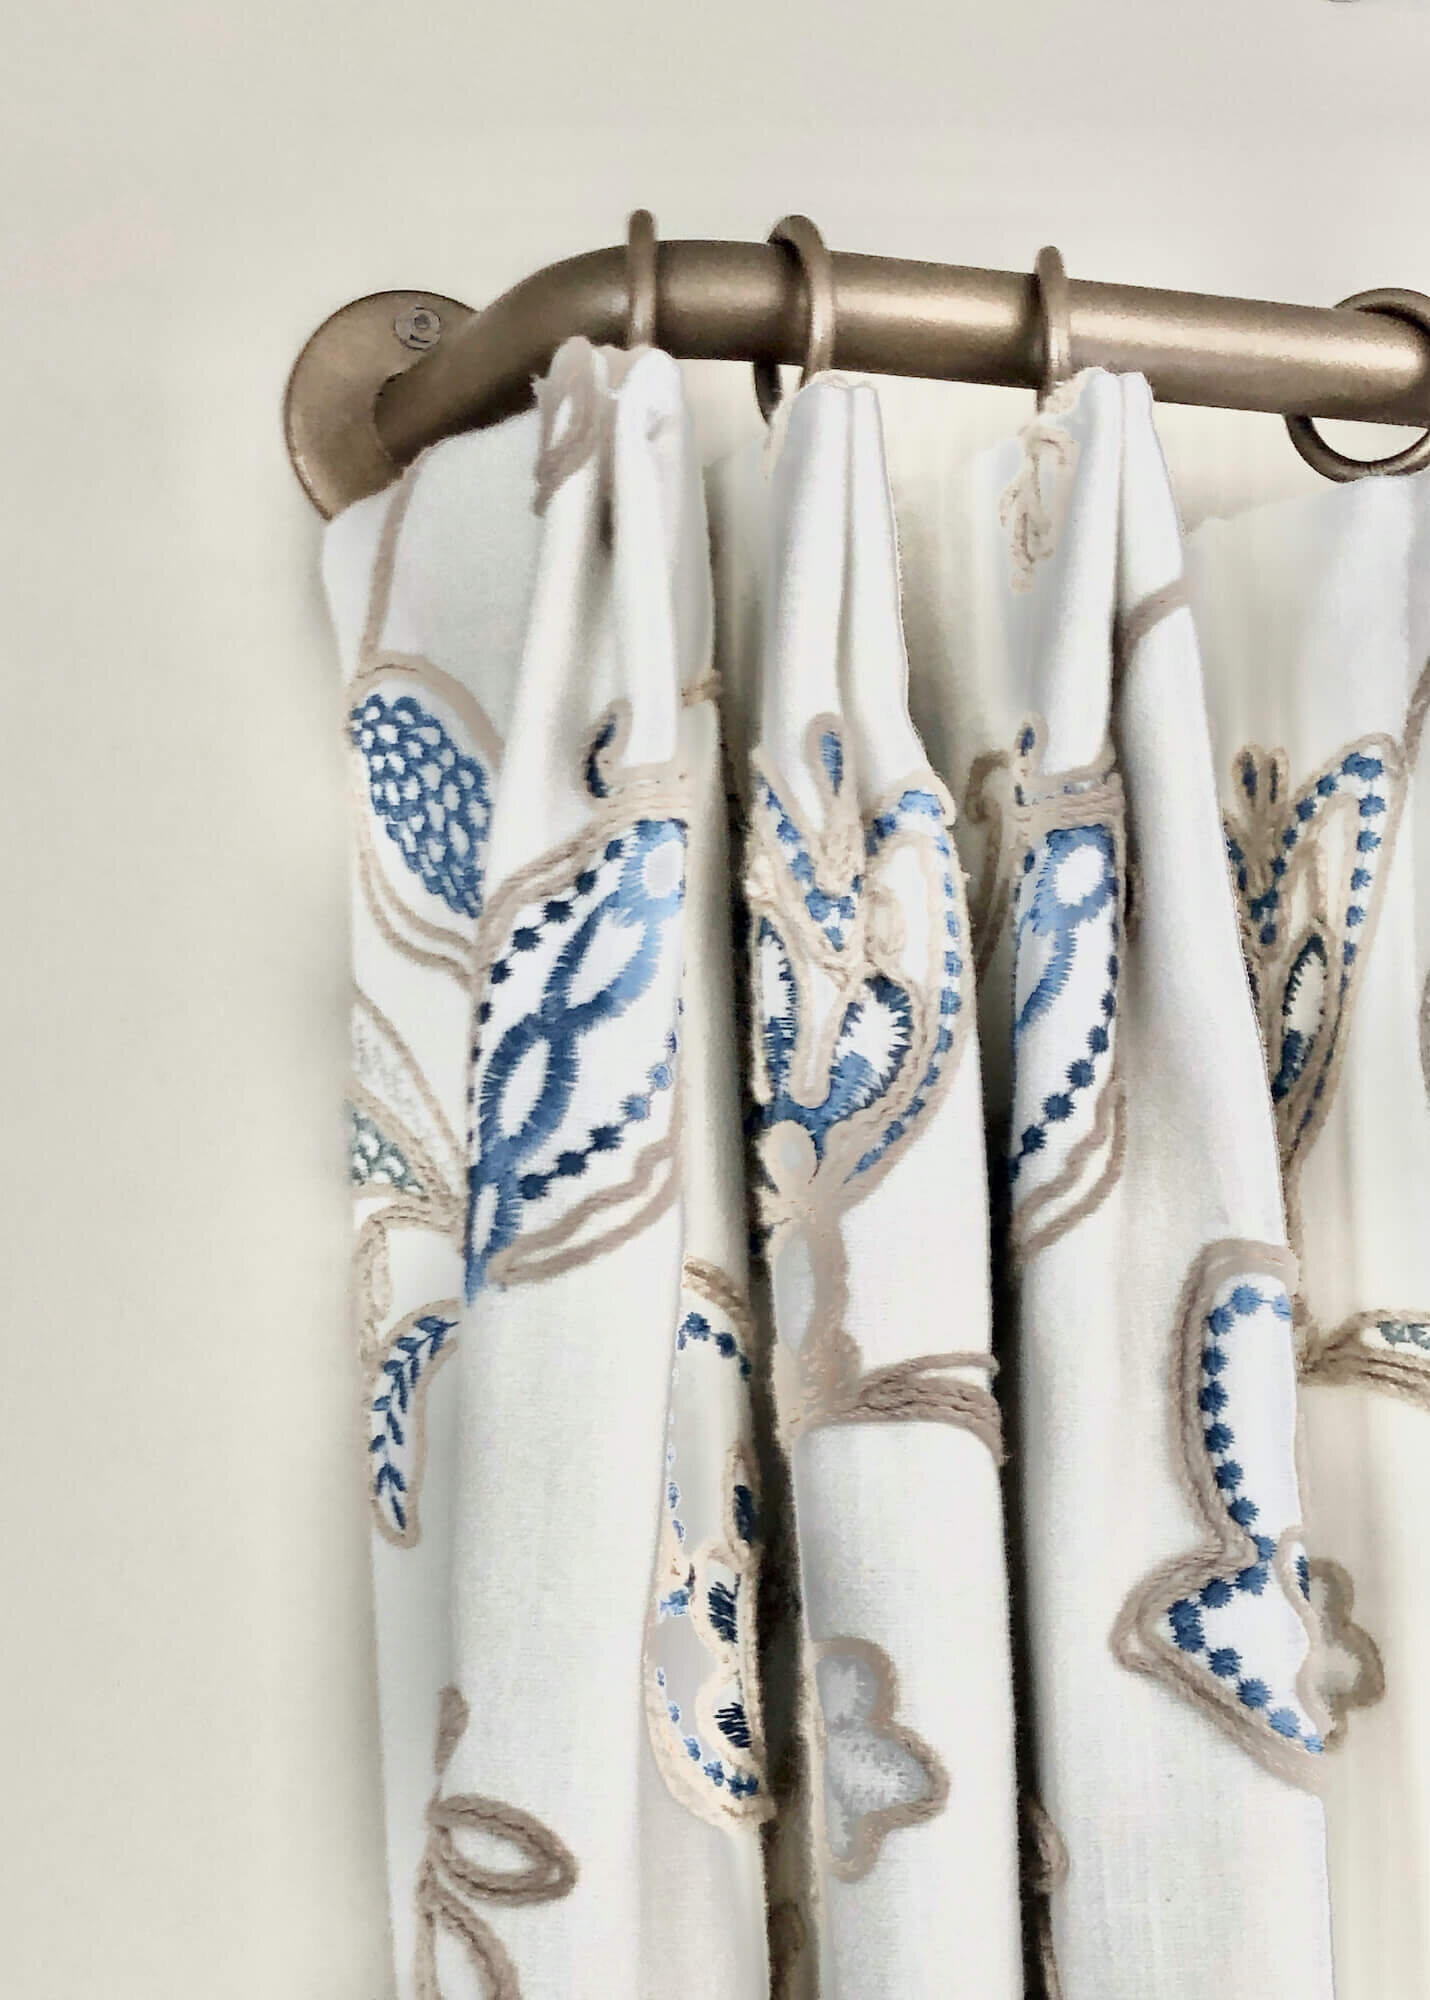
The rings are the part the curtain actually hangs from. Pay attention to the inner diameter of the rings - it needs to be larger than the diameter of the rod, usually by 1/2” and sometimes more.
Rings come in several types. There are rings with clips which clip onto the curtain panels, or rings with eyelets which can be either sewn onto the curtain panels or, more often attached via drapery pins.
Rings are also available as C-rings, or bypass rings which are, as the name implies C shaped so that they can pass by the brackets for curtain panels that need to open and close. This requires bypass brackets as well in order to work.
Modern R or H track rods have plastic carriers that run in the track and have a hole in the bottom for a drapery pin to attach the fabric panel. The brackets for these attach to the top of the rod so that the panels can move unimpeded.
Samples of graphite and black finishes for R-track rods
Sheer linen panels being installed on a graphite colored R-track rod - the hardware was designed to mimic with existing iron tie rods in the vaulted ceiling room and to blend into the stained wood of the window wall
R-track allows these linen sheer curtain panels to be positioned anywhere along the entire 42’ of window wall Extra brackets ensure the rod will be able to carry the weight if all the panels are pushed to one end
Curtain hardware materials
Most commonly curtain rods fall into two categories, wood rods and metal rods.
Wood curtain poles can be plain, or carved with fluting or rope twist patterns. They are usually heftier in scale than their metal counterparts. They can be stained, painted or gilded with metal leaf and are often paired with decorative carved wood or cast resin finials. Brackets for wood poles can be decorative wood or innocuous L-brackets that essentially disappear behind the curtains.
Metal curtain poles come in a variety or diameters, shapes and finishes as well and are available in solid cast iron and hollow cast metal. Finials for metal rods rang from none (as on French rods) to simple ball finials, to more elaborate and fanciful flourishes.
A newer category of curtain rods that has emerged are lucite rods. These are a great transitional or contemporary look. Often mixed with metal fittings for finials, rings and brackets, these are a very chic and glam choice.
Do beware, lucite scratches fairly easily, so it is not a great choice for curtains that will be drawn regularly. It is better suited for stationary decorative dress panels.
Location, location, location! Where to hang the curtain rod
Where you hang the rod is as important as the rod and curtains themselves. Hanging a rod for floor length curtain panels higher than the window frame and wider than the window, will give the illusion that the room is taller and the window more generous.
For 8’ ceilings hanging the rod as close to the ceiling as possible (or just below the crown molding) is ideal.
For much higher ceilings, it will depend on the height of the window frame…hanging above the window is great, a huge expanse of wall between the rod and the top of the window can look a bit awkward. So if hanging that high, it is best to add a shade behind the curtain that starts at the rod and comes to just below top molding of the window to camouflage the wall and again, give the illusion of a more generous window.
The Master Bedroom in the apartment of Nate Berkus shows an extreme example of this trick employed perfectly to transform awkwardly low windows. You can see that article in Architectural Digest HERE
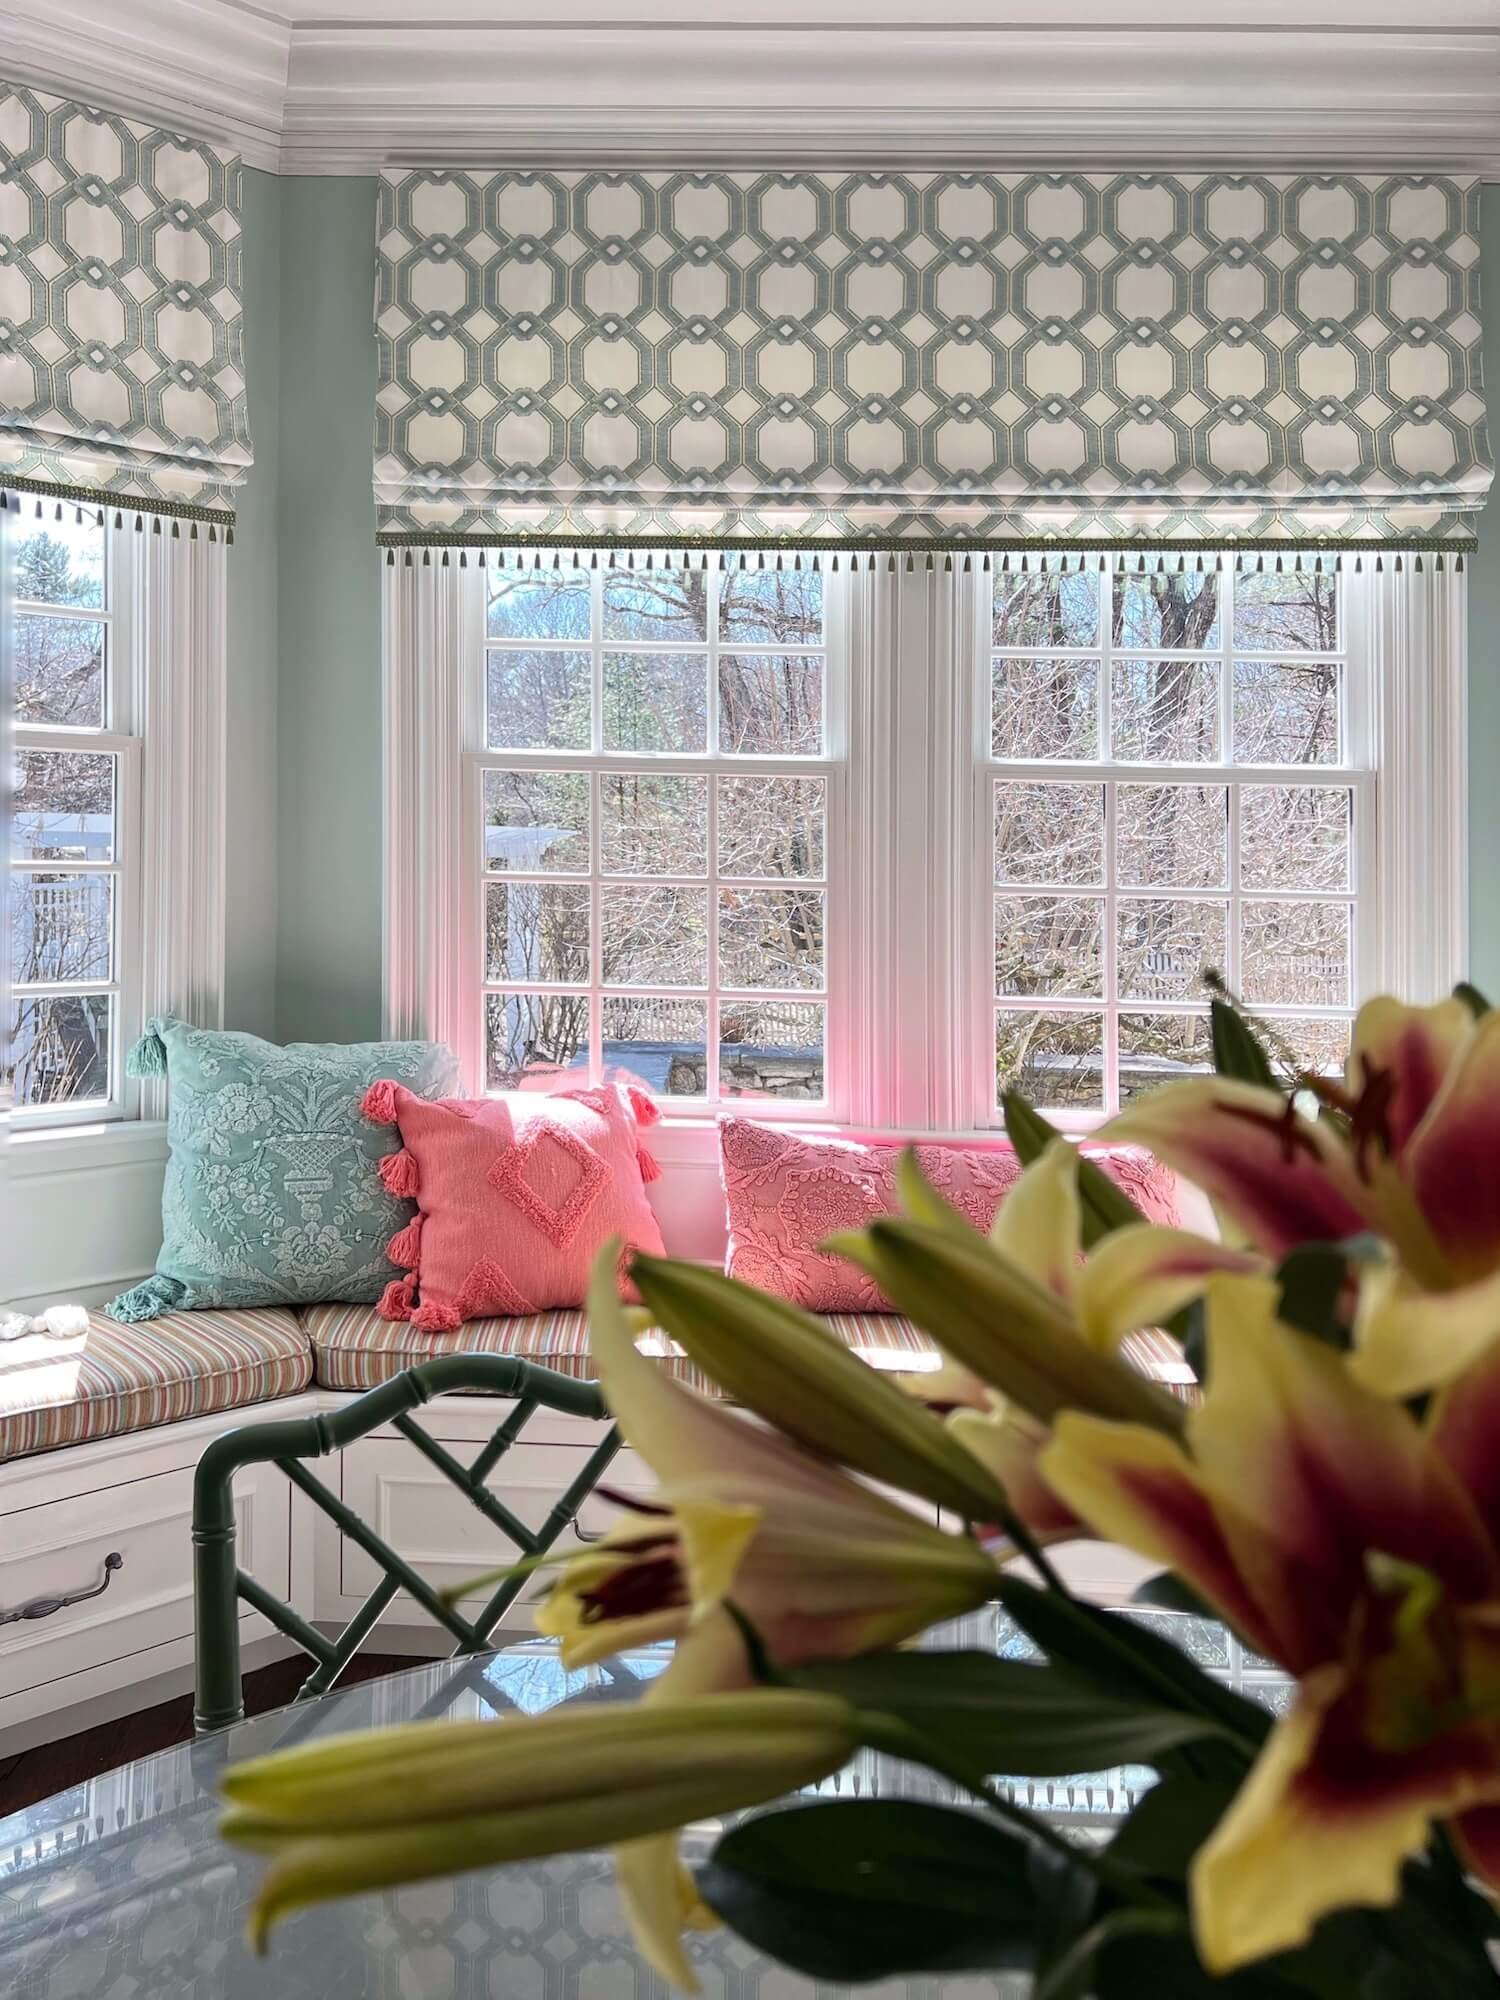
This breakfast room has custom valances mounted nearly a foot above the windows just below the substantial crown molding. This allowed for a nicely proportioned valance that comes to just below the top of the window.
This both maximizes the light and creates the look of taller windows in this room with 10’ ceilings.
Generous windows are always a desirable feature so creating the illusion of them is a good goal.
Other posts you might like:
Custom or Ready-Made Curtains? (with tips on how to make ready-made LOOK like custom!)
Tips for a Well Dressed Window

