Curtains, or window treatments, which encompasses shades and hard treatments like blinds and shutters as well, are the finishing touch that makes a room feel complete.
There are many compelling reasons to add them. I’ve written about curtains before , but if you know me, you know I am a curtain snob. There is nothing like custom curtains to create a feeling of luxury in a space. I know, I know, they are pricey and with good reason, but if you can wrangle them into your budget they are so worth it.
If you are just starting out, or money is tight and you need to use ready made window treatments, no judgement!
My first living room curtains (back when dinosaurs roamed the earth) consisted of un-hemmed lining fabric artfully arranged into swoops and puffs - you’ll just have to take my word for it that it was quite chic at the time - and installed with rubber bands and thumbtacks. I’ve learned a few things since then.
Do’s and Don’ts for Ready Made Curtains
Try to avoid tailored treatments
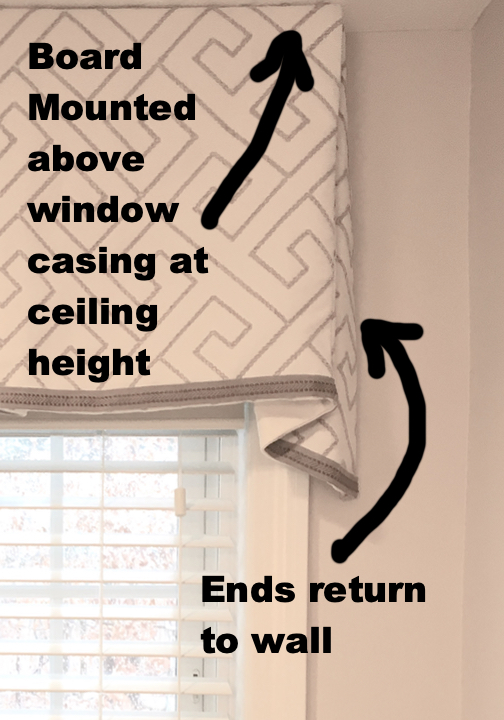
Tailored flat or pleated valances, fabric Roman shades – these kinds of treatments should always be board mounted to look good, and ready made curtain valances are never board mounted.
By board mounted we mean the valance or shade is attached to a fabric cover board which is attached to the wall with L brackets. Fabric should wrap around the sides back to the wall so there is not a gap.
If you are a DIY maven, you can, in a pinch, staple your ready made valance (using the offending rod pocket) to a fabric covered piece of strapping and mount it with L brackets to give it the structure a tailored style requires.
Below are 2 illustrations.
The first is a ready-made tailored box pleated valance with a rod pocket for mounting. A rod pocket, even if a miracle occurs and the valance happens to be EXACTLY the right width for the window, never lies flat - there are always telltale puckers because it does not hold the fabric tight enough for a tailored style.
This one is also mounted on the casing, which I never recommend. This results in the valance being disproportionately long for the window and looking like overgrown bangs in need of a trim.
The image on the right is a custom box pleated tailored valance. It is mounted at the ceiling giving the illusion of a taller, more nicely proportioned window, and the ends, where it returns to the wall, are also pleated and gracefully tapered.
While there are companies that make board mounted Roman shades, read the reviews carefully, and find out what the mounting specifications are - because they do not address the gap at the sides, most will look best mounted inside the casing if you have the depth to do this.
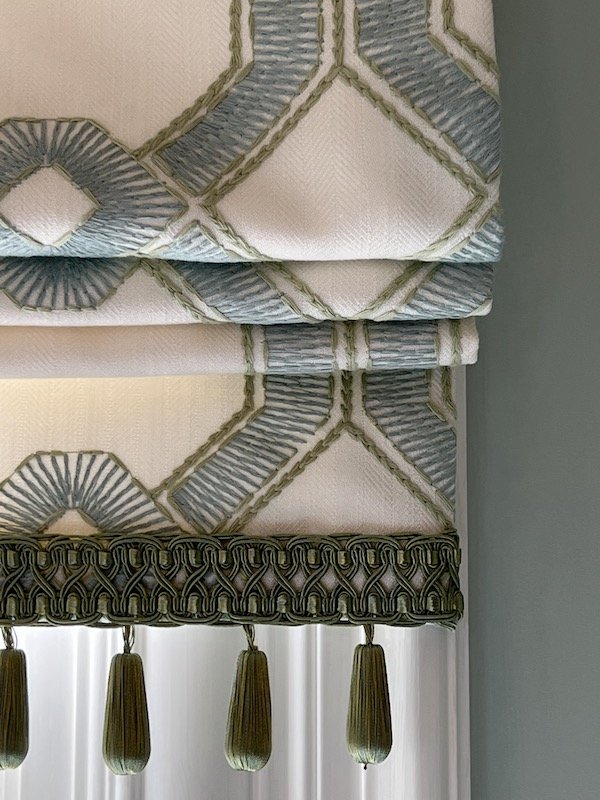
This outside mount, lined and interlined, custom soft Roman shade has fabric that wraps around the ends of the board to the wall. Inverted pleats held at the top by covered buttons were added for a softer, fuller profile.
Roman shades and valances (and there are various profiles from very structured to more relaxed) are all are created with cords that run through rings on the back side of the shade that draw the shade up creating the characteristic folds.
Another small trick we employ with our custom Roman shade valances is to have extra length and toggles added to the cords (like the ones on drawstring bags) so the length of the cord and thus the height can be adjusted a bit on site if needed.
Here is our {amazing} installer trimming the excess cord to length after he’s hung and perfectly adjusted the valances.
Final adjustments to custom valances at installation
Choose curtain panels.
Curtain panels are the easiest way to approximate the look of custom.
Lined, and interlined panels with weights in the hem have a rich feel to them and are sometimes available ready made, but are on the higher end of the cost spectrum and may be just as expensive as custom depending on fabric and style.
Please choose panels long enough to span the distance from above the window casing (as high as the crown molding unless there are unusually high ceilings – THIS post has more on how high is too high) to the floor.
You are better off with too long than too short. PLEASE, NO FLOODWATER drapes! Ideally they should either just touch the floor, or break on the floor – much the same way a classic trouser leg should break on the top of a shoe.
You can always have them hemmed. Nearly every dry cleaner offers this service very inexpensively.
Panels for a single, 3’ to 3 ½’ wide window should be at minimum a 48” flat width for each side. Wider windows or narrower panels, will require more panels per side to not look anorexic.
There are many different header styles (that’s drapery-speak for the top of the the curtain panel); French pleats, goblet pleats, bell pleats, flat, tab, grommet (this last one would never be my choice and I have yet to see a custom curtain made with grommets – so if you are looking for a custom look for less, maybe avoid these).
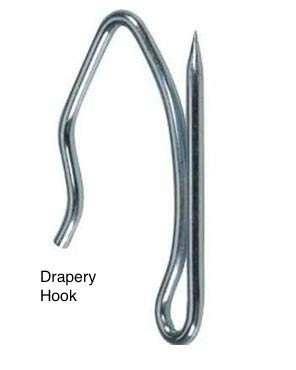
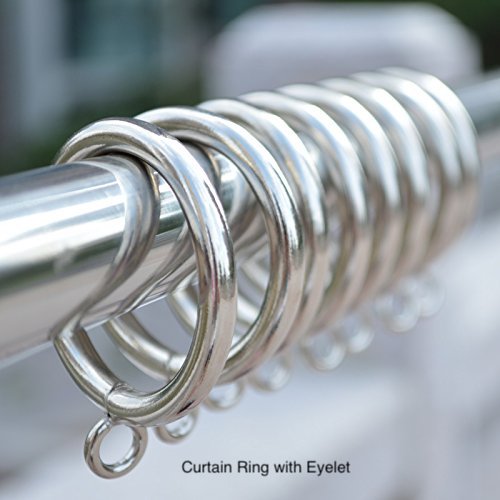
Except for tab curtains, all of these should be attached to rings on the decorative rod with a drapery hook inserted into the back of the fabric panel, and the other end of the hook inserted into the eyelet on the ring. Most high end custom drapes are mounted from rings rather than a rod pocket (a pocket of fabric that slides onto the rod) so again, if your goal is a custom look-alike, avoid mounting as rod pocket panels.
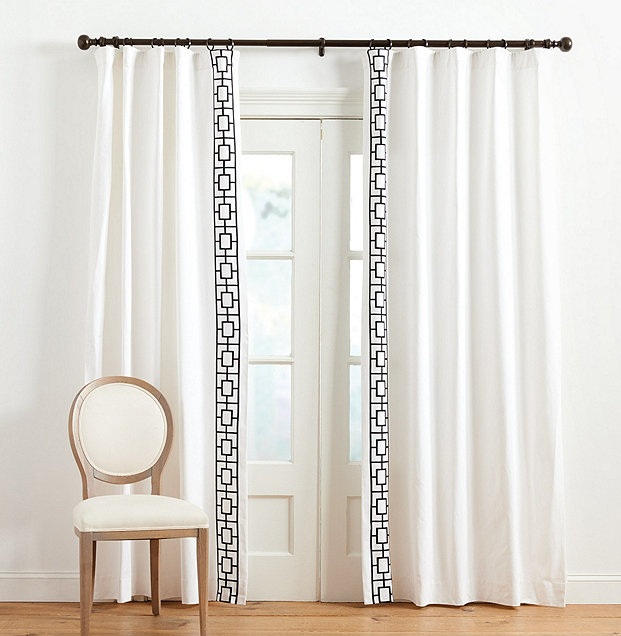
These unlined embroidered linen panels are hung from rings on 5/8” diameter black iron rods with simple ball finials. While these panels and hardware are custom, a similar look may be achieved with ready made panels.
Choose hardware that extends past the window about 6” to 8” on each side.
Hardware wider than the window, and mounted higher than the casing, will make the window appear to be more generous in size and allow the curtains to not obscure the glass so maximum light is available.
In this illustration, the two windows are EXACTLY THE SAME SIZE. The curtains on the left are mounted on the window frame and don’t reach the floor, the ones on the right are mounted above the window frame and fall to the floor giving the room a greater feeling of height, and 8” beyond the casing on each side exposing the greatest amount of glass and making the window feel much more generous.
Choose the right size rod
Retail metal rods are always telescoping extension rods so that they can span a variety of window sizes. This creates the unfortunate result that the diameter of the rod is smaller on one end than the other.
This causes several problems. The rod will never look perfectly straight, and, if you are actually opening and closing the curtains, they will get caught on the transition.
The trick to overcoming this is to buy a rod large enough that you can use it fully collapsed. For example, say you have a window that is 3’ wide, rather than the 24” -48” rod, buy a rod that extends from 48” to 86” and use it collapsed to the 48” width so that all but the very end is the same diameter.
Wood rods can be trimmed to the desired length.
Tack curtain returns to the wall.
When we create custom draperies, there is always a return. This is what we call the distance from the center of the rod, as it rests in the brackets, back to the wall.
The outside ends of the draperies are installed so that the return wraps back to the wall. A drapery hook at the end of the panel is hooked onto a small L tack in the wall to hold the return in place and cover the gap so the drapery looks finished when viewed from the side as well as the front.
This is one of our drapery installations in progress. For this project we used custom French style rods that curve back to the wall. The rods are wider than the window casing and mounted level with the top of the wall where it meets the vaulted angled ceiling.
Final finish
For a professional finish, be sure the panels are pressed prior to hanging, or steamed in place to remove any fold lines from packaging or wrinkles. Certain fiber content will react poorly to the moisture of steaming or the high heat or pressure of an iron, so be cautious and read any instructions with regard to the proper care of the fabric.
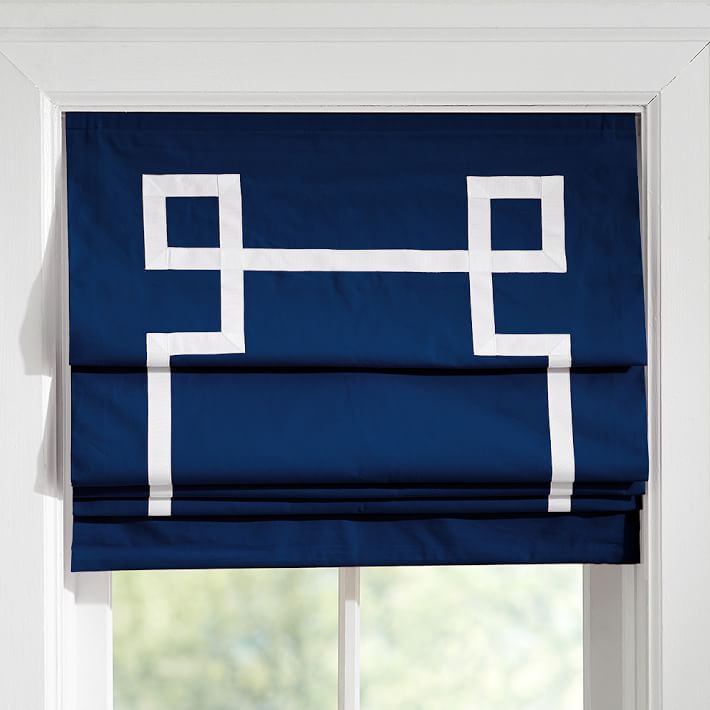
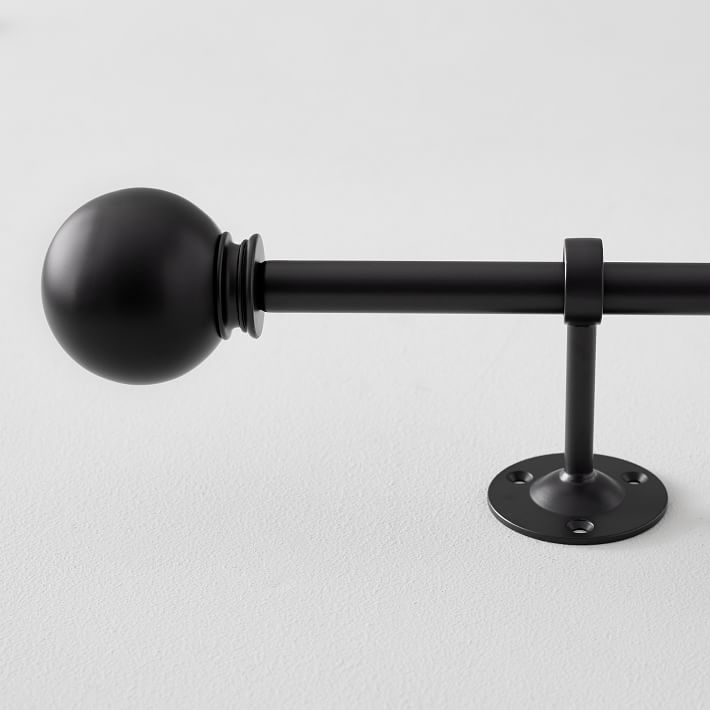
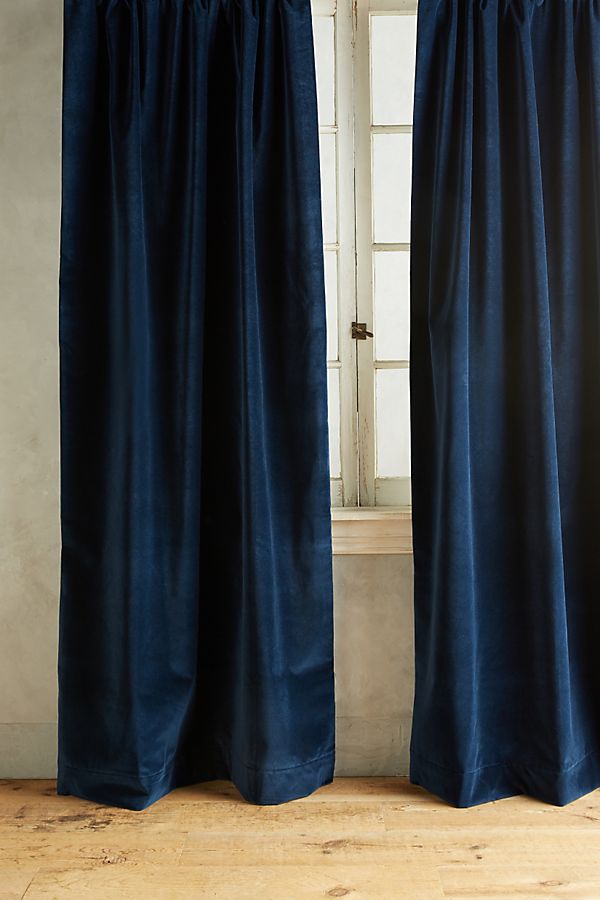
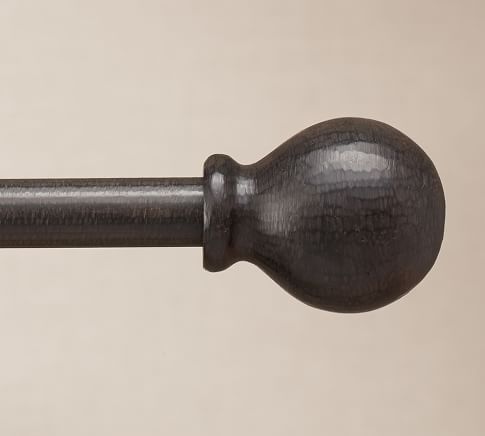
Below are a few retail curtain and hardware options. Most come in a variety of lengths. Click on each image for more information.
Please note that this page contains affiliate links meaning that if you make a purchase, I might make a small commission at no extra charge to you.

